Recently, I saw yet another contentious motorcycle oil-change thread on my local motorcycle forum. All the usual questions came up–what’s the best type of oil for my bike, conventional or synthetic? Which brand is superior? How long can I stretch my oil-change intervals without hurting the bike’s engine? Of course, some posters passionately advocated synthetic, others insisted that cheaper conventional oil was fine; heck, even the usual Shell Rotella advocates and Amsoil fanboys climbed out from under their rock and held forth. Some guys told our questioner to go read his manual; the old-fashioned types insisted that the time-honored 3,000-mile interval should be his guiding light; the cheap guys said that he could go 8-10,000 miles on synthetic, easy.
It’s true that oil has a tougher job in motorcycle engines than it does in cars; bike engines tend to run hotter and rev much higher than car and truck engines. More importantly, while car engines have separate lubrication systems for the automatic transmission or clutch and the engine, most bikes share a single pool of oil, circulating between the clutch and the engine alike. This means that motorcycle oil endures shearing forces from the meshing of gears in the transmission, as well as increased amounts of particulate and carbon shed from its fiber clutch plates. That’s why, while some car manufacturers recommend oil-change intervals of 9-10,000 miles, most motorcycle makers stick to 3–6,000 miles for their recommendations.
Amid all the arguing, one guy mentioned that several places in the U.S. offer oil analysis, which gives a breakdown of what’s going on in your engine, and can tell you whether or not your oil-change interval is too long, too short, or just right. In addition, oil analysis offers an opportunity to see what’s going on, chemically and structurally, inside your engine. Is the head cracked and leaking coolant into your oil? Is there fuel contamination, or excessive silica, meaning you have a fueling problem or aren’t changing the air filter often enough? Are your pistons and bearings in good shape, or are they shedding aluminum and copper? Each oil sample is tested using chemical spectrometry, testing for viscosity, fuel and antifreeze contamination, as well as suspended particles in the oil that are shed from the various metals and surfaces inside your engine.
Testing the oil gives a representative portrait of what condition your engine is in, and can anticipate engine problems before the vehicle clatters to an unplanned stop in a cloud of smoke 100 miles out of Wichita. Also, part of the test can involve a recommendation for just how long your next oil change intervals ought to be, based on the current condition of the oil. In a best case scenario, you can lengthen your oil change intervals, which uses less oil (and fewer filters) in the first place. You save time and money, and you reduce oil waste as well–that’s even better than recycling your oil (though of course you should still do that, too)!
For more detailed information on just what oil analysis analyzes, Bob Is The Oil Guy has further info.
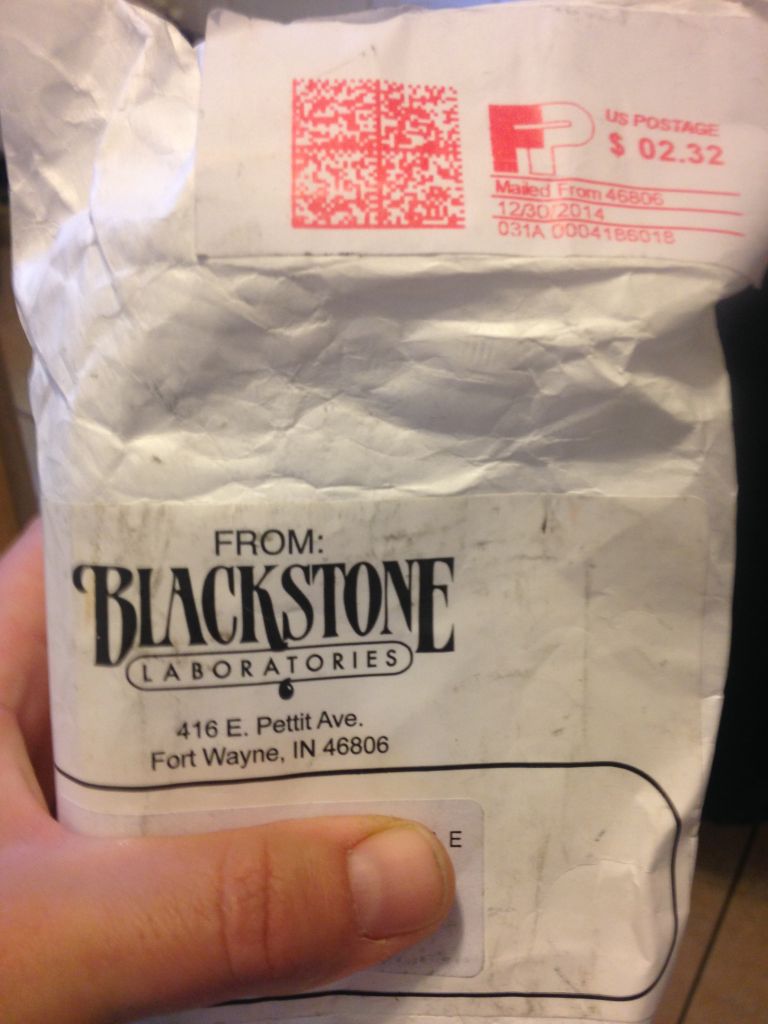
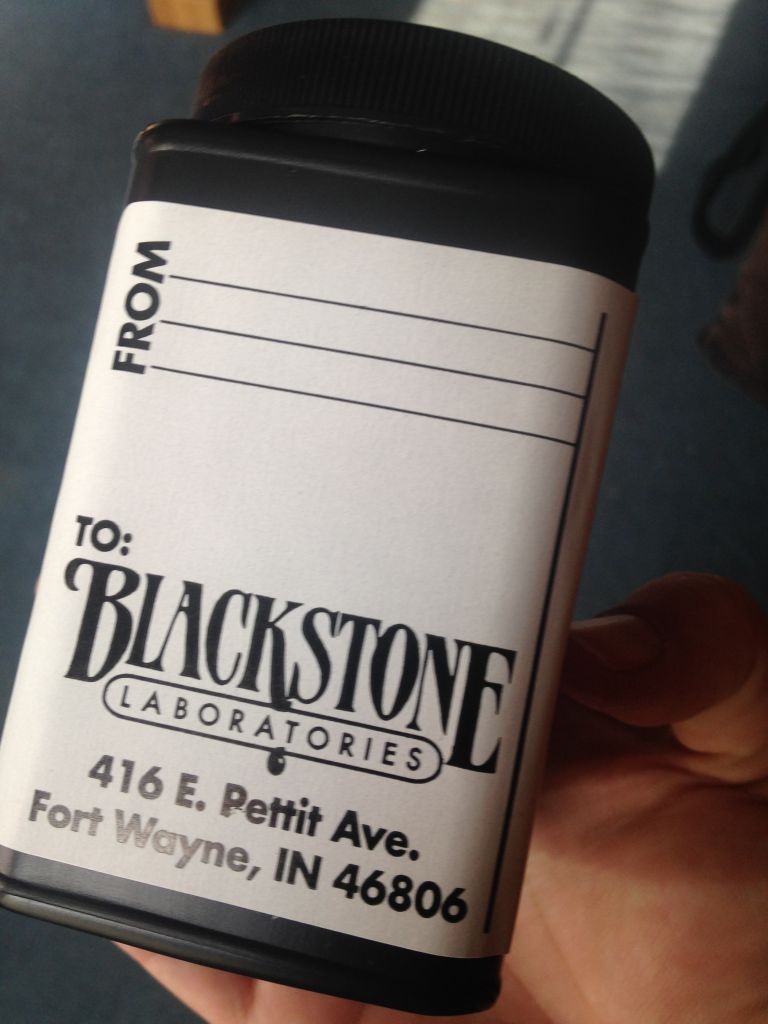
I was intrigued, and decided to geek out and go for it. I looked up Blackstone Laboratories in Indiana, and emailed to request a free testing kit. It arrived a couple of weeks later.

The package from Blackstone Labs
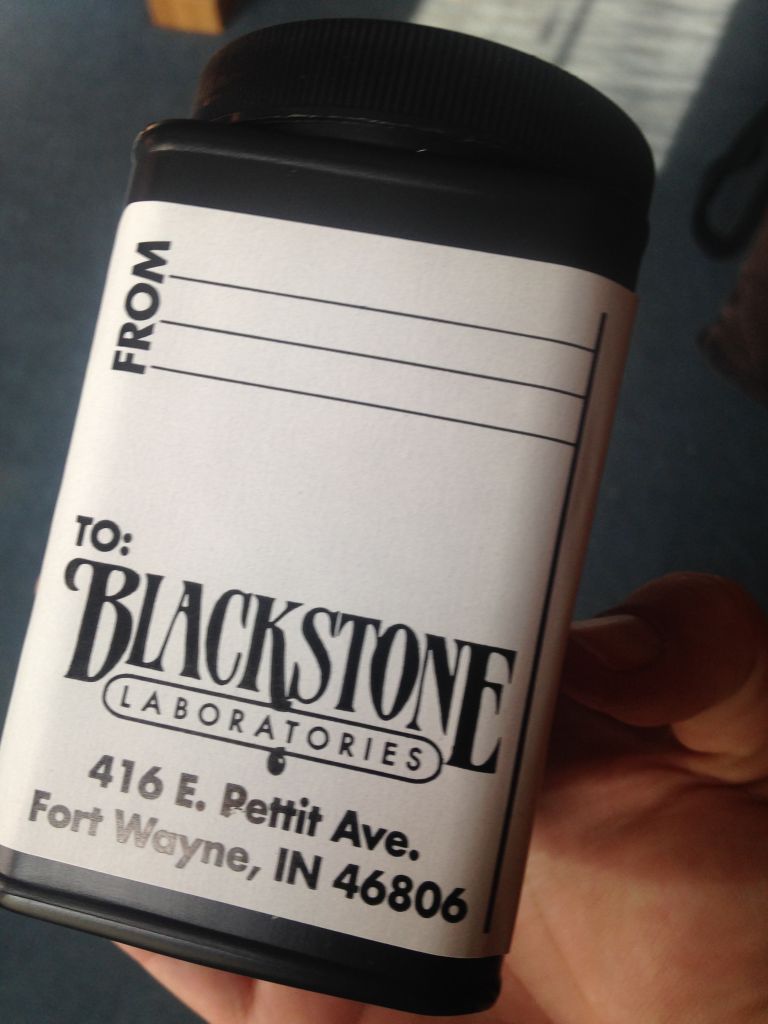
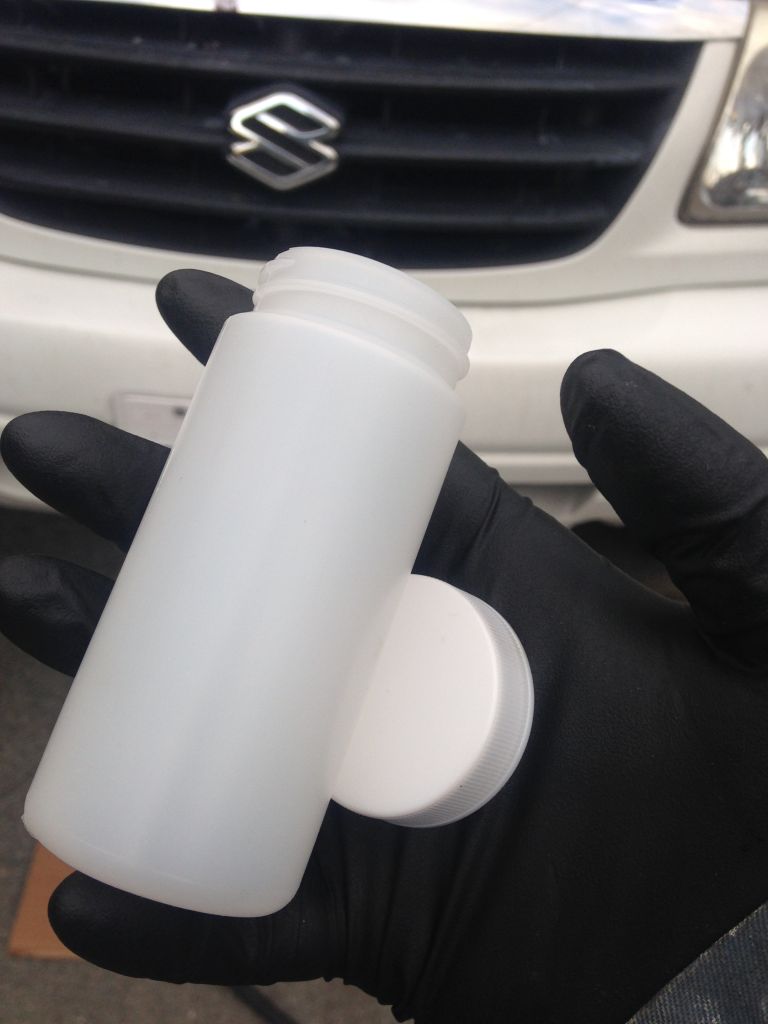
Inside, a mysterious bottle.
Oil sample bottle
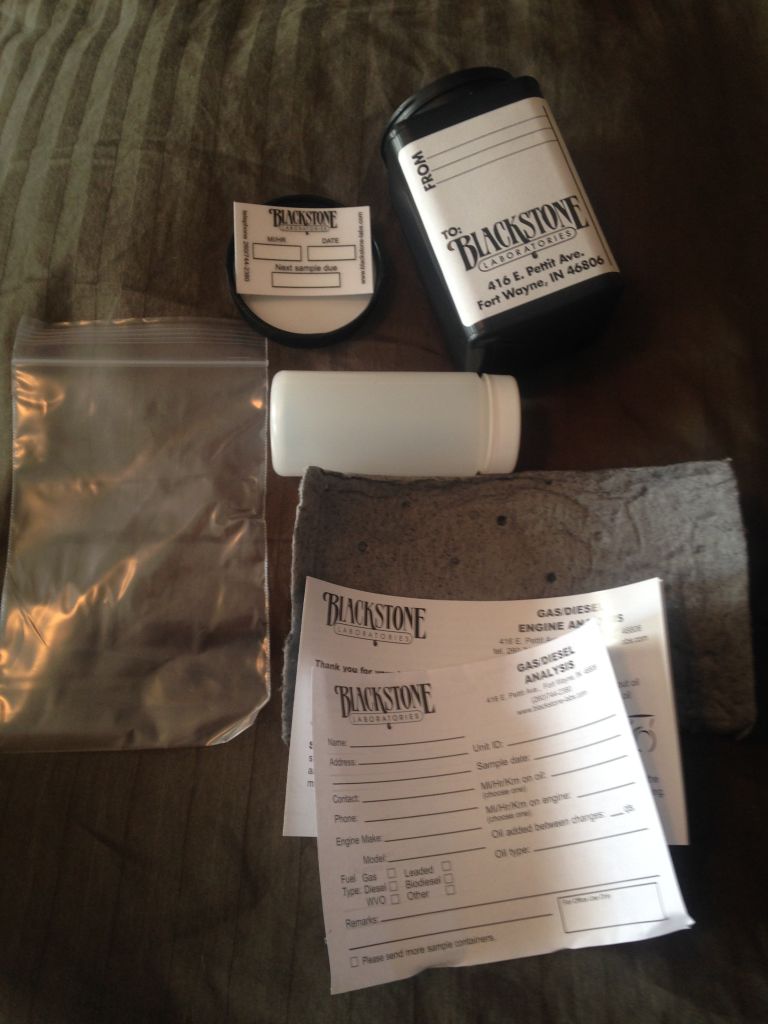
Opening it, I found the contents of the testing kit.

Contents of the oil testing kit: Outer bottle, inner oil sample bottle, ziploc for the inner bottle, absorbent cloth to wrap around inner bottle, report sheet, and window decal
It contained:
* The outer bottle,
* inner oil sample bottle,
* ziploc for the inner bottle,
* absorbent cloth to wrap around inner bottle,
* report sheet, and
* a window decal, to write down the mileage of your vehicle at this oil change.
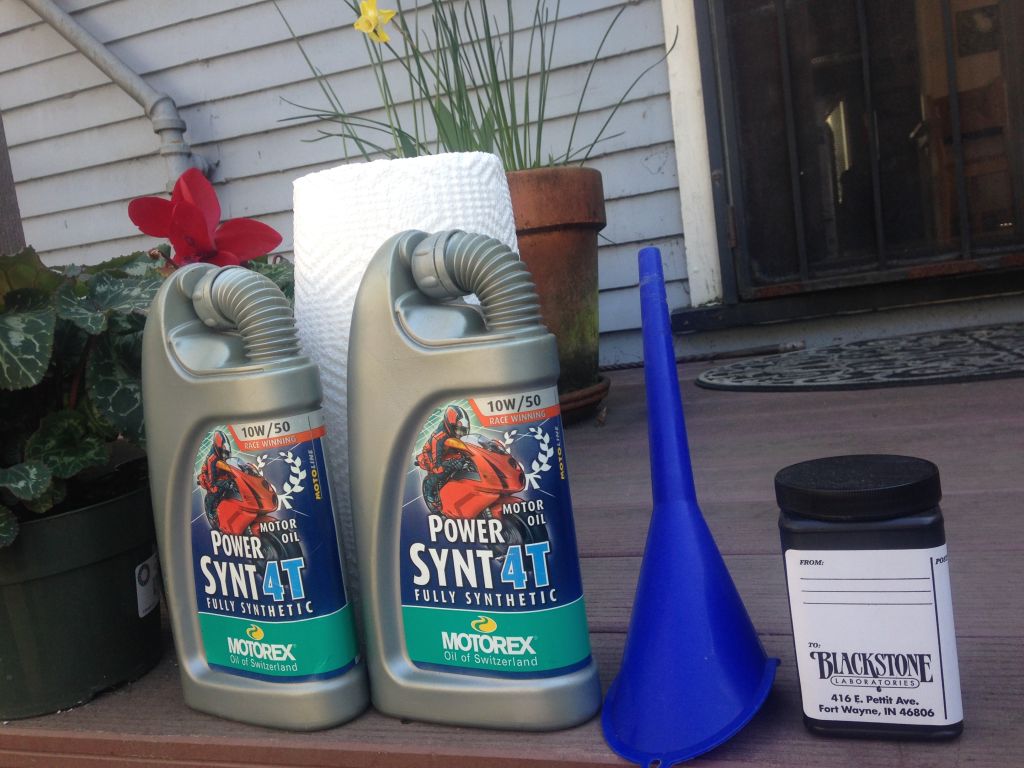
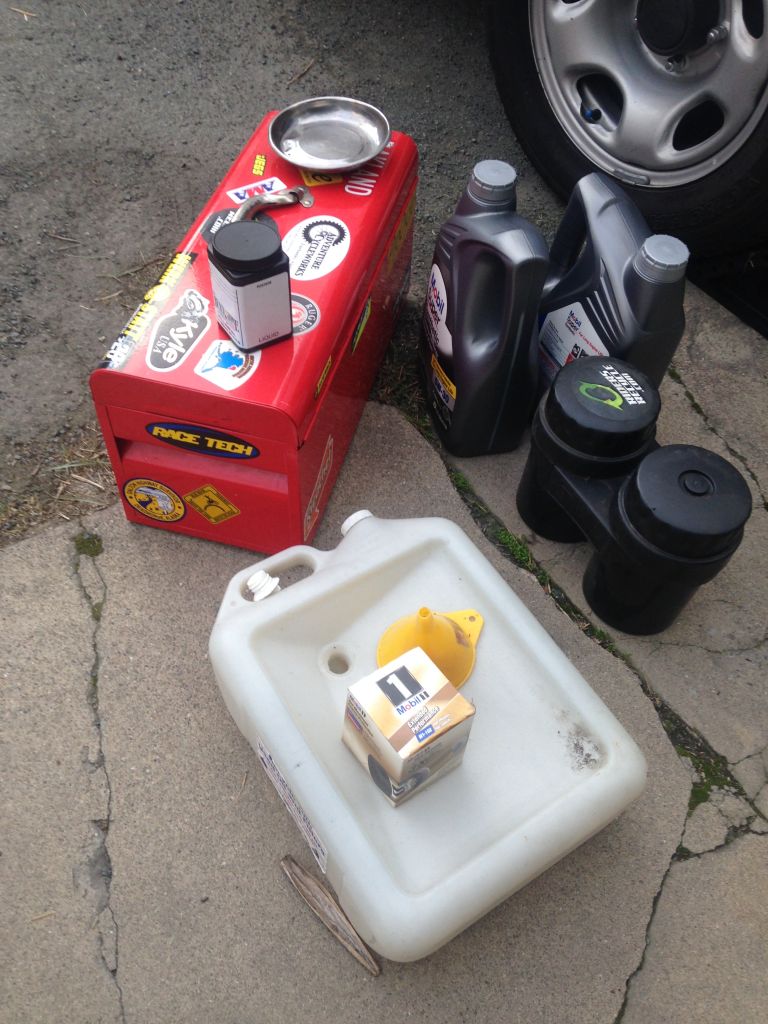
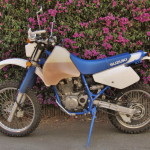
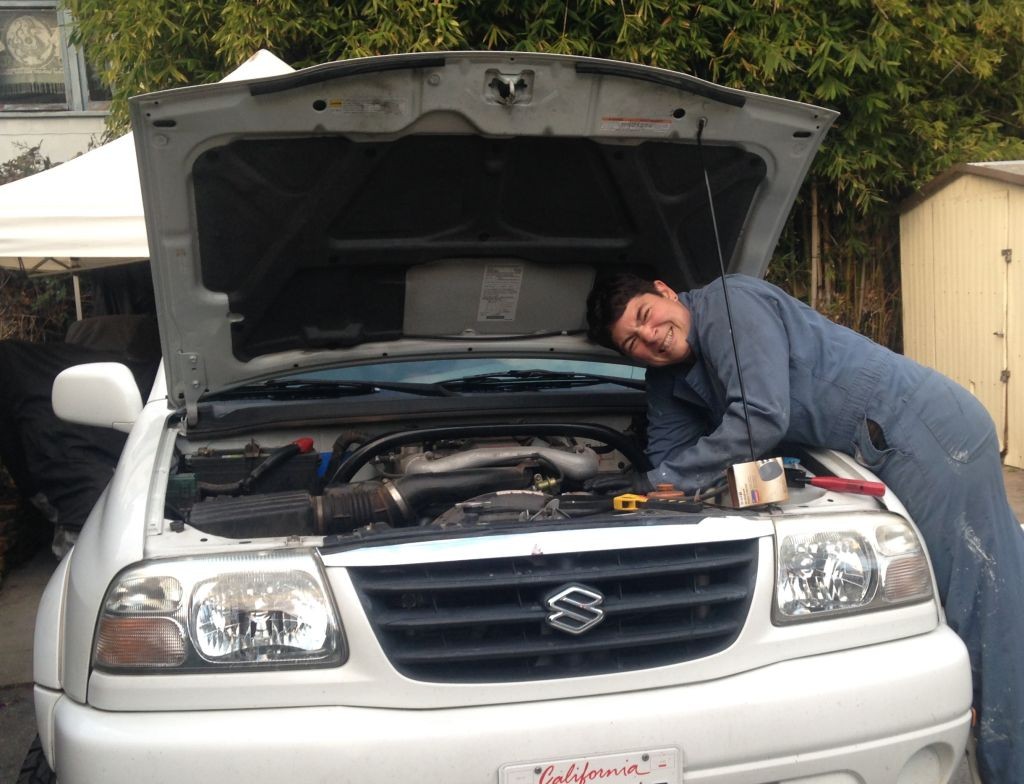
It turned out that I’d just changed my motorcycle’s oil, but my car (a 2001 Suzuki Grand Vitara) was due, so I decided to use it as a guinea pig. Besides, it was a chance to learn to change the oil and filter on this vehicle and get an oil sample, instead of giving in to the temptation of going to the local quicky-lube place. I picked up some Mobil 1 Full Synthetic, a new filter, a fresh crush washer for the drain bolt, my oil kit, and set to work. Blackstone Labs requests that the oil sample come from a completely warmed-up engine, so I made sure to do the oil change after I’d returned from a mid-length trip.
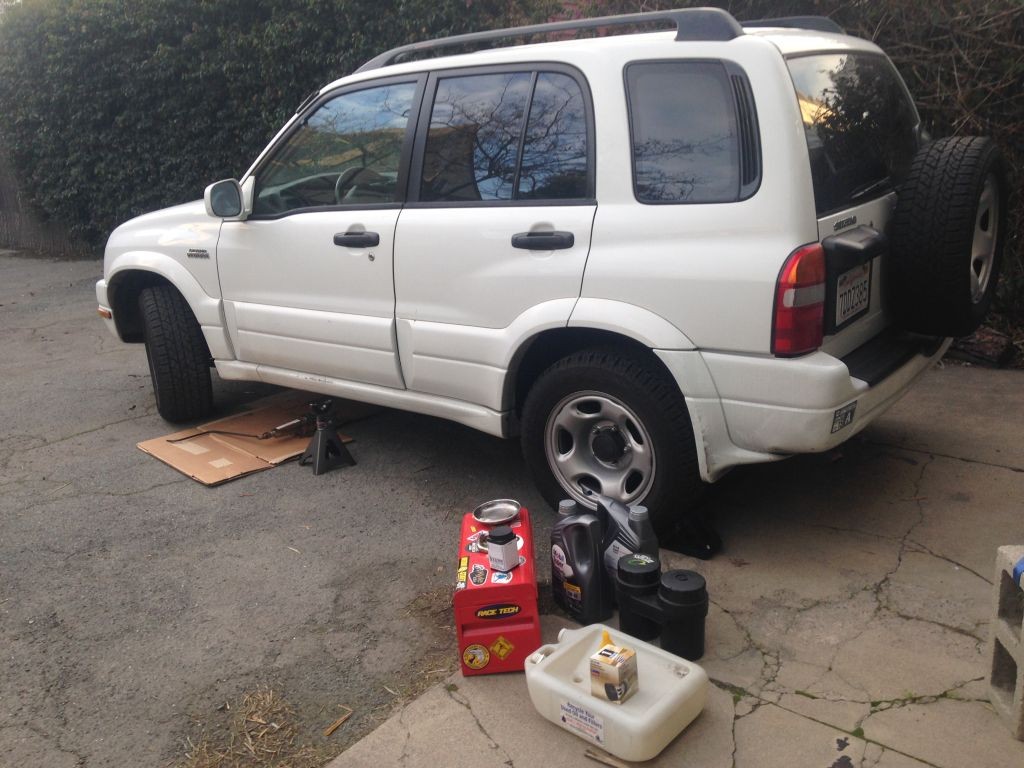
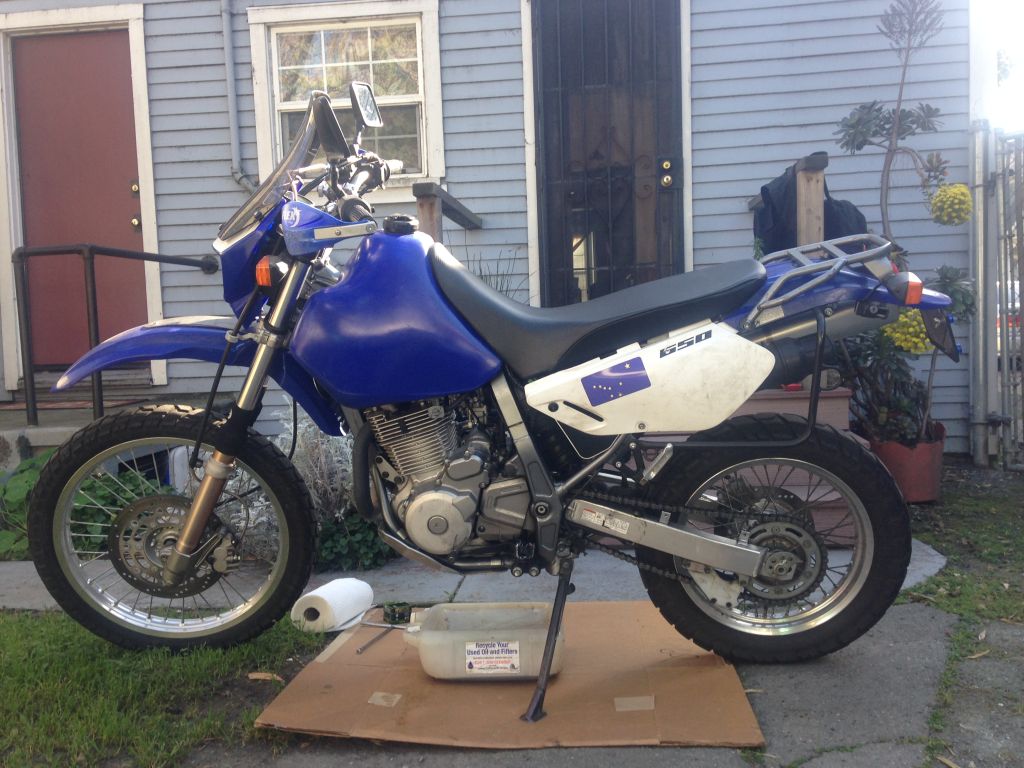
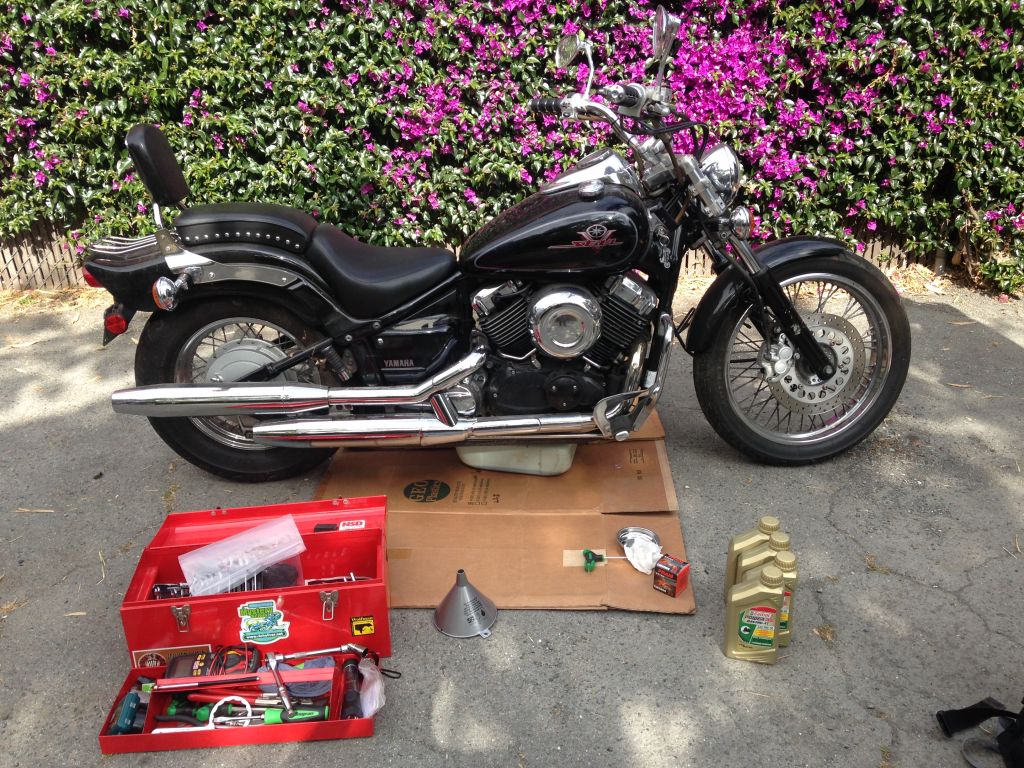
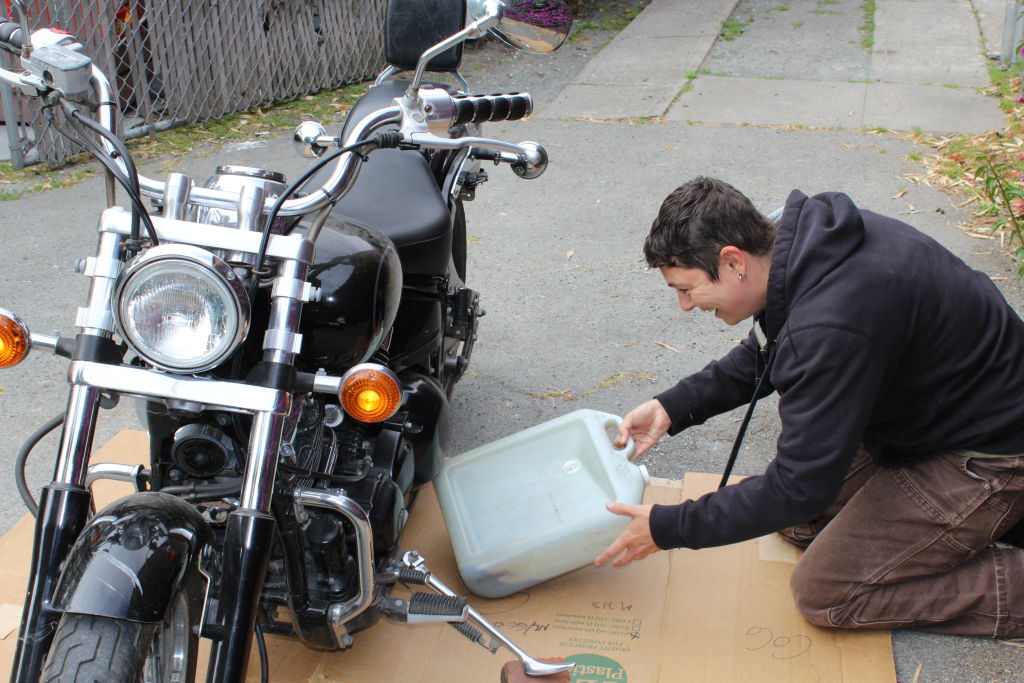
Suzuki Grand Vitara, set up for an oil change

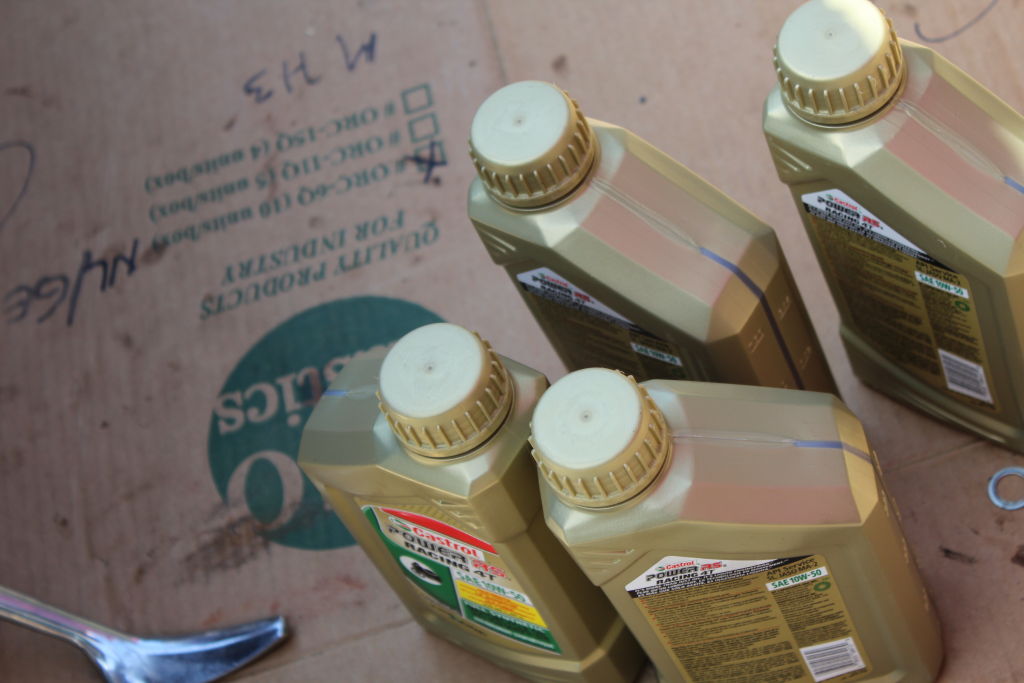
Oil change supplies
I chocked the rear wheels, placed my jack and elevated the front end of the SUV, and put the jackstands under the frame. I put down some cardboard to lie on, some more to catch any spills, and placed my oil drain pan to catch the flow.
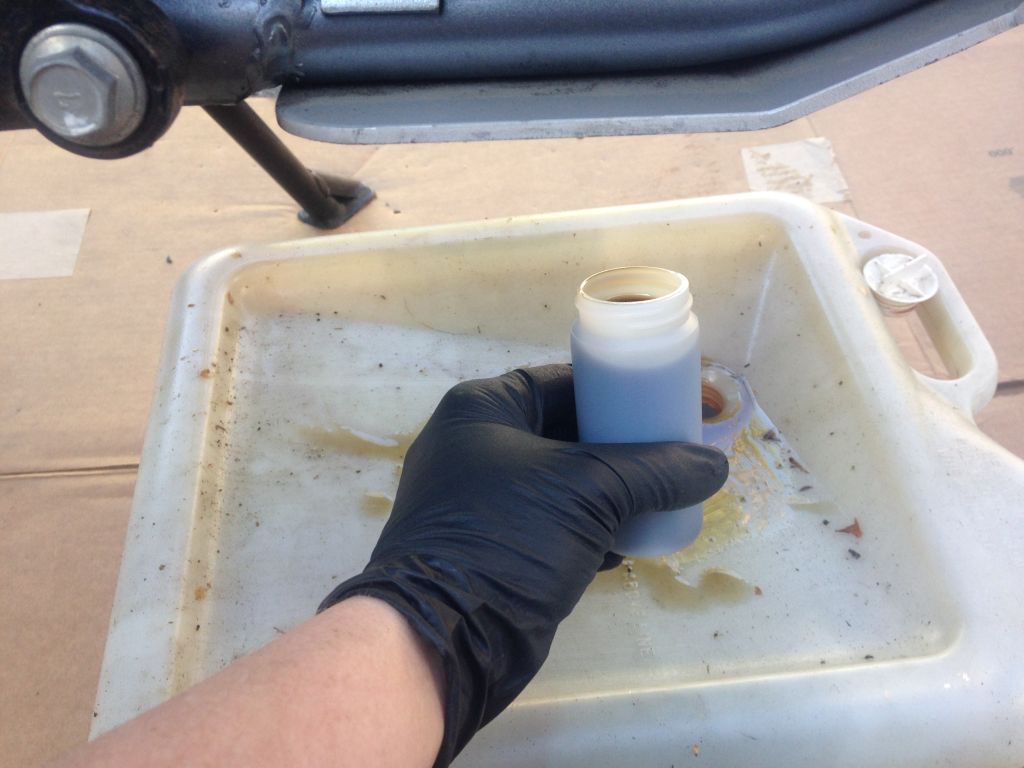
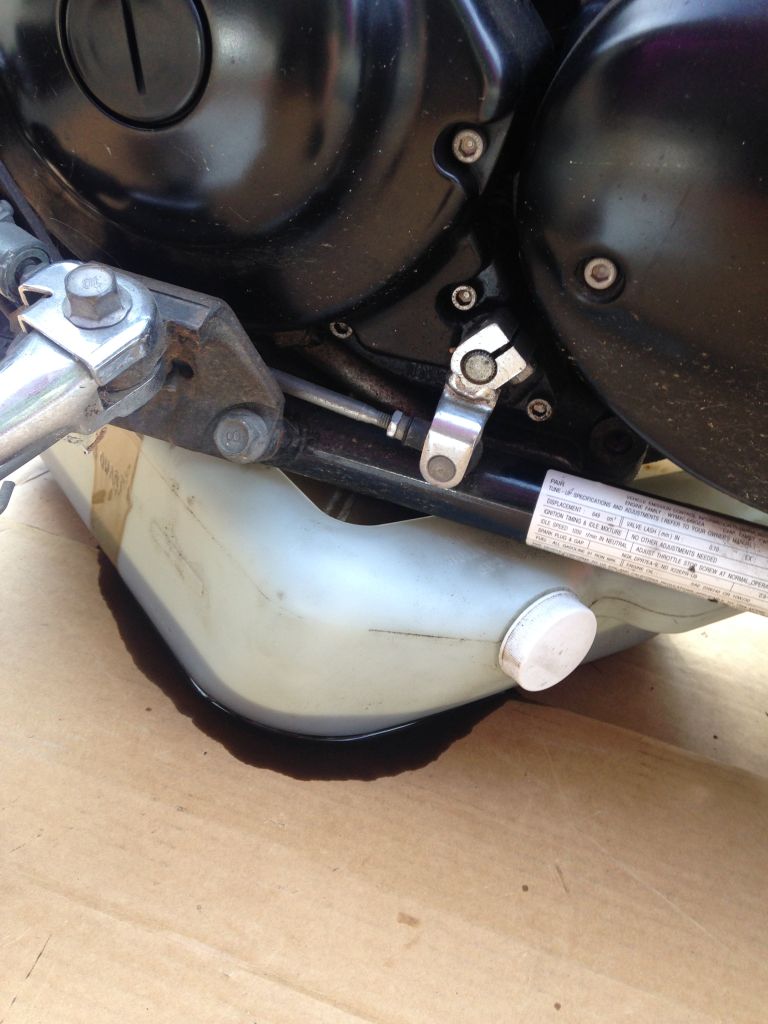
I got the oil-sample bottle ready. Blackstone suggests taking the oil sample from the middle of the oil flow once the drain bolt is removed, rather than the beginning or end. This gives the most accurate picture of the bulk of the oil circulating through the engine. When I got under the vehicle to loosen the drain bolt and drop the oil, I kept the sample bottle close to hand.

oil sample bottle
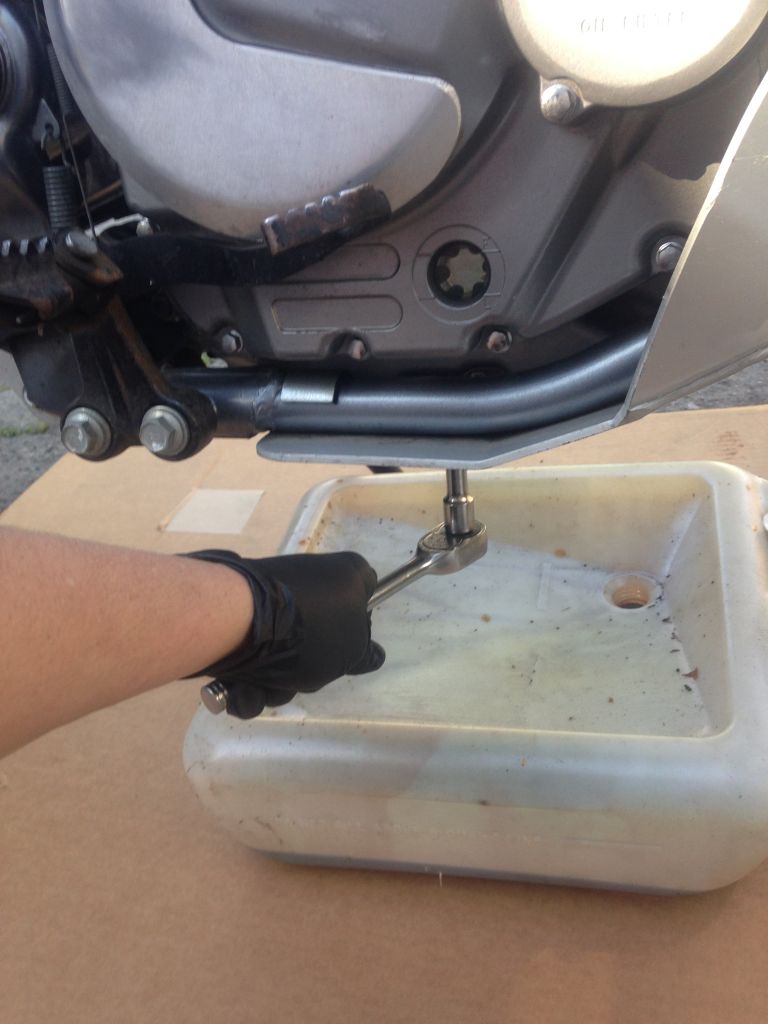
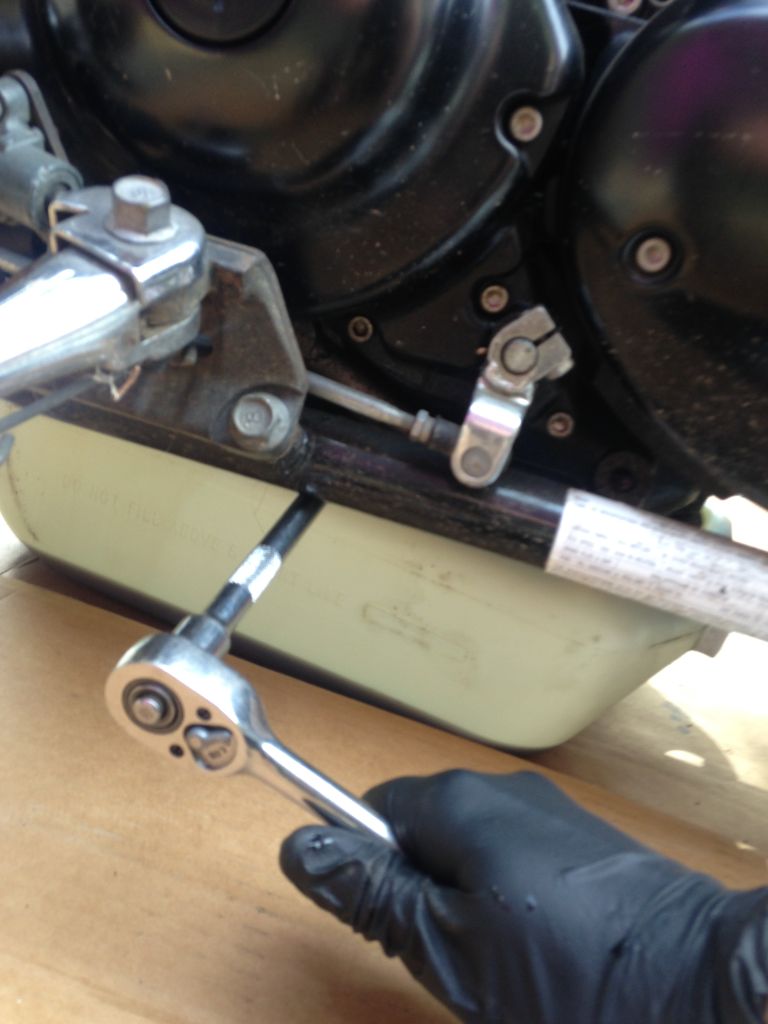
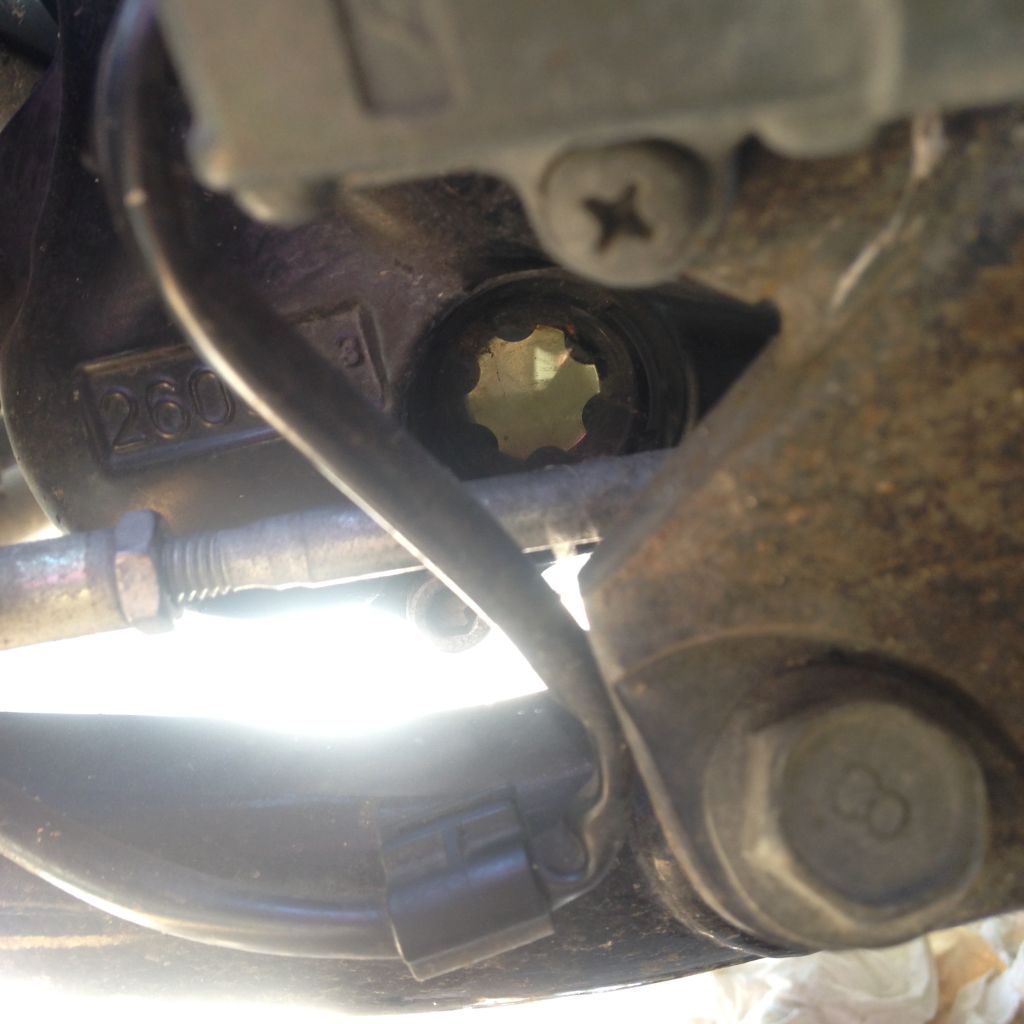
Crawling under the car with my socket wrench and oil sample bottle, I loosened the drain bolt.

Loosening the drain bolt
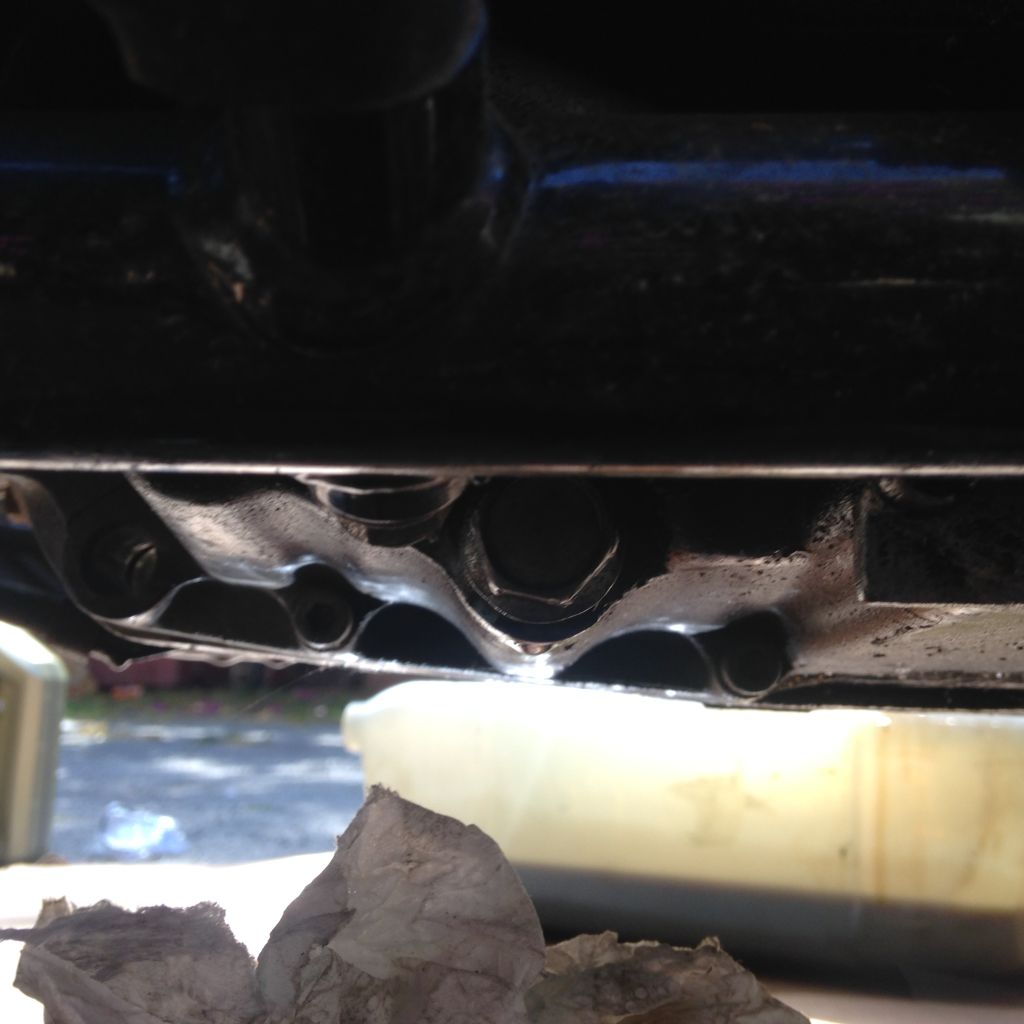
As I removed the oil drain bolt and the hot oil splashed out, I waited a couple of seconds, then held my sample bottle under the flow of oil–trying not to burn myself!
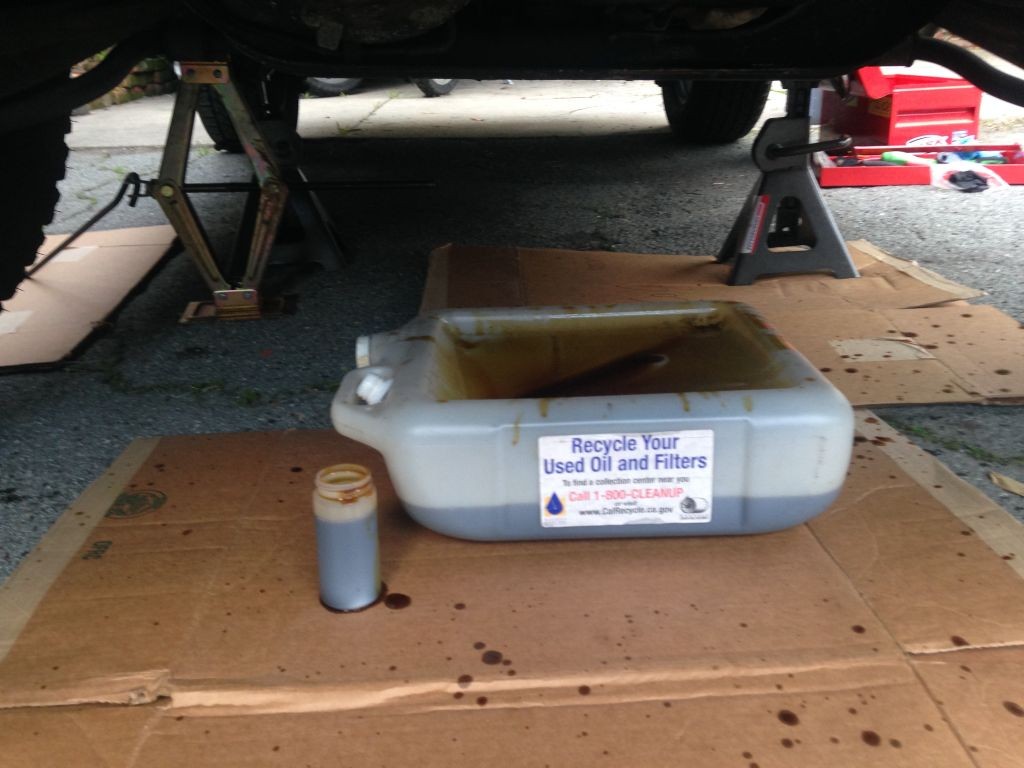
Drain pan and sample bottle full of used oil
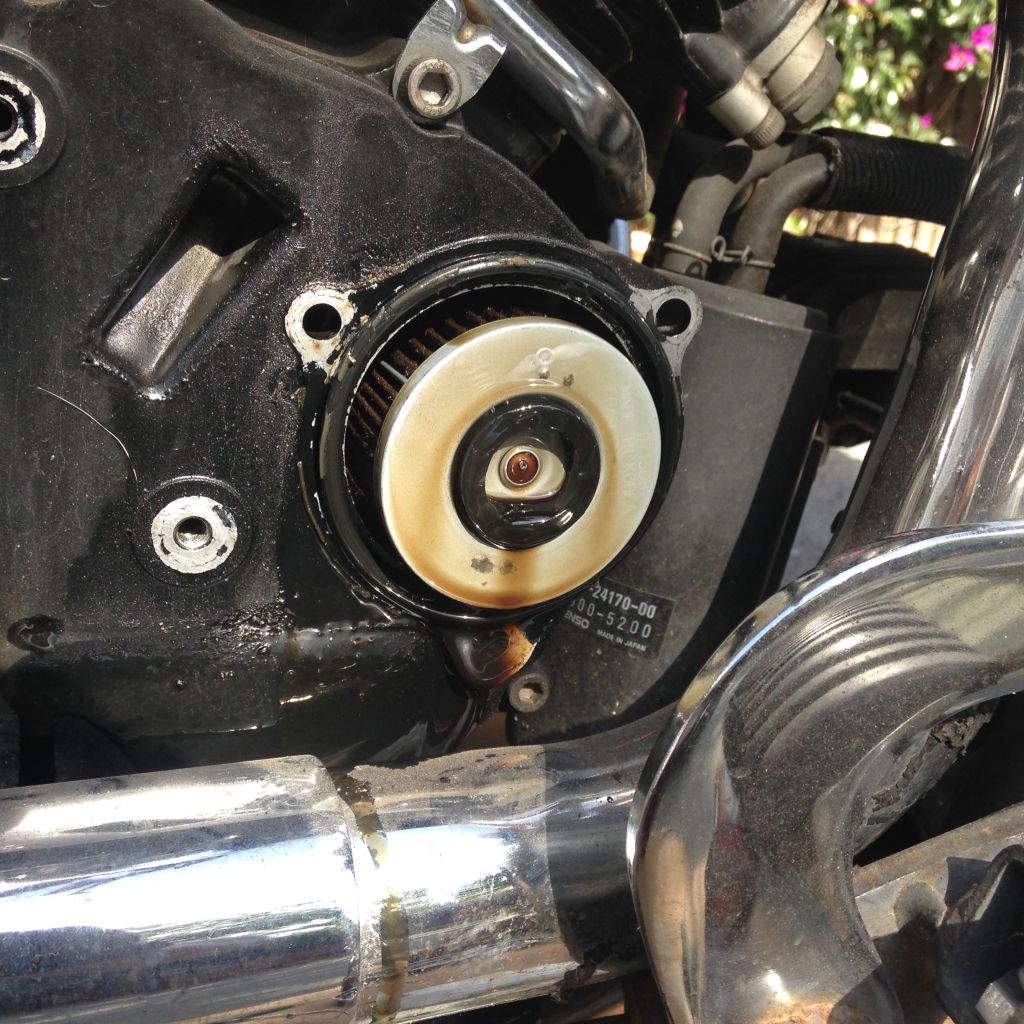
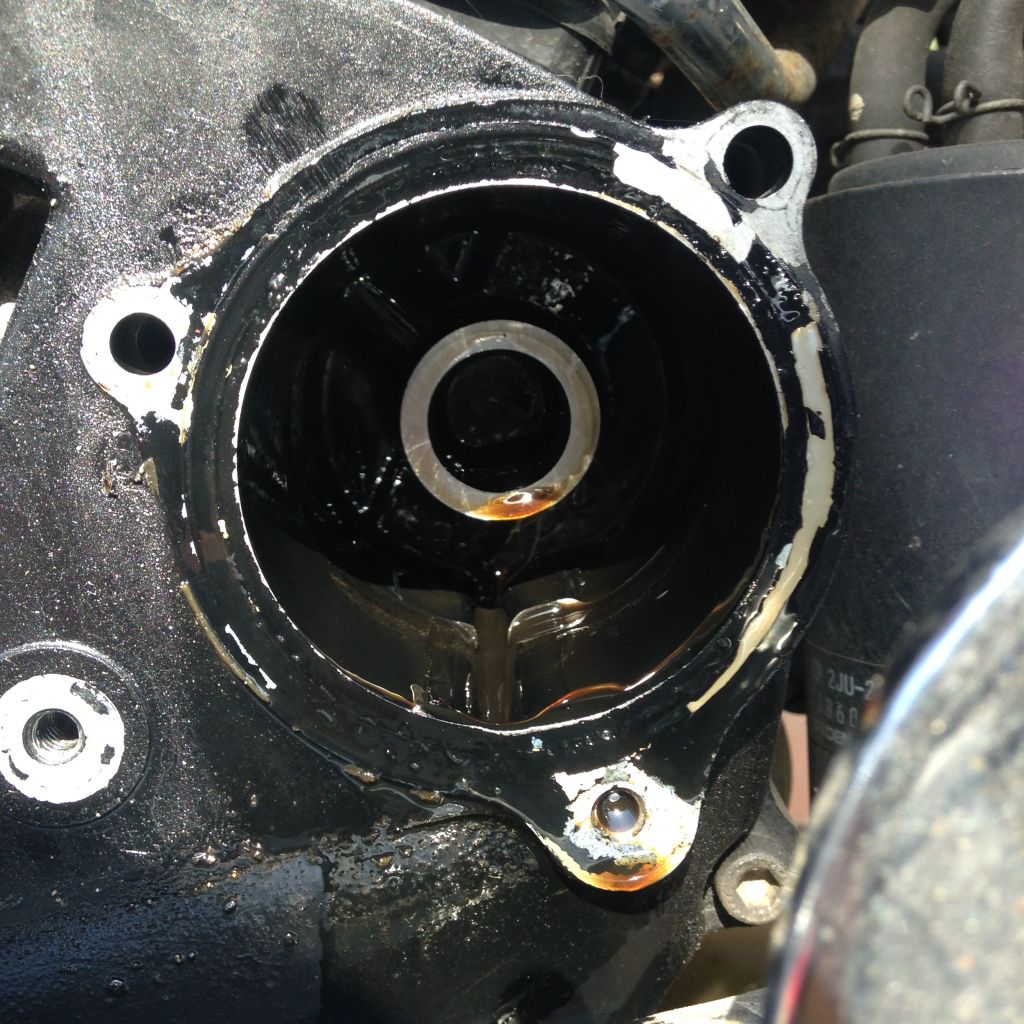
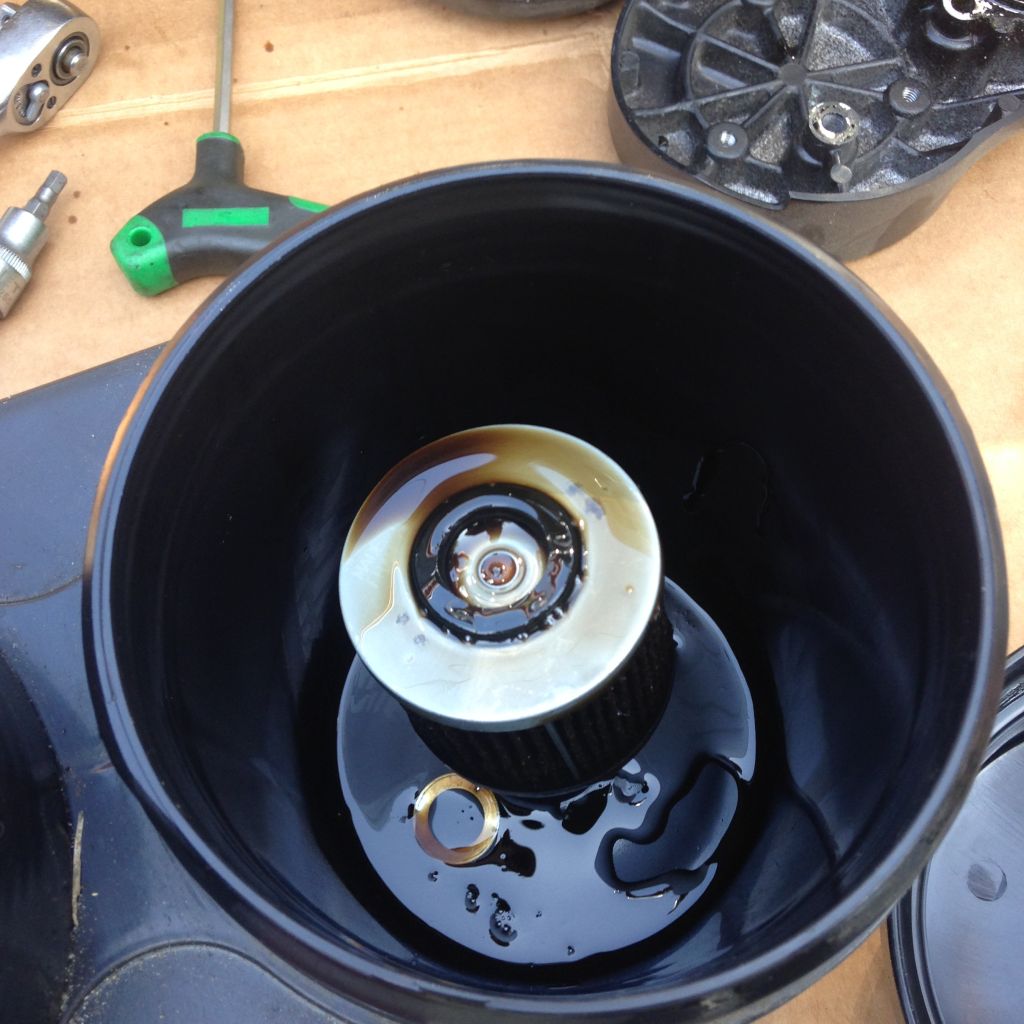
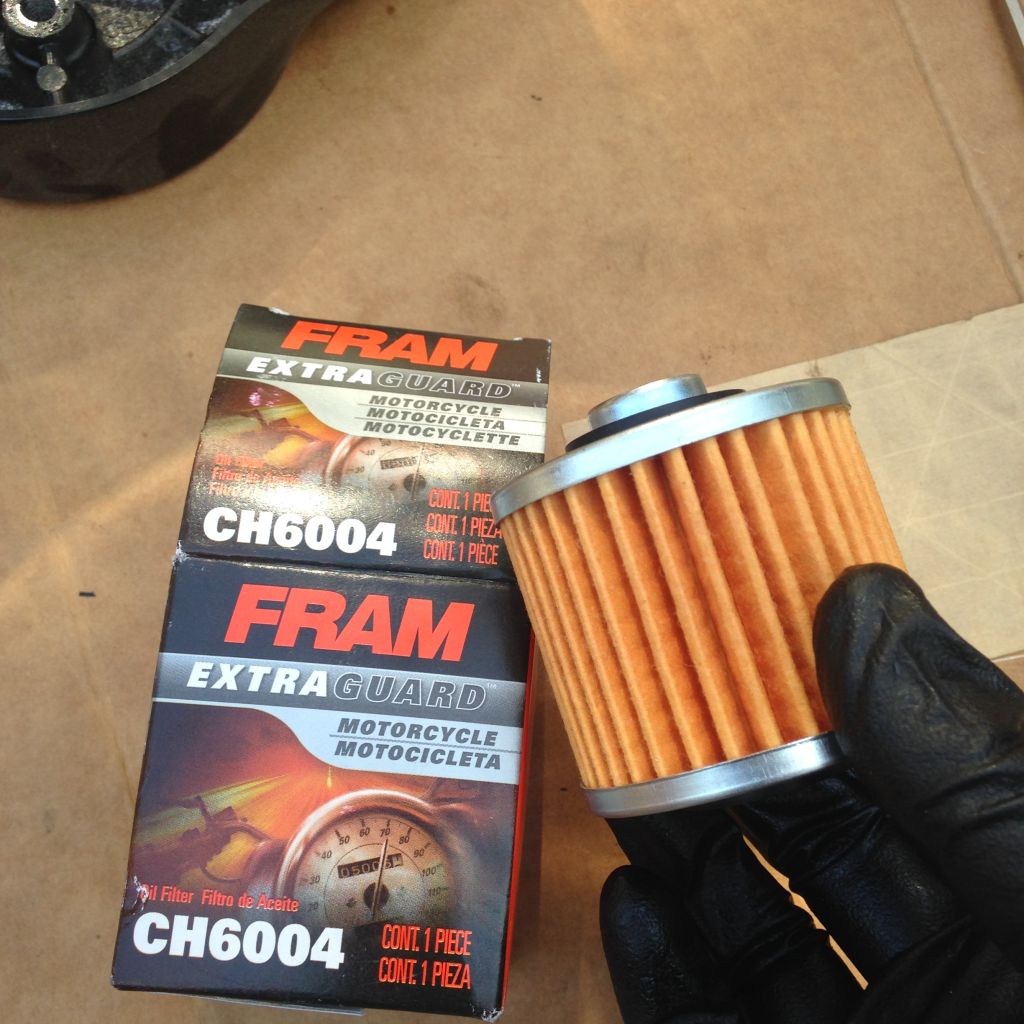
When my sample was secure and the oil drained, I removed the oil filter, then replaced it with a new one. In the 2001 Suzuki Grand Vitara, the filter is mounted on the side of the engine case, making filter removal and replacement an exercise in messiness and creative contortionism.
Replacing the oil filter
To check the recommended oil-change interval on your own car/truck, refer to your manual, or check out CalRecycle’s Check Your Number website. Sadly, no motorcycles, but it’s still a useful resource.
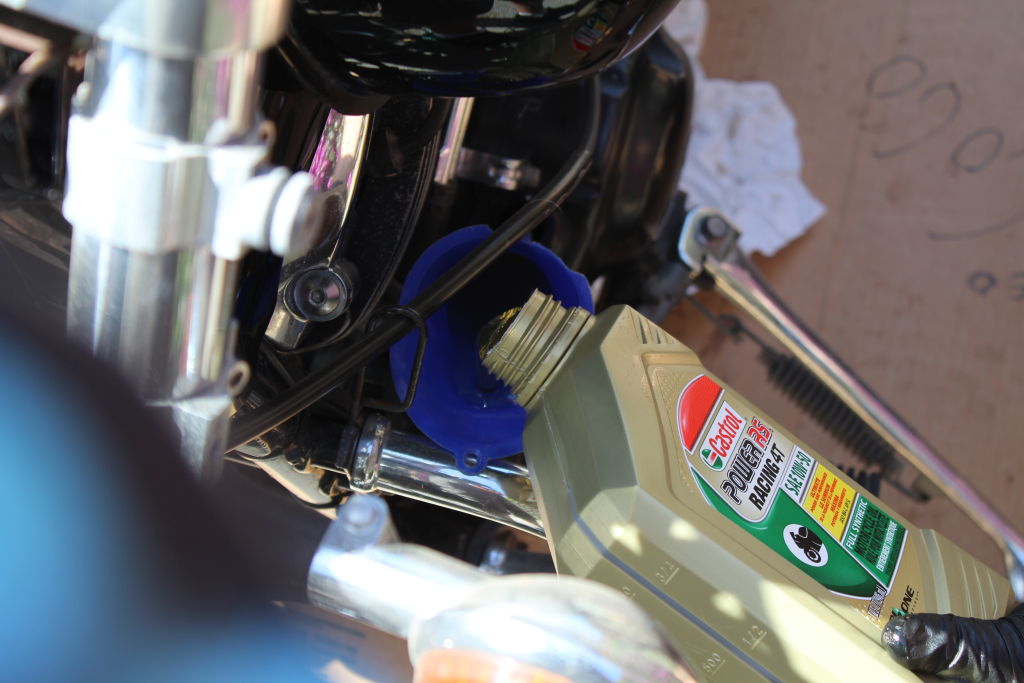
Once the filter was on, I put a fresh crush washer on the drain bolt, torqued it down, and added 5 quarts of oil (Mobil 1 full synthetic 5w30, to be exact). I started the car and ran it for a few minutes, then stopped it, waited 5 minutes, and topped off. I took a short spin and checked the oil level again–it was fine.
My filter went into my oil filter drainer, the oil drain pan I capped and wiped down, and took both into my local auto parts shop for recycling–of course! For where to recycle oil and filters in northern California, visit Riders Recycle. CalRecycle has a zip-code lookup tool for all CA oil/filter recycling locations.
With my oil sample captured, I wiped down the bottle and bagged it, wrote down the relevant information on the enclosed sheet, wrapped the whole bundle up in the absorbent mat, closed and taped the outer bottle, and dropped it off at the Post Office in a tyvek Priority Mail envelope.
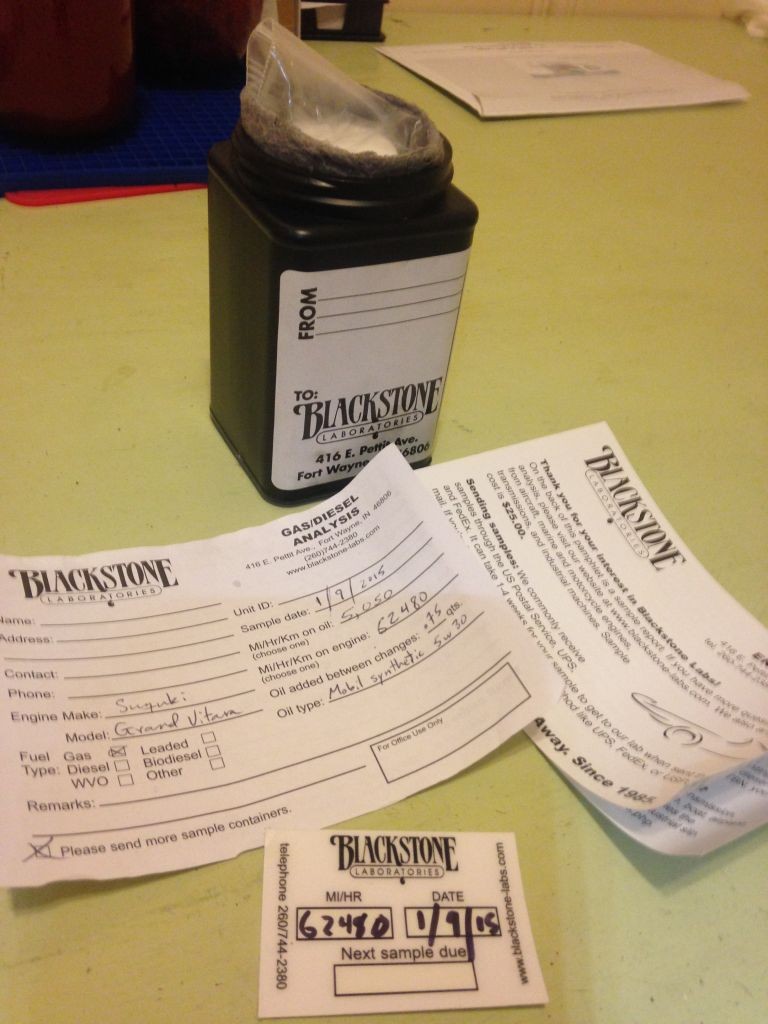
Oil sample, ready to package up and send in to the lab
After 10 days, I got the oil analysis report back, attached to an email! With a little excitement, I printed out the info sheet.
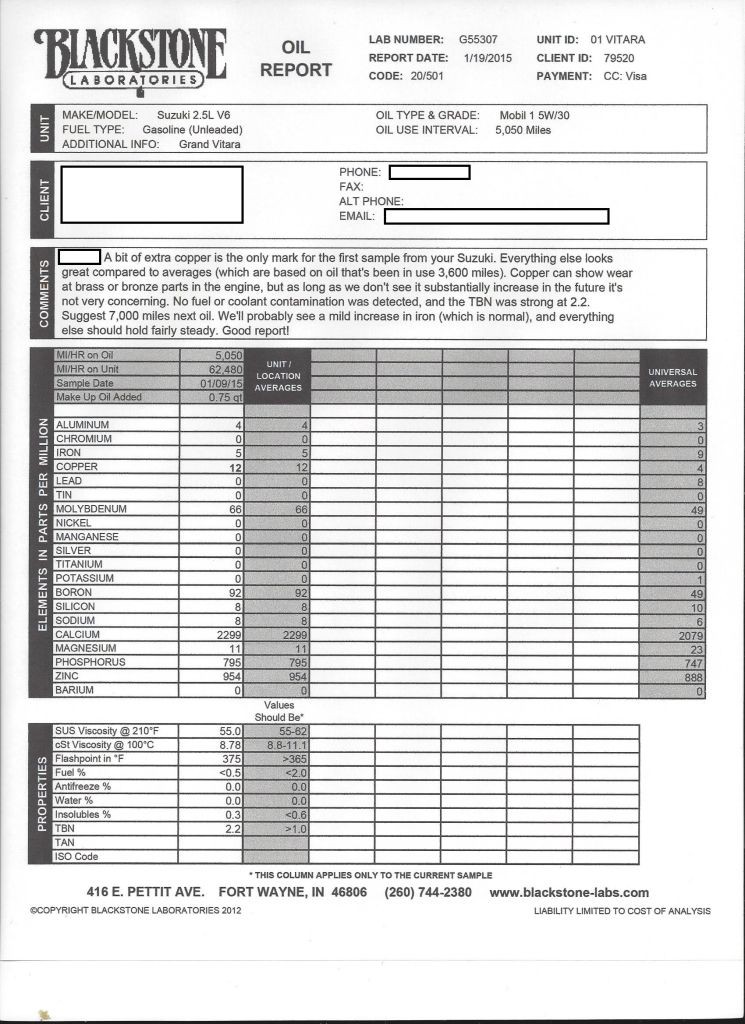
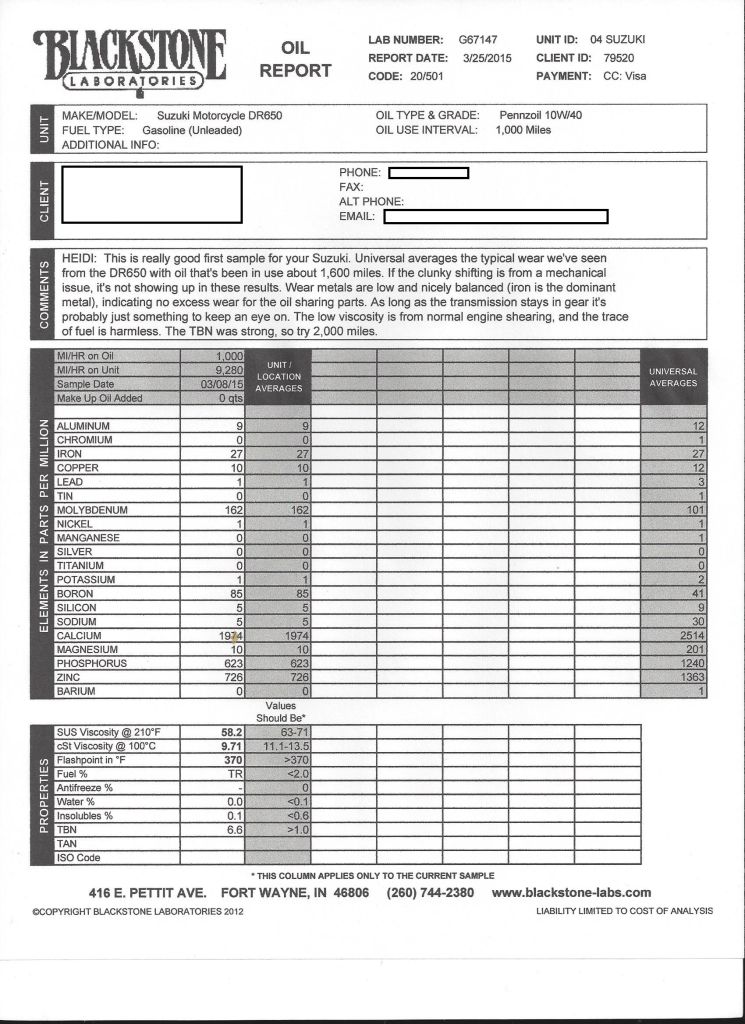
Oil Analysis report
Aside from the elevated copper levels (which are, I’m told, usually the result of an oxidizing oil cooler shedding copper, and not worrisome when other metals are not elevated), the results were darn good. Even with the analysis being based on oil that had gone 3,600 miles (I’d gone 5,000 miles between changes), the levels of metals and other contaminants in the oil were within expectations. The viscosity of the old oil held steady as well, ensuring that the internal engine parts would still have their necessary lubricant film. There were no traces of fuel or coolant in the sample. In the end, the lab recommended that I extend the Suzuki’s oil-change intervals to 7,000 miles. That saves a fair bit more oil from entering the waste stream, uses fewer filters, and, happily, saves me some effort and money, while not harming my engine. Just the result I’d been hoping for.
A number of companies offer oil analysis. I used Blackstone Laboratories, which has a good reputation and charges $25 per basic sample, and $10 extra for a TBN (total base number) test, which tests how many of the oil’s additives are still working in your sample. The TBN tells you whether you can extend oil change intervals, and recommends a particular mileage, and added to the standard test, comes out to $35 total. Since a synthetic oil and filter change costs $83 at my local oil changer, and I paid $41 for 5 quarts of synthetic oil and a filter, I saved $8, got a view into the working condition of my engine, and got scientifically-backed advice that will save me money and time in the future, and got a chance to to save resources and reduce pollution and oil use. Seems like a win all ’round.
When it comes to oil, as with anything else, reducing is even better than recycling.
Blackstone Labs
Oil Analyzers, Inc.