Get in Gear: Used Oil & Filter Recycling in San Francisco

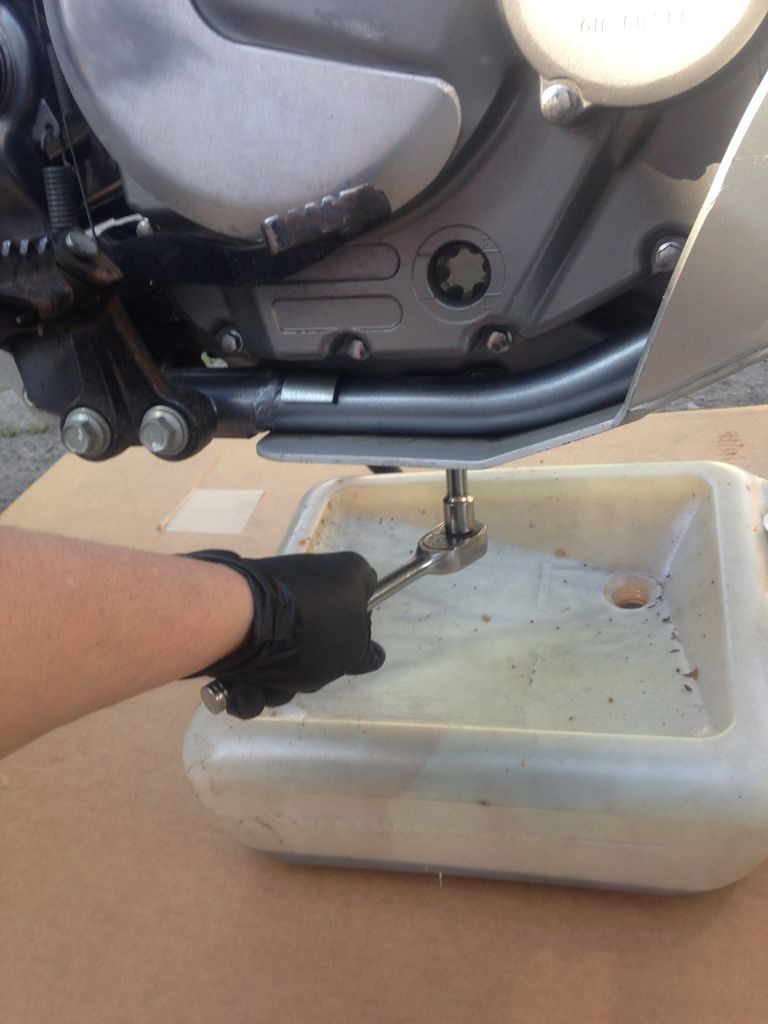
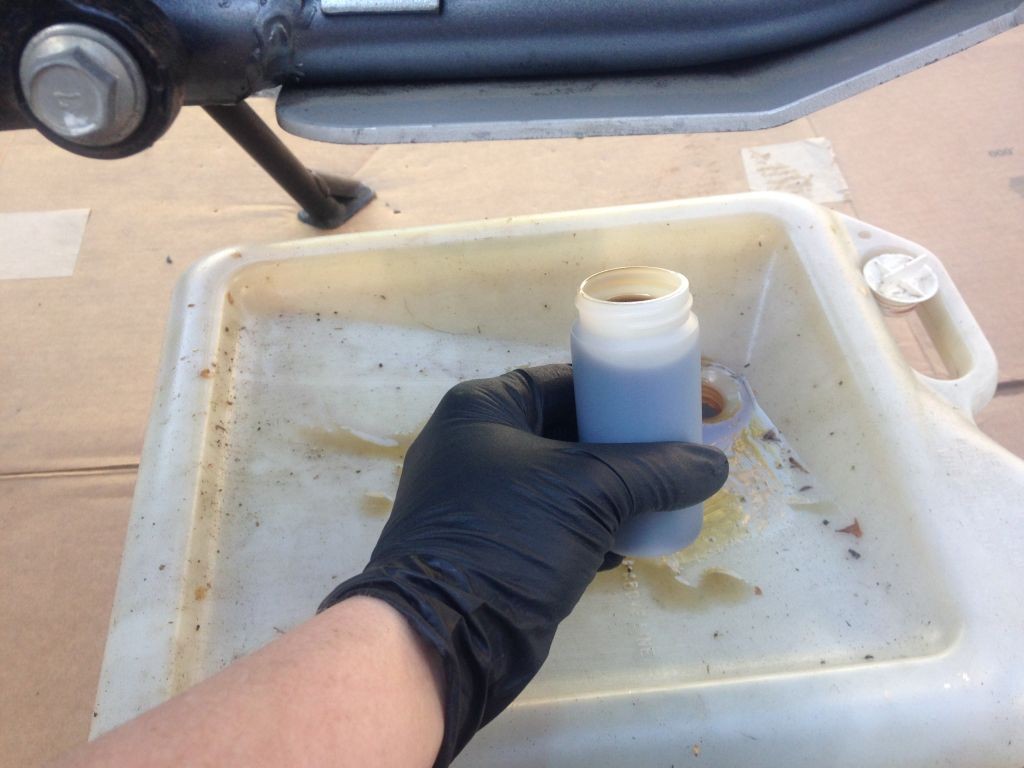
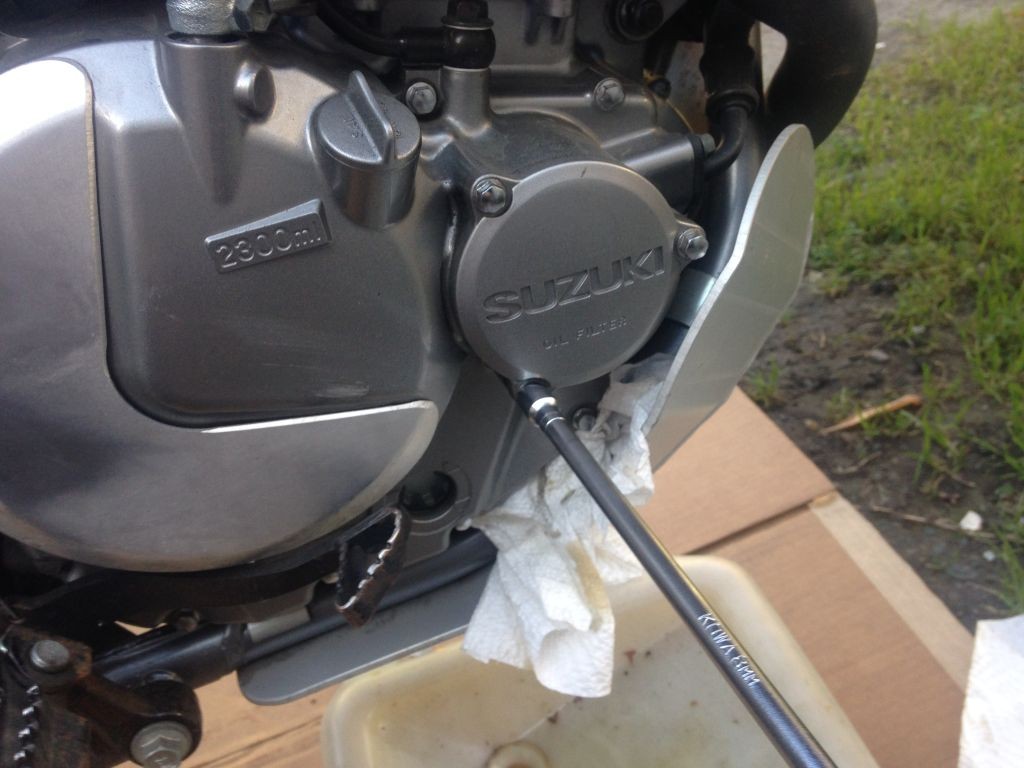
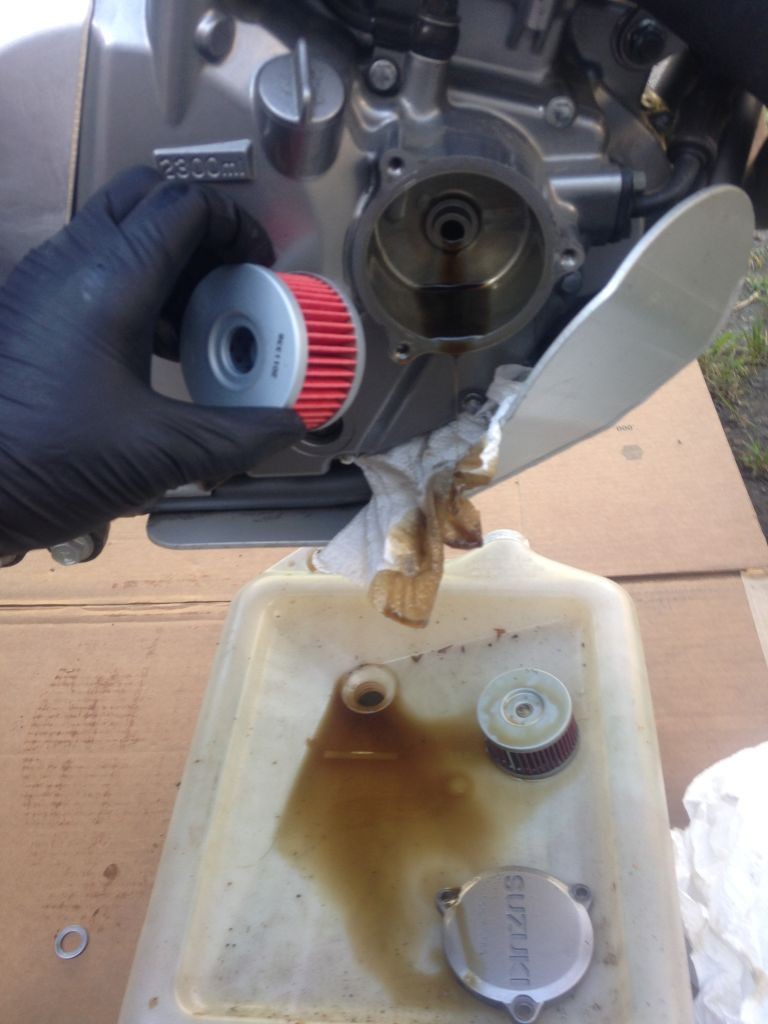
You’re almost done with the oil and filter change on your bike, but what do you do with your used oil and filter? Whether you’ve got a Yamaha V-Star 650 Cruiser, a Dry-Sump Suzuki DR350 Enduro, a BMW R1150RT or any other ride, the job isn’t done until you’ve recycled your used oil AND filter.

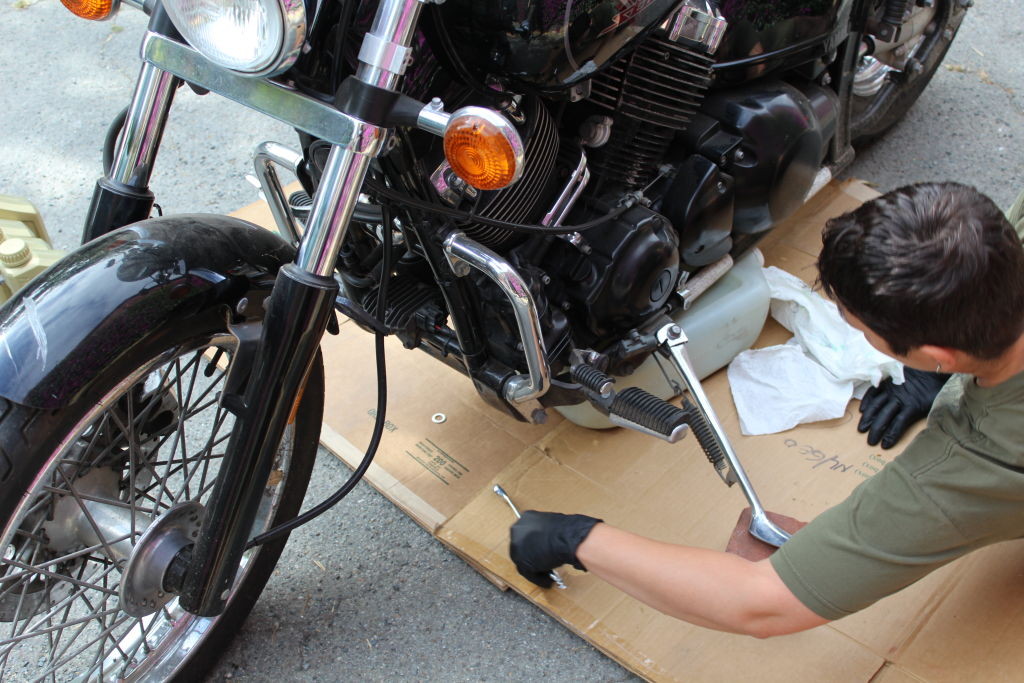
Oil and filter change class at Moto Guild in San Francisco.

Where to recycle your used oil and filter depends on where you live. We’re focusing on San Francisco for this post, but the options are similar no matter where you live in California (find details for your city or county here).

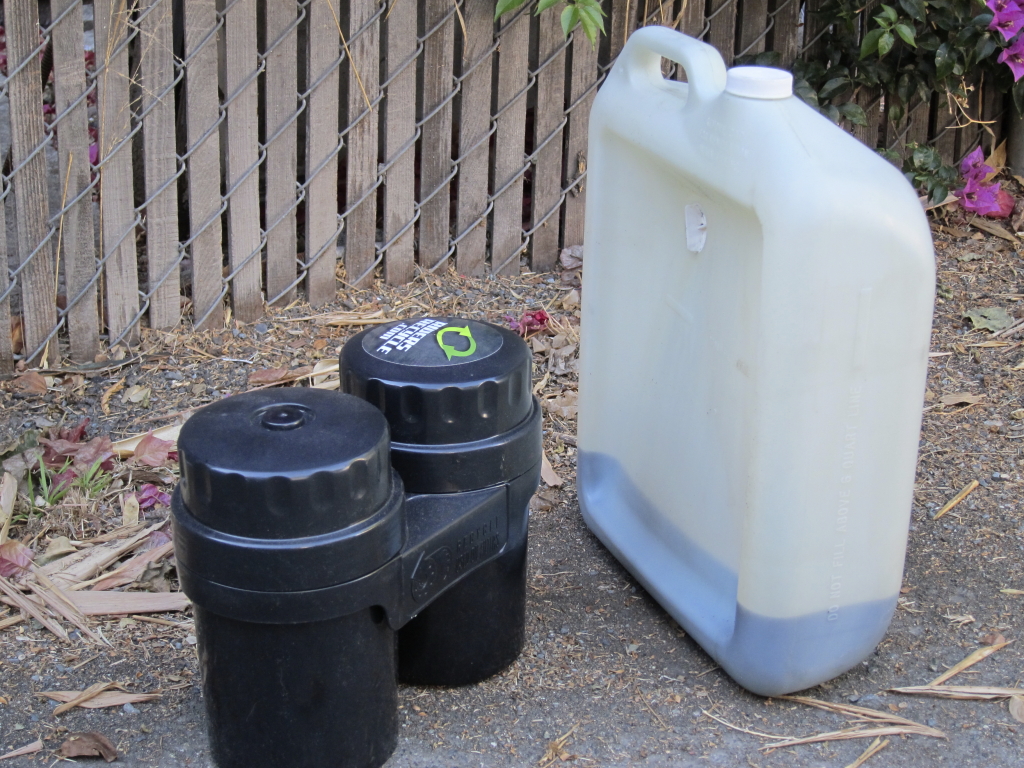
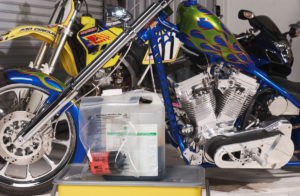
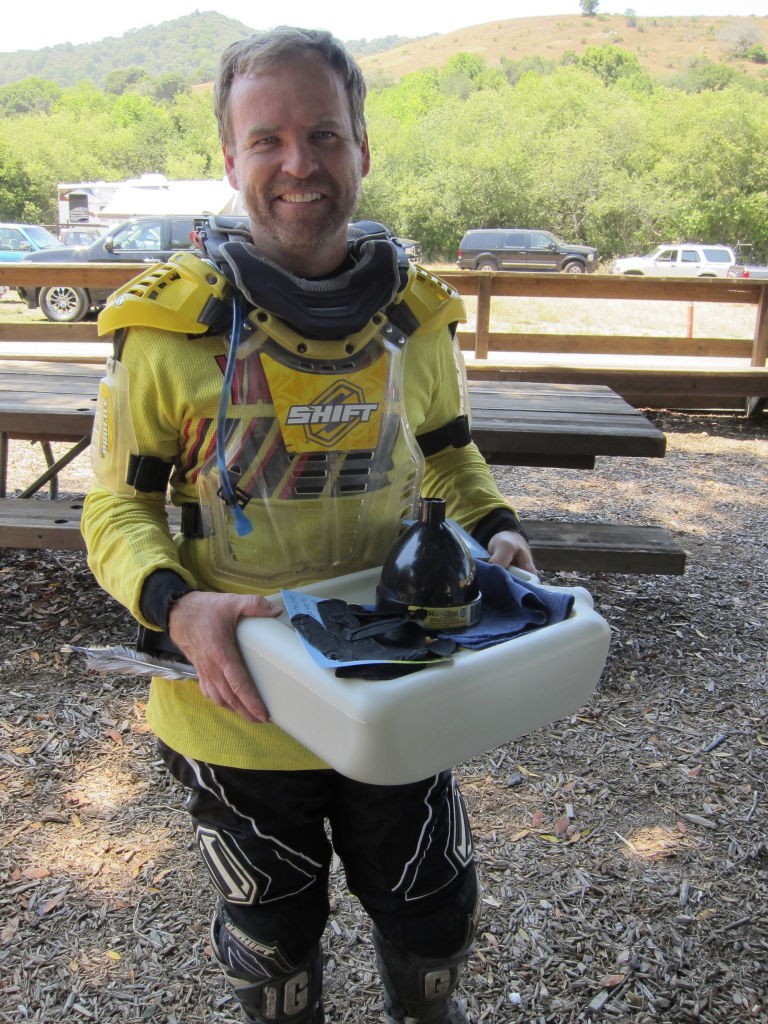
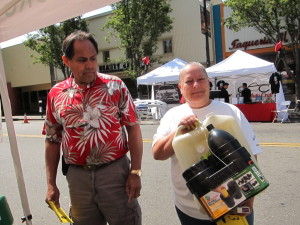
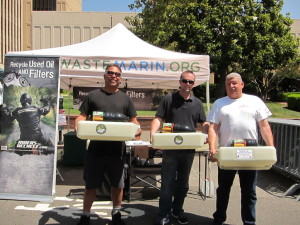
Pick up free oil and oil filter drain containers like the ones above at a Riders Recycle event near you.

Get in gear.
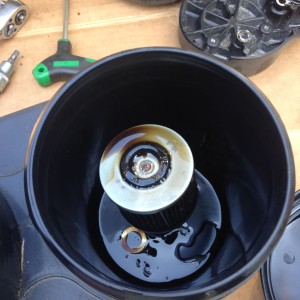
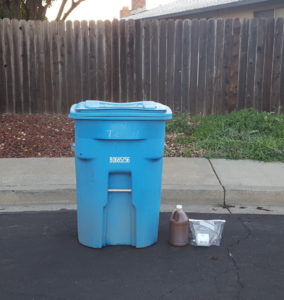
The first step is prep. Fully drain the oil AND filter – ideally overnight to catch all the oil. Residents can pick up free oil and filter drainer containers like the ones in the picture above at upcoming Riders Recycle events in San Francisco. Use a funnel to pour all the oil into a clean, sturdy, leak-proof plastic container with a screw-on cap. Place the empty oil filter in a sealed plastic bag. Be sure to keep the oil clean – don’t mix it with any other substances so that it can be recycled again and again. If it does get contaminated, you’ll need to take it to your local Household Hazardous Waste (HHW) Collection Facility (read more below).

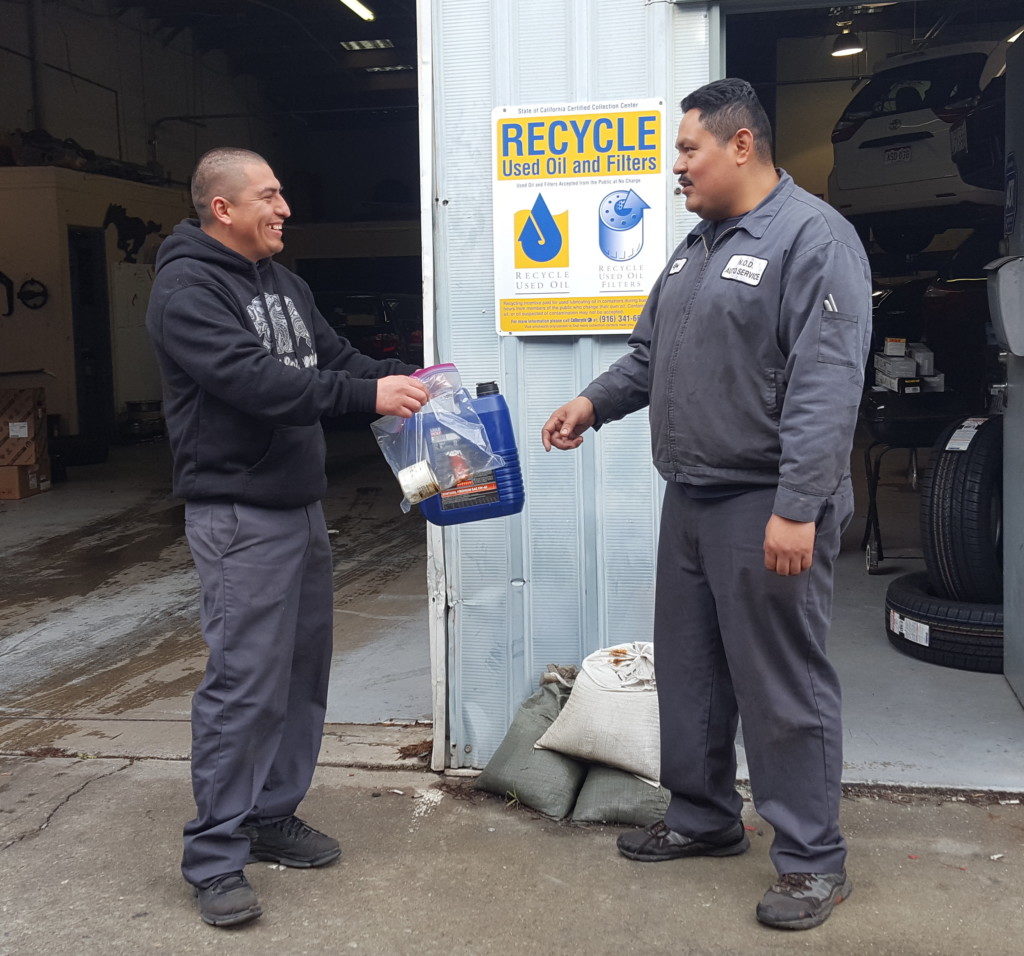
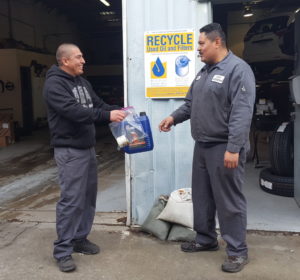
Local resident drops off used oil and filter at a collection center.

Take it on the road.
San Francisco has more than 20 drop-off locations where residents can take their used motor oil and filters for free, including auto parts stores, repair shops and recycling yards. San Francisco Environment created a map of all the used motor oil and filter recycling collection centers, so you can easily find the closest center to drop-off your used oil and filters. Be sure to call ahead to verify hours and limitations, and make sure to give materials to a staff member. 

Mixed up?
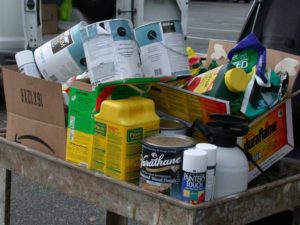
Not sure if your oil is mixed with other materials? If you have mixed materials, more than five gallons of used motor oil, or other hazardous waste such as batteries, paint and brake fluid, you can schedule a free pick-up by calling (415) 330-1405. Visit the San Francisco Recology HHW website for more details.

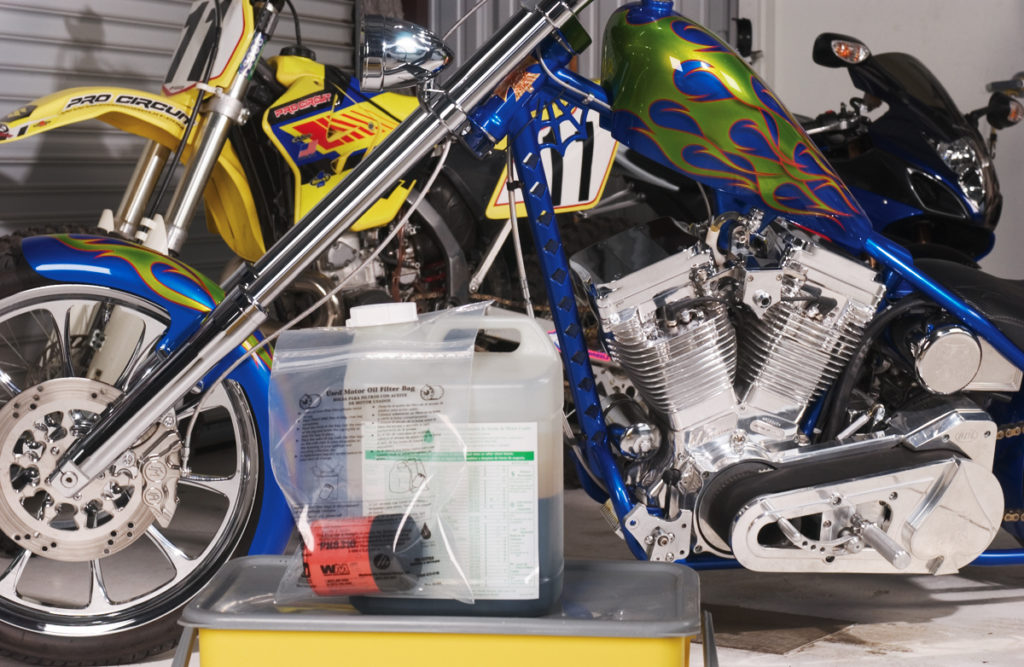
Used oil and filter sealed and ready for recycling.

For more useful info on motorcycles, DIY oil changing, and to pick up free oil and filter recycling gear – check out our other Riders Recycle blog posts and upcoming events!

Seal It Up & Drop It Off: Recycling Used Oil & Filters in Sacramento

Change your own oil and filters? Whether you’ve got a Yamaha V-Star 650 Cruiser, a Dry-Sump Suzuki DR350 Enduro, a BMW R1150RT or any other ride, the job isn’t done until you’ve recycled your used oil AND filter. Both the oil and the steel in oil filters can be cleaned and used over and over again if they’re recycled. Though we’re focusing on the City of Sacramento for this post, the options are similar no matter where you live in California (find details for your city or county here).

Get in gear.
The first step is prep. Fully drain the used oil AND filter – ideally overnight to catch all the oil. Residents can pick up free, reusable oil and filter drainer containers like the ones in the picture below at upcoming Riders Recycle events in Sacramento. Use a funnel to pour all the oil into a clean, sturdy, leak-proof plastic container with a screw-on cap. Place the empty oil filter in a sealed plastic bag. Be sure to keep the oil clean – don’t mix it with any other materials so that it can be recycled again and again. If it does get contaminated, you’ll need to take it to your local Household Hazardous Waste (HHW) Facility (read more below).

Take it on the road.
Sacramento has 50 Certified Collection Centers (CCCs) where residents can take their used motor oil and filters for free (and some will even pay you 40¢ a gallon), including auto parts stores, repair shops and recycling yards. Most centers will take up to 5 gallons of used oil at a time. Always call ahead to verify hours and limitations, and make sure to give your sealed used oil and filters to a staff member. 

Park it at the curb.
City of Sacramento residents can conveniently recycle used motor oil and filters at the curb with an appointment. Call Customer Service at 311 or (916) 264-5011 to schedule your appointment up to 48 hours before the next regularly scheduled recycling day. A maximum of two (2) gallons of used oil are accepted per appointment. Pour used oil in a clean, clear one-gallon plastic jug (like a milk or water jug) and secure the cap with tape. Put your drained oil filter in a sealed, leak-proof bag with the holes up. Place sealed containers at the end of your driveway by 6:00am for pickup on your appointment day.

Mixed up?
If your used motor oil is mixed with other materials, you have more than five gallons of used motor oil, or you have other hazardous waste such as batteries and brake fluid, you can take it to the Household Hazardous Waste Facility located at the Sacramento Recycling and Transfer Station (8491 Fruitridge Rd). Open Tuesday through Saturday, 8am to 5pm, the Sacramento HHW Facility also has a Reuse Store with free paints, cleaners and other household products available to the public!

For more useful info on motorcycles, DIY oil changing, and to pick up free oil and filter recycling gear – check out our other Riders Recycle blog posts and upcoming events!

Finish the Job Right: Oil & Filter Recycling in San Mateo County

You’ve finished the dirty work and now your bike has fresh oil and a shiny new filter, but what do you do with your used oil and filter?

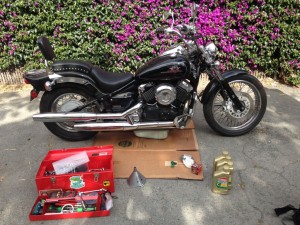
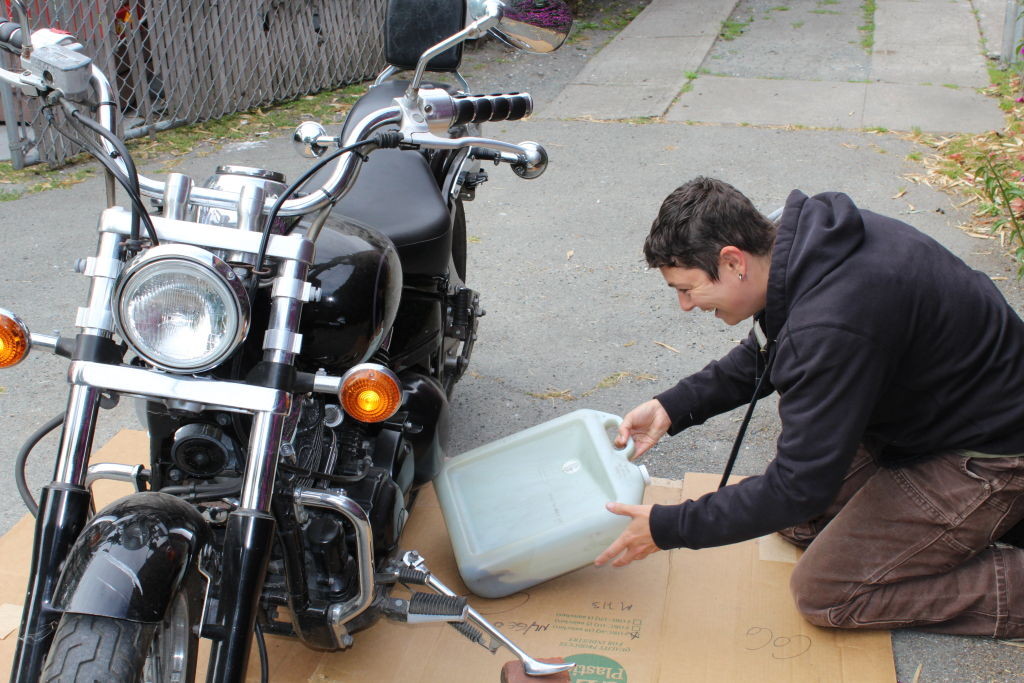
Yamaha V-Star 650 Cruiser, ready for her oil change, tools and supplies at hand.

Our team has shown the step-by-step of oil and filter changes on several popular blog posts over the years – a Yamaha V-Star 650 Cruiser, a Dry-Sump Suzuki DR350 Enduro, and a BMW R1150RT. Just like the oil and filter change, exactly how and where to recycle the used oil and filter depends on where you live. For this post, we’re focusing on San Mateo County, but the options are similar no matter where you live in California (find details for your city or county here).

Used oil filter drains overnight – pick up a free drainer container at a Riders Recycle event near you.

Get in gear.
The first step is prep. Fully drain the oil AND filter – ideally overnight to catch all the oil. If you’ve been stockpiling oil filters, be sure they’re fully drained. Residents can pick up free oil and filter drainer containers like the one in the picture above at upcoming Riders Recycle events in San Mateo County. Use a funnel to pour all the oil into a clean, sturdy, leak-proof plastic container with a screw-on cap. Place the oil filter in a clean, sealed plastic bag. Depending on where you live, you might be able to get free jugs and filter bags delivered directly to your door (find your city below for details). Be sure to keep the oil clean – don’t mix it with any other substances so that it can be recycled again and again. If it does get contaminated, make sure to take it to your local Household Hazardous (HHW) Facility (read more below). Once your oil and filter are secure, you can either take it on the road or park it at the curbside for recycling – keep reading to decide what’s best for you.

Local San Mateo County resident drops off used oil and filter at a local collection center.

Take it on the road.
San Mateo County has over 50 drop-off locations where any county resident can take their used motor oil and filters for free, including auto parts stores, repair shops and recycling yards. San Mateo County Environmental Health Services created a map of all the used motor oil and filter recycling collection centers, so you can easily find the closest center to drop-off your used oil and filters (see map below). Always call the drop-off location first to verify hours and limitations, and make sure to give materials to a staff member.

Park it at the curb.
If you live in a single-family home in one of the cities listed below, you have access to convenient curbside oil and filter recycling! Depending on where you live and your waste hauler, you might need to prep your oil and filter a little differently to guarantee it will get picked up. Find your city below for details on what’s accepted and how to prep.

Used motor oil and filter after an oil change, sealed and ready for recycling.

Atherton, Belmont, Burlingame, East Palo Alto, Foster City, Hillsborough, Menlo Park, Redwood City, San Carlos, and San Mateo
According to Recology San Mateo County’s website, if you’re a single-family home resident, you can put used motor oil in a clear plastic container and filters in a zippered plastic bag next to your blue recycle cart for pickup on your regular collection day. You can request up to five one-gallon plastic jugs for your used motor oil and up to five zippered plastic bags for your used oil filters, at no cost. You can also use your own clear zip-top plastic bags and clear plastic screw-top containers for used motor oil, like a one-gallon milk jug. Make sure that lids and bags are tightly sealed.

Used motor oil and filter placed next to the recycling cart for curbside pickup.

Portola Valley and Woodside
GreenWaste provides free curbside recycling for used oil and filters, but you have to use their jugs and bags. To order the free jugs and bags, call customer service at 650.565.3900. When you’re done, place sealed jugs with oil and sealed bags with filters next to your recycling cart for collection.

Colma, Daly City, and Half Moon Bay
Republic Services Allied Waste takes up to two one-gallon, clear plastic jugs (with screw-top cap) of used motor oil and up to two one-gallon clear zip-top plastic bags with used oil filters curbside on your collection day. Place well-labeled motor oil and oil filters next to your blue recycling cart.

Brisbane, Millbrae, and South San Francisco
South San Francisco Scavenger will take up to five gallons of oil in sealed plastic bottles with screw-on lids, placed next to the recycling cart. Empty oil filters in a clear zipper-locked bag go inside the recycling cart on top of bottles and cans.

La Honda, Loma Mar, Pescadero and San Gregorio
Kunz Valley Trash & Recycling takes used motor oil in plastic jugs with screw-top lids and used filters inside secure zipper-locked plastic bags. Place both next to your recycling cart. Call 831.338.0500 before your scheduled pickup if you have more than the usual amount for a single auto or pick-up truck.

The San Mateo County Household Hazardous Waste Facility is open for free collection Thursday through Saturday – call 650.363.4718 to make an appointment.

Mixed up?
Not sure if your oil is mixed with other materials, or have other Household Hazardous Waste (HHW – such as paint, antifreeze, or insecticide) to get rid of as well? San Mateo County residents can drop up to ten gallons or fifty pounds of contaminated oil and other HHW off for free Thurs-Sat at the San Mateo County HHW Facility. Call 650.363.4718 and select option 3 or visit the San Mateo County Environmental Health Services HHW website to make an appointment at a drop-off location near you.

For more useful info on motorcycles, DIY oil changing, and oil and filter recycling – check out our other blog posts and the rest of the Riders Recycle site.

Oil Analysis–What Can It Reveal About A Bike?

In a post earlier this year, I changed my SUV’s oil and sent a sample in for oil analysis to Blackstone Labs. Encouraged by the results (hearing that, based on oil condition, I could extend the car’s oil-change intervals was a big plus) and curious to see how my motorcycle’s oil would stack up, I got another Blackstone oil test kit.

My Suzuki DR650 is a simple, refreshingly primitive machine, but it does suffer from clunky shifting; I was hoping that adding full synthetic oil, making the change from the conventional oil I’d always used in these single-cylinder bikes, would smooth the shifting process. The conventional 10w40 oil in the bike was only 1,000 miles old, but the time seemed right. Further, I wanted to see how much wear and tear the conventional oil had suffered, to see whether any engine problems might be developing, and get the lab’s recommendation for this particular machine’s oil-change interval.

I prepped all my tools and supplies and set them out.
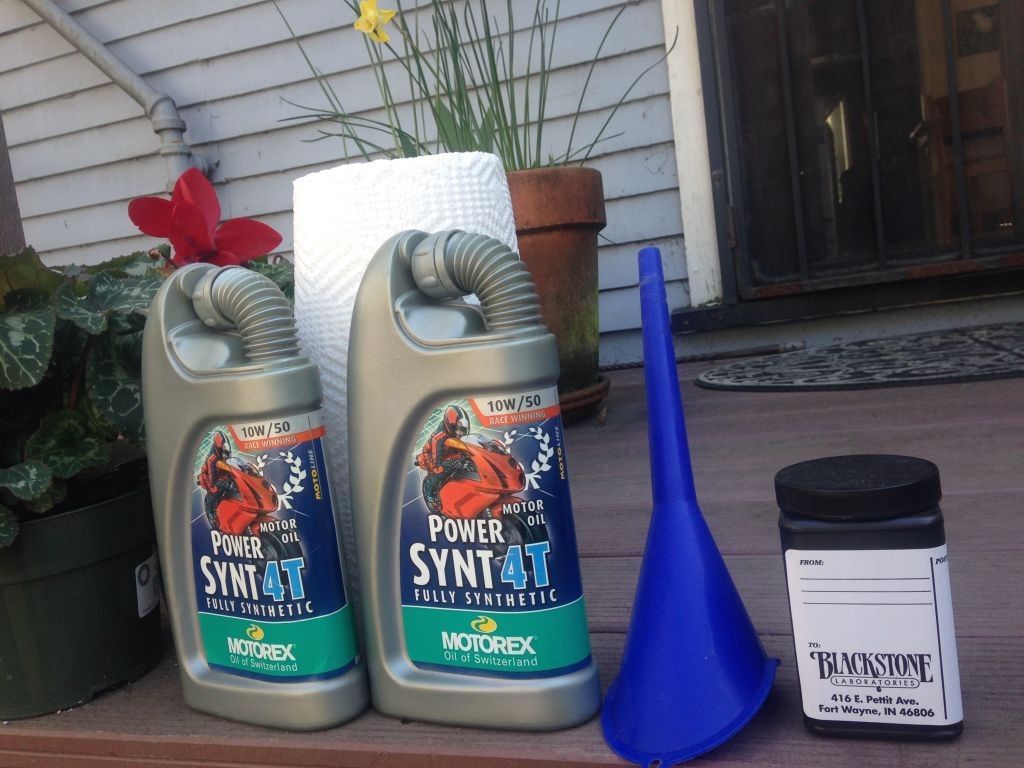
New oil, test kit...all ready to go

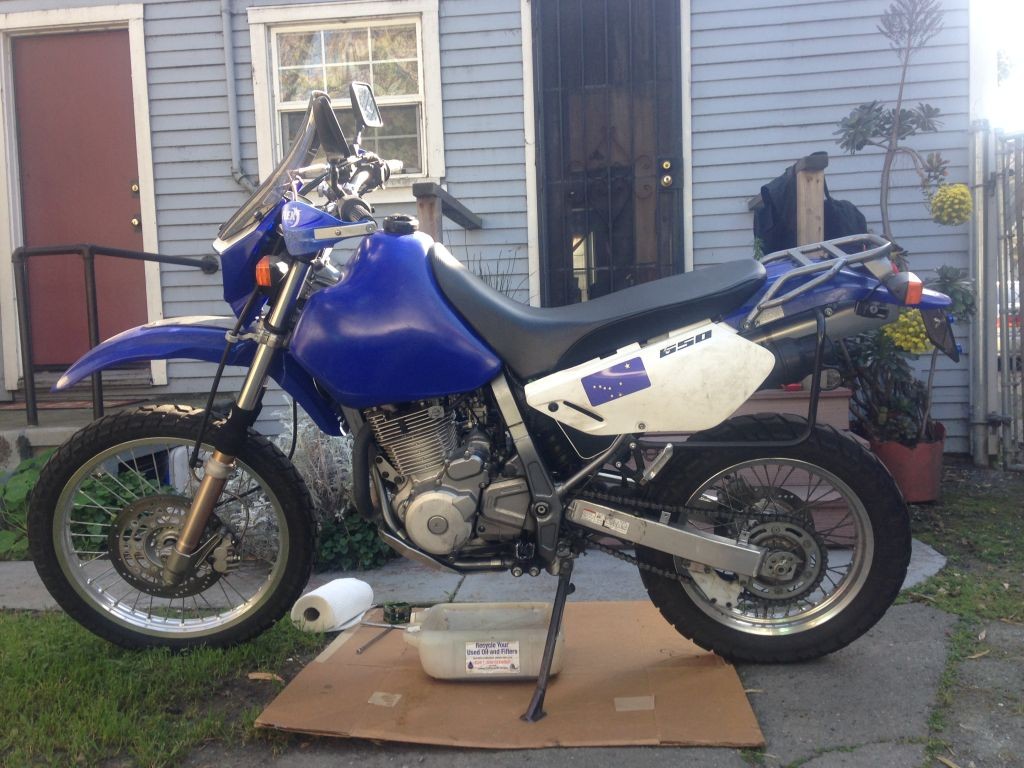
Got my DR650 set up with some cardboard to catch any drips (and cushion the ground for me) and an oil pan.

My DR650 ready to change oil and get a sample

I loosened the drain bolt and started the flow of oil.

Loosening the drain bolt

Ideally, the oil sample for Blackstone Laboratories is neither from the very beginning of the oil change, nor the end. So, I waited a couple of seconds, then put the sample bottle into the flow of old oil from the pan, got a good sample, and let the rest of the oil drain into my pan.

Catching an oil sample in the Blackstone sample bottle

With the sample collected, I capped it and set it aside. Changing the filter was next.

Removing the filter plate

Replacing the oil filter

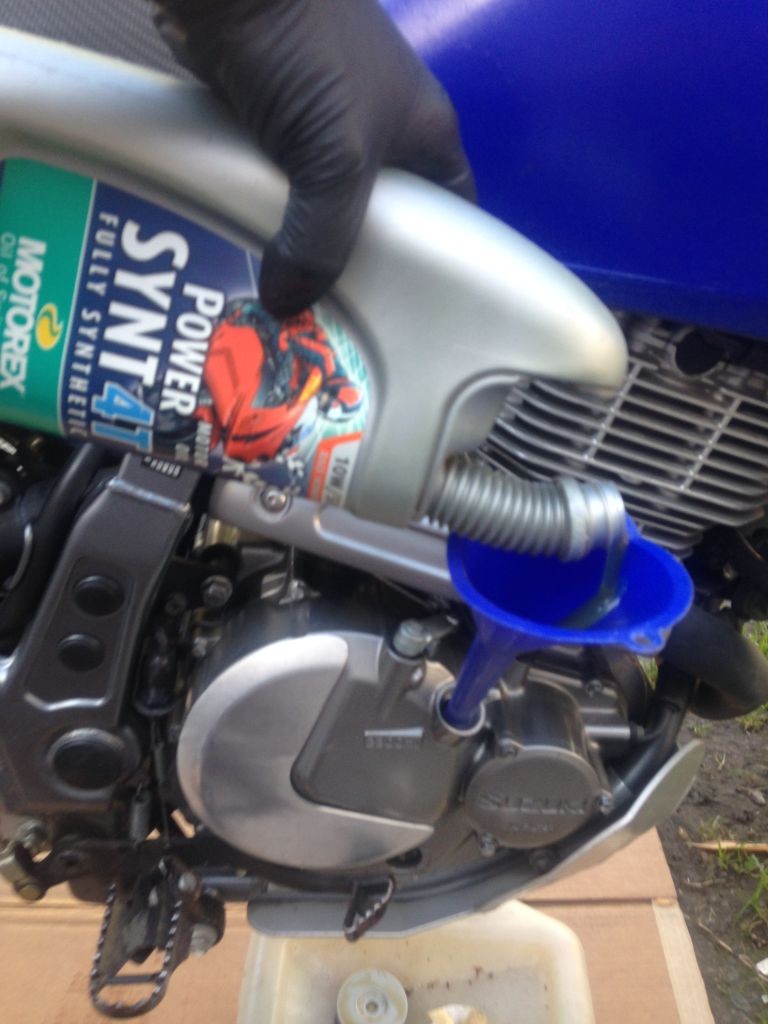
Once the new filter was in place, I added the oil I’d chosen: Motorex 20w50 full synthetic oil. A bit fancy for a thumper, but again, I was looking for smoother shifting, as well as longevity.

Adding fresh synthetic oil

Sure enough, the fresh synthetic oil did smooth the bike’s shifting to some degree; I miss fewer shifts. Still, I was curious about how the old conventional oil stacked up.

I packaged up the oil sample, sent it in to Blackstone, and waited. In a week or so, the results were emailed to me:

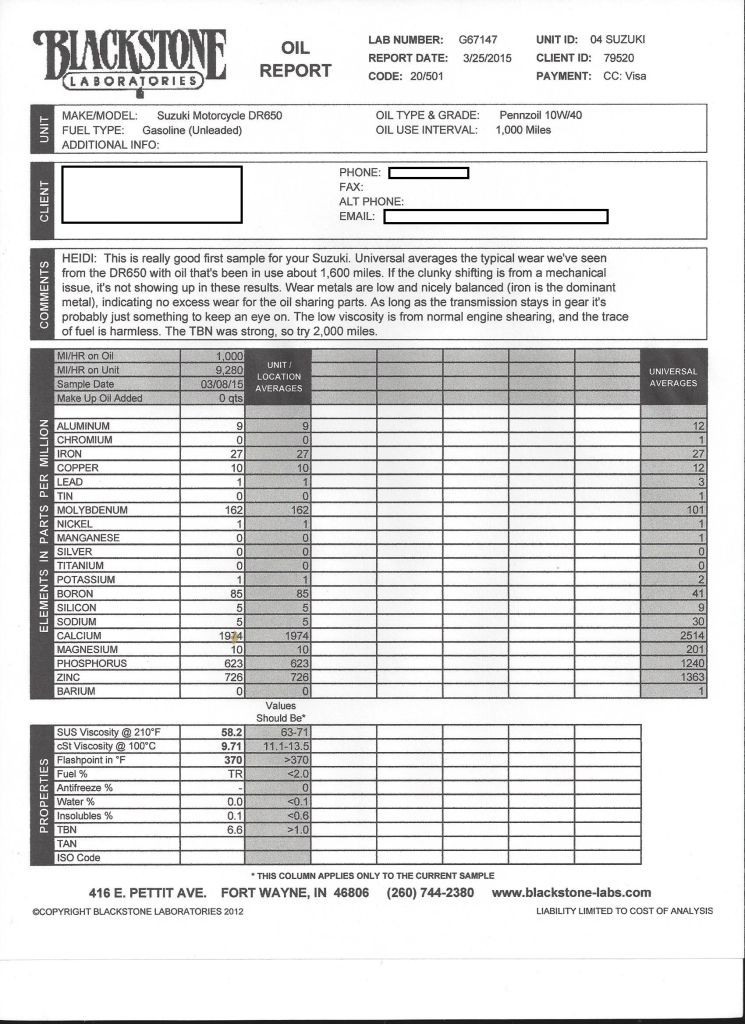
Oil Analysis Sheet, DR650

They were good, and showed the thumper’s engine, rough gearbox and all, to be in excellent shape. Since I’d opted for the extra TBD analysis ($10 more, for a $35 total), I got not only an analysis of the oil, but viscosity analysis and suggestions for how far I might push my next oil change. The lab suggested doubling my interval from 1k to 2k miles; I’ll go 3,000 and see how that changes my results.

All in all, a satisfying experiment; I am trying different oils, conventional and synthetic, in my bike, and getting accurate data to support it.

For more info on how to recycle the oil and filter you’ve just changed, check out the rest of the Riders Recycle site.

Riders Recycle and Trust for Conservation Innovation Team Up to Seek Off-Highway-Vehicle Grant, Seek Public Comment

Riding Hard at the Local OHV Park

March 2nd, 2015
Contact: Heidi Lypps, Program Manager, Riders Recycle
Email: heidi at ridersrecycle dot com

The Trust for Conservation Innovation (TCI) and Riders Recycle have teamed up to apply for a grant from the California State Off-Highway Motor Vehiclular Recreation (OHMVR) Division this year, to support our educational outreach efforts at Stanislaus County’s OHV Parks, as well as in Mendocino County’s Stonyford OHV area. The Education and Safety grant application asks for support in bringing our educational program to these parks and trailheads, reaching out to riders about the importance of oil, filter and tire recycling. We also hope to offer oil-change and maintenance/safety demonstrations and classes in these areas, and to give away oil/filter recycling tools to visiting OHV enthusiasts. A free tire dropoff event is planned for Frank Raines OHV Park in Stanislaus County.

For this year’s grant cycle, The public review and comment period for the Grants and Cooperative Agreements Program begins Tuesday, March 3, 2015, and ends Monday, April 6, 2015. This period provides an opportunity for the public to review and provide comments to the preliminary applications submitted to the OHMVR Division for consideration during the 2014/15 grant cycle.

The public can submit comments here. We enthusiastically encourage you to write a brief note in support of our oil, filter and tire recycling educational project, coming to an offroad trailhead near you!

An off-roader takes home an oil-recycling kit

A little background on the California OHV grant program: The OHMVR Grants and Cooperative Agreements Program supports well-managed off-highway vehicle recreation in California by providing financial assistance to cities, counties, districts, federal agencies, state agencies, educational institutions, federally recognized Native American Tribes and nonprofit entities (like the Trust for Conservation Innovation). TCI and Riders Recycle have applied for grants from the California Department of Parks and Recreation OHMVR Division this year to help fund and coordinate its off-highway vehicle (OHV) program. The grants support OHV management activities such as education, law enforcement, resource protection, planning and monitoring, visitor services, and maintenance on public lands throughout the state.

2014/2015 Grant Cycle – Important Dates

Monday, March 2, 2015: Preliminary applications are due
Tuesday, March 3, 2015 to Monday, April 6, 2015: Public review and comment period
Monday, May 4, 2015: Final applications are due
May 2015: OHMVR Division review of final applications
Monday, June 1, 2015: Application Results – Intent to Award posted on the OHMVR Division’s website.
Tuesday, June 2, 2015 to Tuesday, July 2, 2015: Thirty (30) calendar day appeal period
Friday, July 3, 2015: Final awards posted on the OHMVR Division’s website upon resolution of any appeals

Links:
OHMVR Division Website
Link to submit public comments on grant proposals
Trust For Conservation Innovation
Riders Recycle Home Page

OHV family fun

Oil Analysis–A Way to Extend Oil-Change Intervals and Know Your Engine?

Recently, I saw yet another contentious motorcycle oil-change thread on my local motorcycle forum. All the usual questions came up–what’s the best type of oil for my bike, conventional or synthetic? Which brand is superior? How long can I stretch my oil-change intervals without hurting the bike’s engine? Of course, some posters passionately advocated synthetic, others insisted that cheaper conventional oil was fine; heck, even the usual Shell Rotella advocates and Amsoil fanboys climbed out from under their rock and held forth. Some guys told our questioner to go read his manual; the old-fashioned types insisted that the time-honored 3,000-mile interval should be his guiding light; the cheap guys said that he could go 8-10,000 miles on synthetic, easy.

It’s true that oil has a tougher job in motorcycle engines than it does in cars; bike engines tend to run hotter and rev much higher than car and truck engines. More importantly, while car engines have separate lubrication systems for the automatic transmission or clutch and the engine, most bikes share a single pool of oil, circulating between the clutch and the engine alike. This means that motorcycle oil endures shearing forces from the meshing of gears in the transmission, as well as increased amounts of particulate and carbon shed from its fiber clutch plates. That’s why, while some car manufacturers recommend oil-change intervals of 9-10,000 miles, most motorcycle makers stick to 3–6,000 miles for their recommendations.

Amid all the arguing, one guy mentioned that several places in the U.S. offer oil analysis, which gives a breakdown of what’s going on in your engine, and can tell you whether or not your oil-change interval is too long, too short, or just right. In addition, oil analysis offers an opportunity to see what’s going on, chemically and structurally, inside your engine. Is the head cracked and leaking coolant into your oil? Is there fuel contamination, or excessive silica, meaning you have a fueling problem or aren’t changing the air filter often enough? Are your pistons and bearings in good shape, or are they shedding aluminum and copper? Each oil sample is tested using chemical spectrometry, testing for viscosity, fuel and antifreeze contamination, as well as suspended particles in the oil that are shed from the various metals and surfaces inside your engine.

Testing the oil gives a representative portrait of what condition your engine is in, and can anticipate engine problems before the vehicle clatters to an unplanned stop in a cloud of smoke 100 miles out of Wichita. Also, part of the test can involve a recommendation for just how long your next oil change intervals ought to be, based on the current condition of the oil. In a best case scenario, you can lengthen your oil change intervals, which uses less oil (and fewer filters) in the first place. You save time and money, and you reduce oil waste as well–that’s even better than recycling your oil (though of course you should still do that, too)!

For more detailed information on just what oil analysis analyzes, Bob Is The Oil Guy has further info.

I was intrigued, and decided to geek out and go for it. I looked up Blackstone Laboratories in Indiana, and emailed to request a free testing kit. It arrived a couple of weeks later.
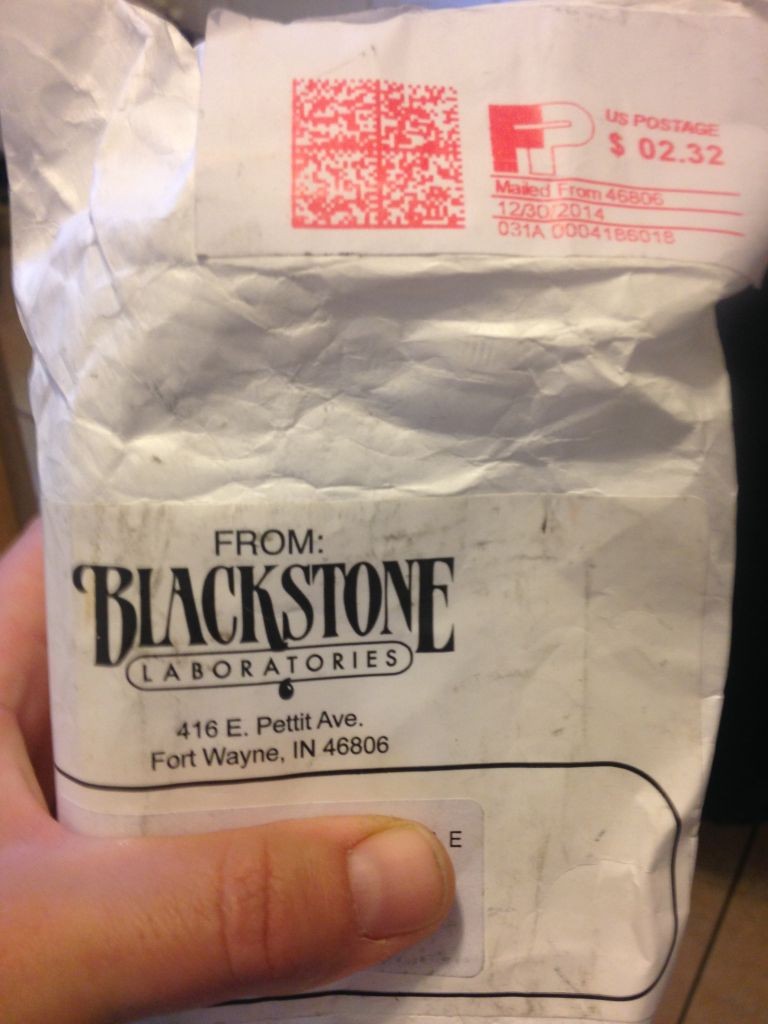
The package from Blackstone Labs

The package from Blackstone Labs

Inside, a mysterious bottle.
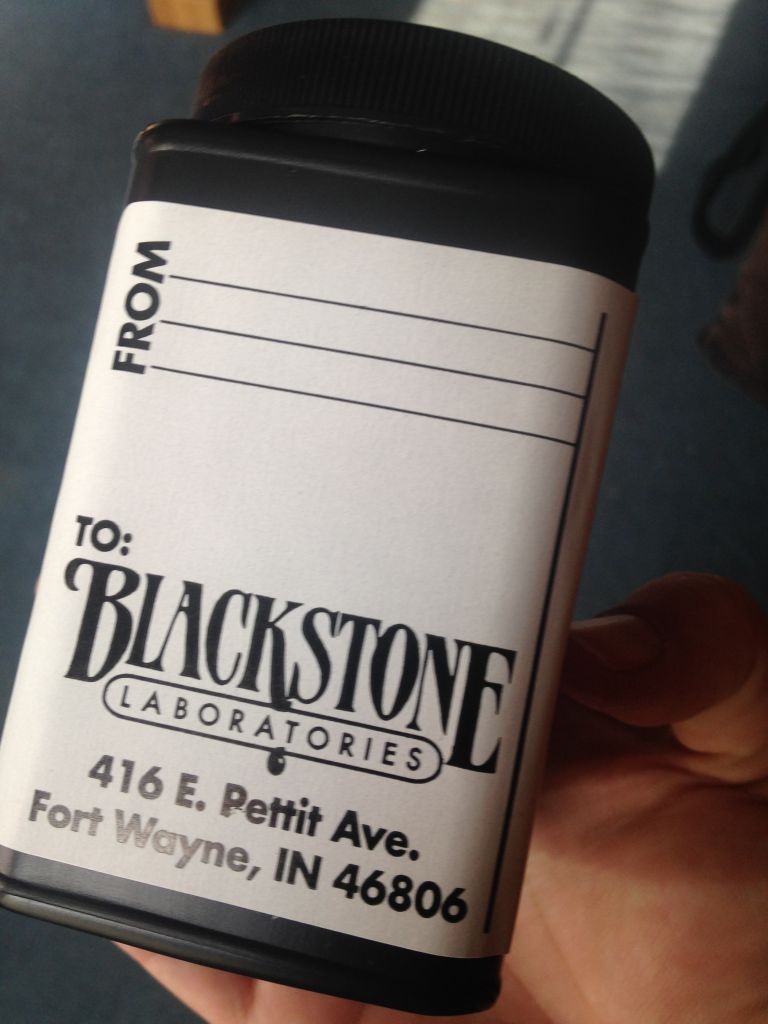
Oil sample bottle

Oil sample bottle

Opening it, I found the contents of the testing kit.
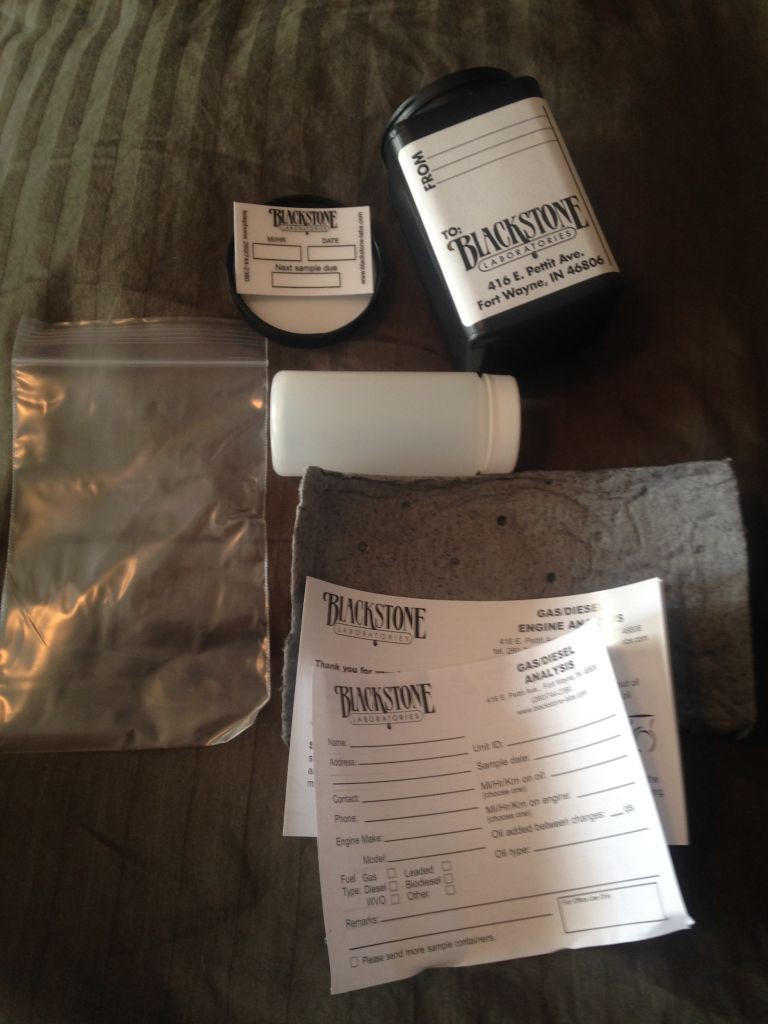
Contents of the oil testing kit: Outer bottle, inner oil sample bottle, ziploc for the inner bottle, absorbent cloth to wrap around inner bottle, report sheet, and window decal

Contents of the oil testing kit: Outer bottle, inner oil sample bottle, ziploc for the inner bottle, absorbent cloth to wrap around inner bottle, report sheet, and window decal

It contained:
* The outer bottle,
* inner oil sample bottle,
* ziploc for the inner bottle,
* absorbent cloth to wrap around inner bottle,
* report sheet, and
* a window decal, to write down the mileage of your vehicle at this oil change.

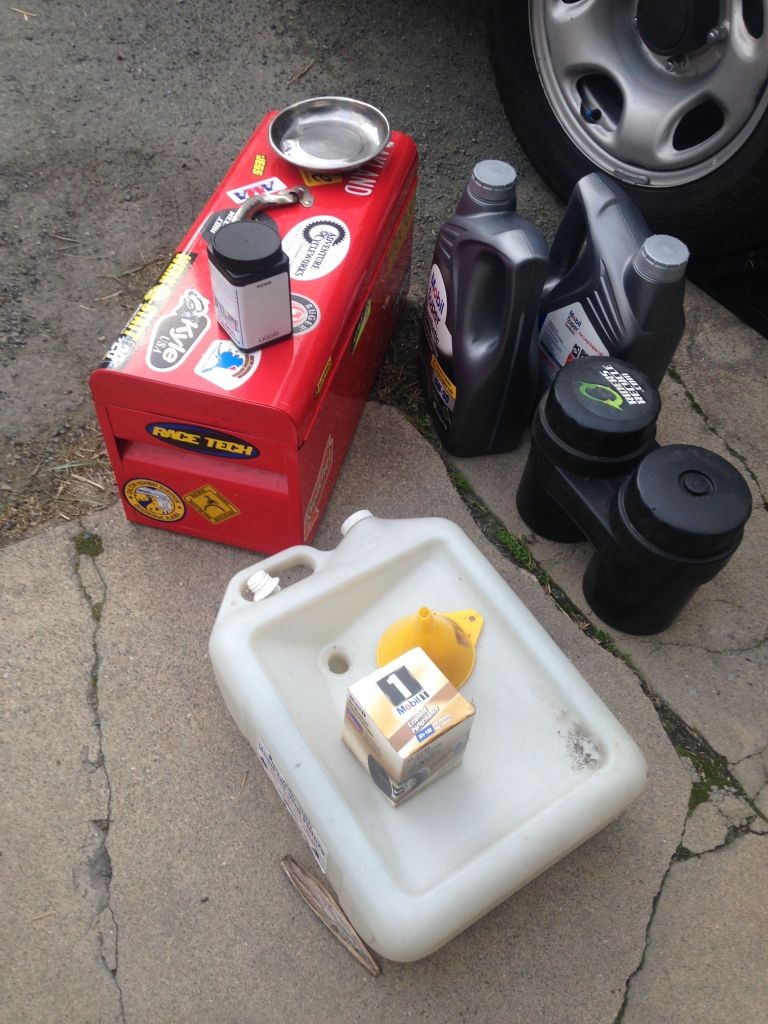
It turned out that I’d just changed my motorcycle’s oil, but my car (a 2001 Suzuki Grand Vitara) was due, so I decided to use it as a guinea pig. Besides, it was a chance to learn to change the oil and filter on this vehicle and get an oil sample, instead of giving in to the temptation of going to the local quicky-lube place. I picked up some Mobil 1 Full Synthetic, a new filter, a fresh crush washer for the drain bolt, my oil kit, and set to work. Blackstone Labs requests that the oil sample come from a completely warmed-up engine, so I made sure to do the oil change after I’d returned from a mid-length trip.
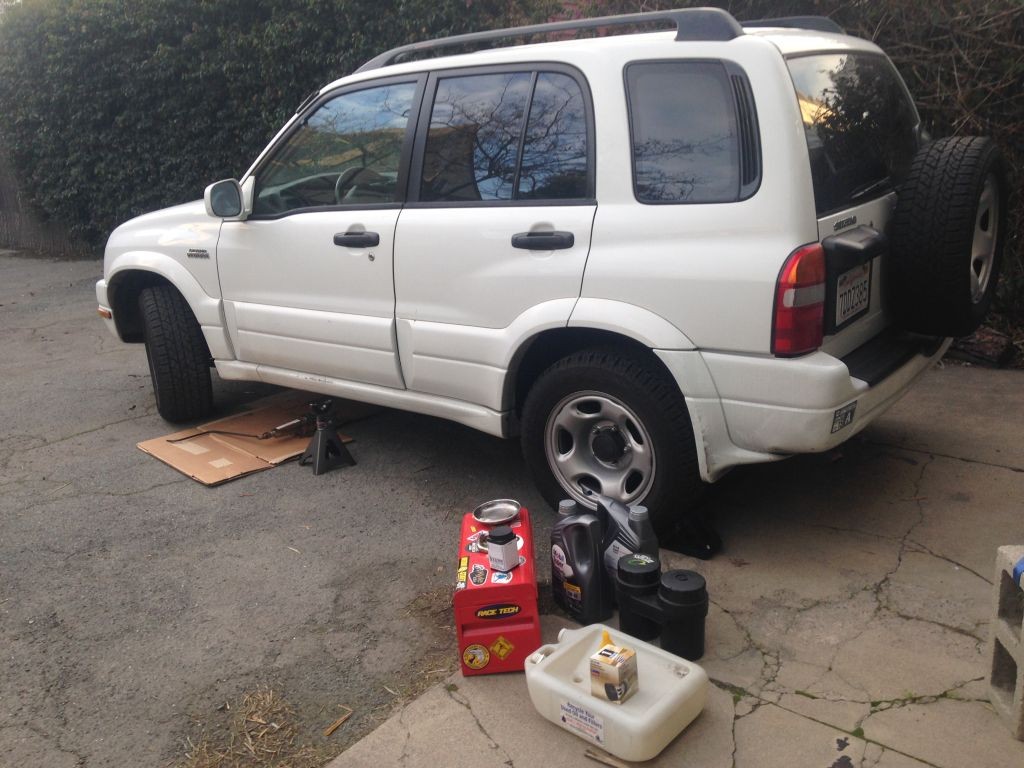
Suzuki Grand Vitara, set up for an oil change
Suzuki Grand Vitara, set up for an oil change

Oil change supplies

Oil change supplies

I chocked the rear wheels, placed my jack and elevated the front end of the SUV, and put the jackstands under the frame. I put down some cardboard to lie on, some more to catch any spills, and placed my oil drain pan to catch the flow.

I got the oil-sample bottle ready. Blackstone suggests taking the oil sample from the middle of the oil flow once the drain bolt is removed, rather than the beginning or end. This gives the most accurate picture of the bulk of the oil circulating through the engine. When I got under the vehicle to loosen the drain bolt and drop the oil, I kept the sample bottle close to hand.
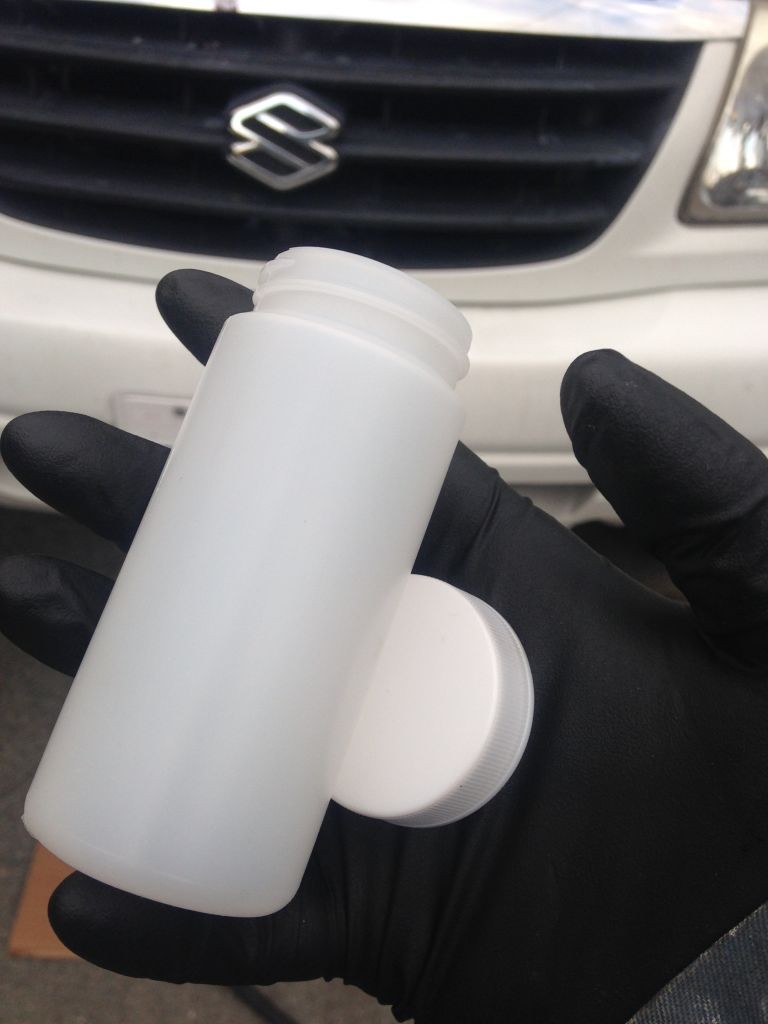
oil sample bottle

oil sample bottle

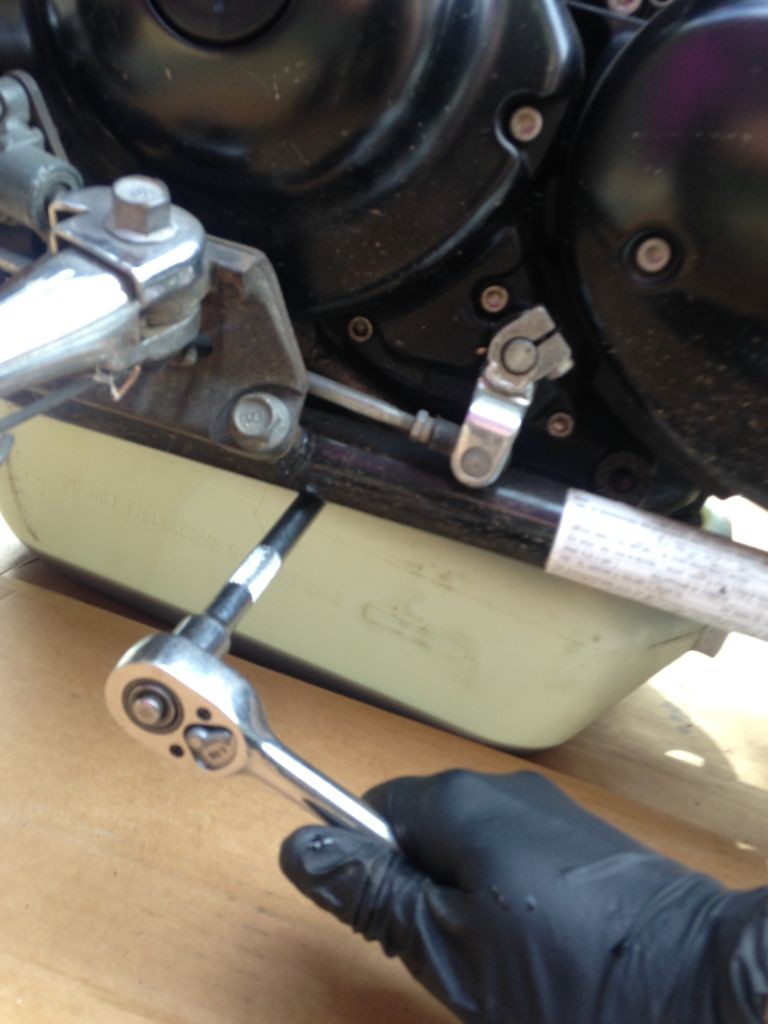
Crawling under the car with my socket wrench and oil sample bottle, I loosened the drain bolt.
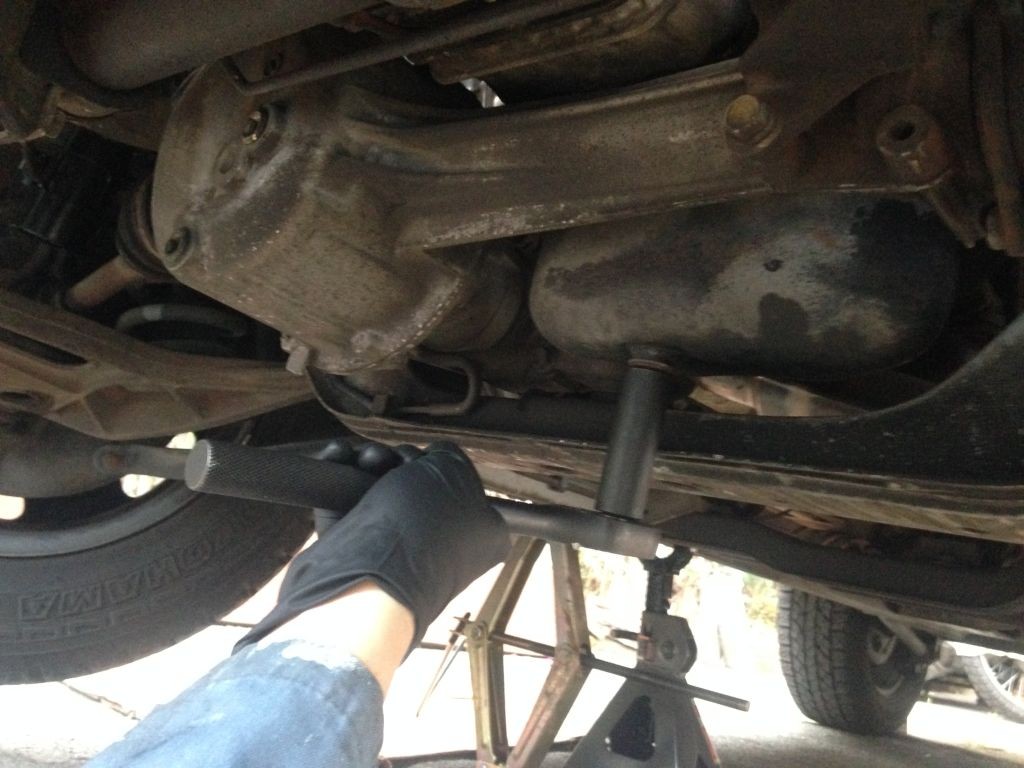
Loosening the drain bolt

Loosening the drain bolt

As I removed the oil drain bolt and the hot oil splashed out, I waited a couple of seconds, then held my sample bottle under the flow of oil–trying not to burn myself!
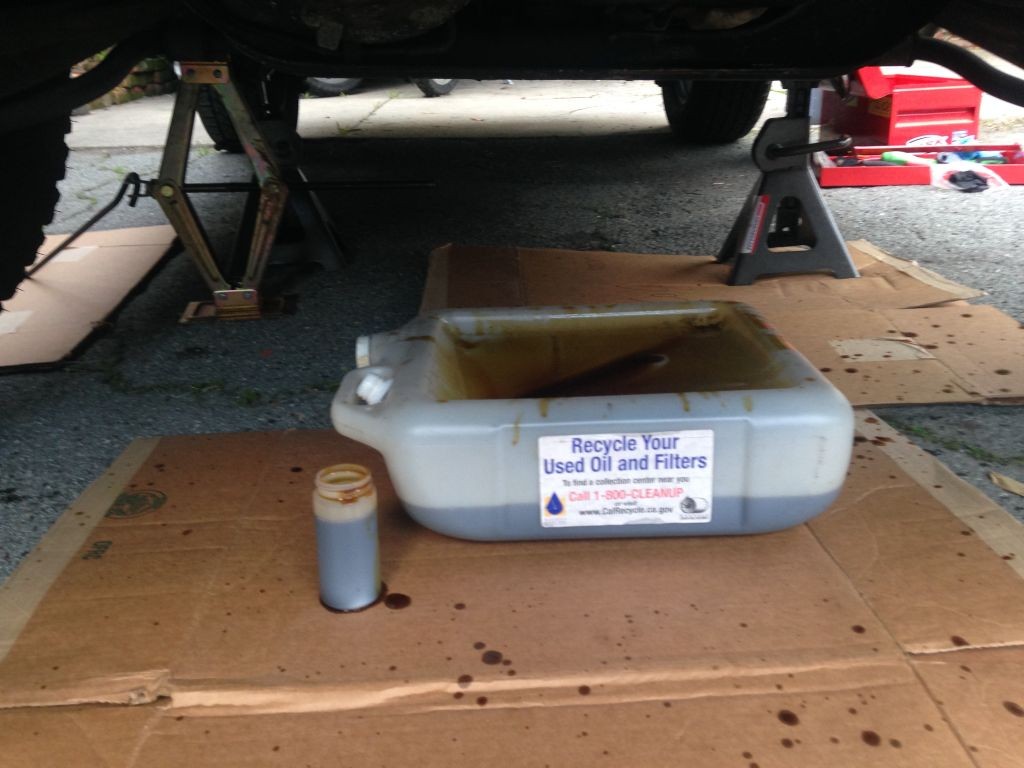
Drain pan and sample bottle full of used oil

Drain pan and sample bottle full of used oil

When my sample was secure and the oil drained, I removed the oil filter, then replaced it with a new one. In the 2001 Suzuki Grand Vitara, the filter is mounted on the side of the engine case, making filter removal and replacement an exercise in messiness and creative contortionism.
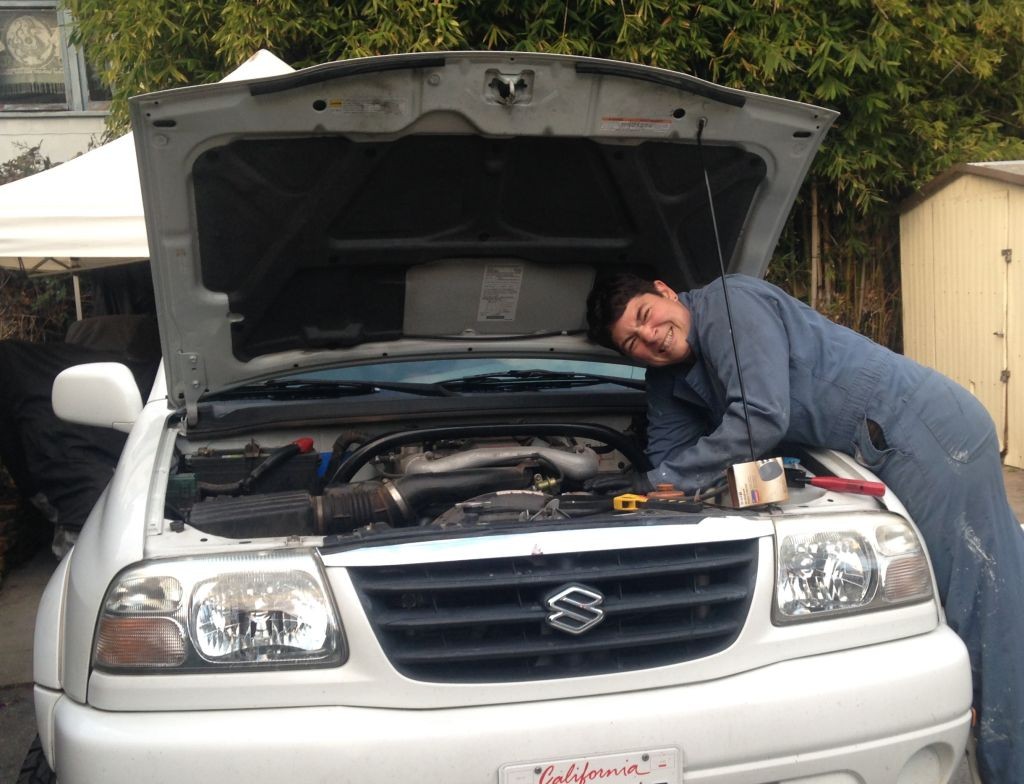
Replacing the oil filter

Replacing the oil filter

To check the recommended oil-change interval on your own car/truck, refer to your manual, or check out CalRecycle’s Check Your Number website. Sadly, no motorcycles, but it’s still a useful resource.

Once the filter was on, I put a fresh crush washer on the drain bolt, torqued it down, and added 5 quarts of oil (Mobil 1 full synthetic 5w30, to be exact). I started the car and ran it for a few minutes, then stopped it, waited 5 minutes, and topped off. I took a short spin and checked the oil level again–it was fine.

My filter went into my oil filter drainer, the oil drain pan I capped and wiped down, and took both into my local auto parts shop for recycling–of course! For where to recycle oil and filters in northern California, visit Riders Recycle. CalRecycle has a zip-code lookup tool for all CA oil/filter recycling locations.

With my oil sample captured, I wiped down the bottle and bagged it, wrote down the relevant information on the enclosed sheet, wrapped the whole bundle up in the absorbent mat, closed and taped the outer bottle, and dropped it off at the Post Office in a tyvek Priority Mail envelope.
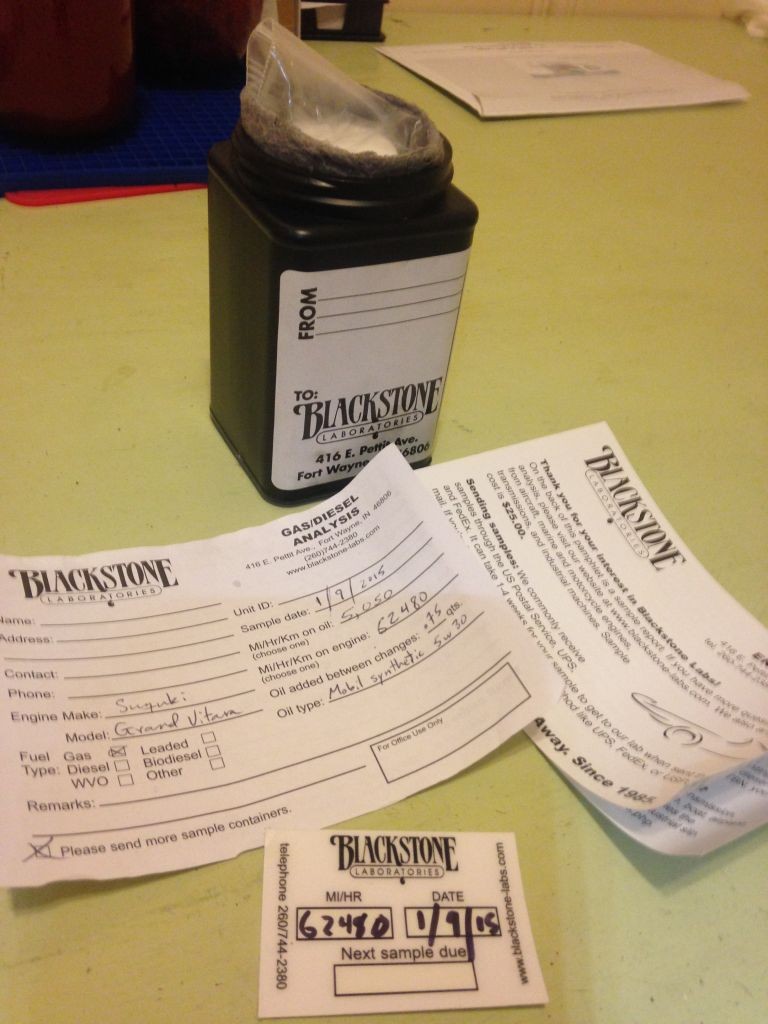
Oil sample, ready to package up and send in to the lab

Oil sample, ready to package up and send in to the lab

After 10 days, I got the oil analysis report back, attached to an email! With a little excitement, I printed out the info sheet.
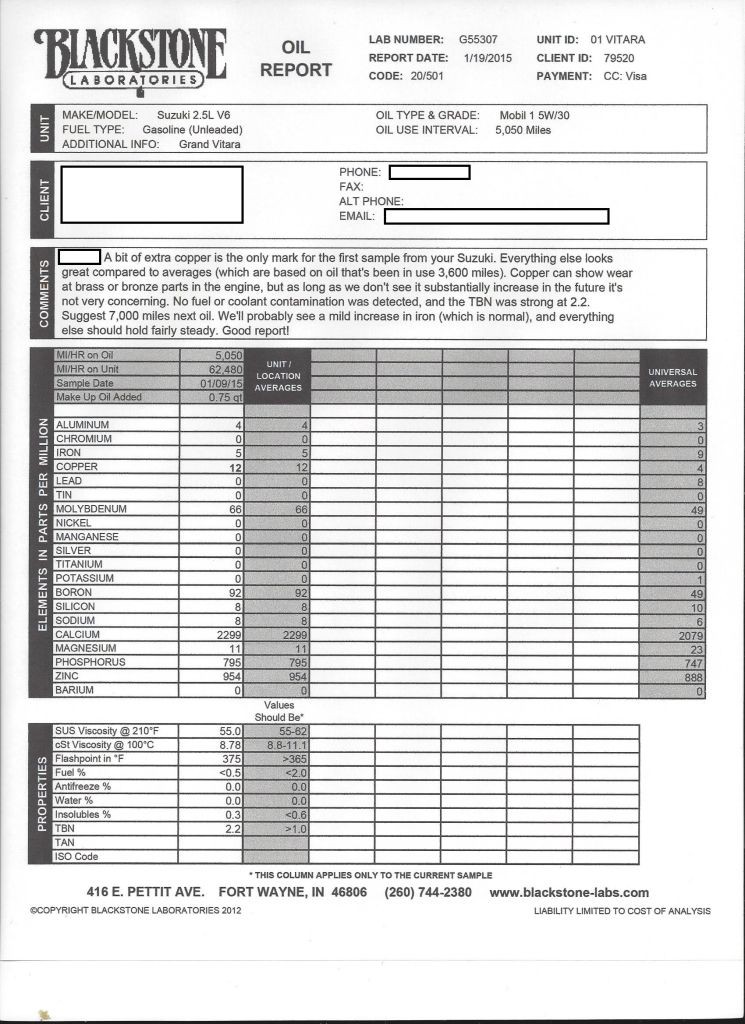
Oil Analysis report

Oil Analysis report

Aside from the elevated copper levels (which are, I’m told, usually the result of an oxidizing oil cooler shedding copper, and not worrisome when other metals are not elevated), the results were darn good. Even with the analysis being based on oil that had gone 3,600 miles (I’d gone 5,000 miles between changes), the levels of metals and other contaminants in the oil were within expectations. The viscosity of the old oil held steady as well, ensuring that the internal engine parts would still have their necessary lubricant film. There were no traces of fuel or coolant in the sample. In the end, the lab recommended that I extend the Suzuki’s oil-change intervals to 7,000 miles. That saves a fair bit more oil from entering the waste stream, uses fewer filters, and, happily, saves me some effort and money, while not harming my engine. Just the result I’d been hoping for.

A number of companies offer oil analysis. I used Blackstone Laboratories, which has a good reputation and charges $25 per basic sample, and $10 extra for a TBN (total base number) test, which tests how many of the oil’s additives are still working in your sample. The TBN tells you whether you can extend oil change intervals, and recommends a particular mileage, and added to the standard test, comes out to $35 total. Since a synthetic oil and filter change costs $83 at my local oil changer, and I paid $41 for 5 quarts of synthetic oil and a filter, I saved $8, got a view into the working condition of my engine, and got scientifically-backed advice that will save me money and time in the future, and got a chance to to save resources and reduce pollution and oil use. Seems like a win all ’round.

When it comes to oil, as with anything else, reducing is even better than recycling.

Blackstone Labs

Oil Analyzers, Inc.
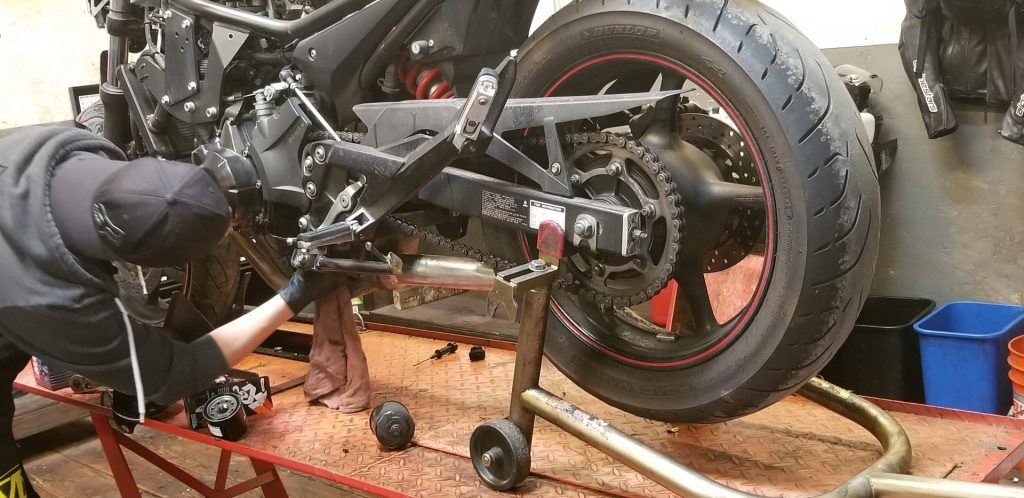
Oil and Filter Change: Yamaha V-Star 650 Cruiser

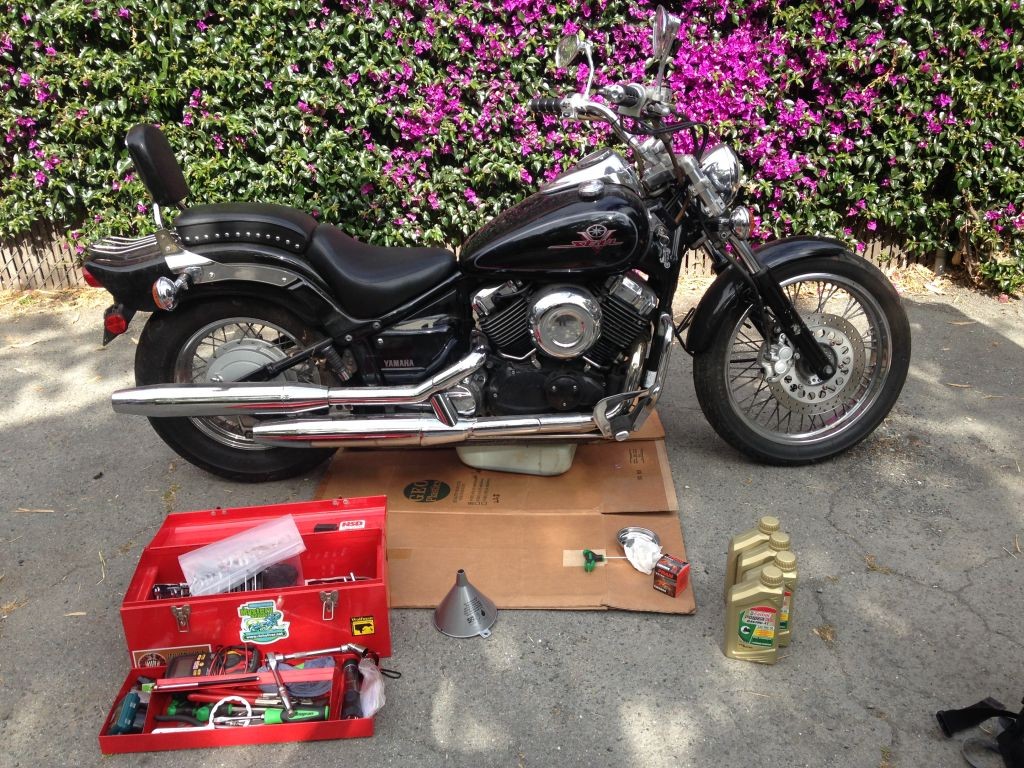
To prepare for an oil change on my neighbor’s 2004 Yamaha V-Star 650 cruiser, I gathered up my tools, laid down some cardboard to catch spills and drips, prepped my recycling containers, and readied the fresh oil and filter. She rode the bike enough to warm it up, then rode it over to my place, so the oil would be nice and warm, and flow out easily when drained.
The V-Star, ready for her oil change, tools and supplies at hand

The V-Star, ready for her oil change, tools and supplies at hand

getting ready

getting ready

Supplies needed:
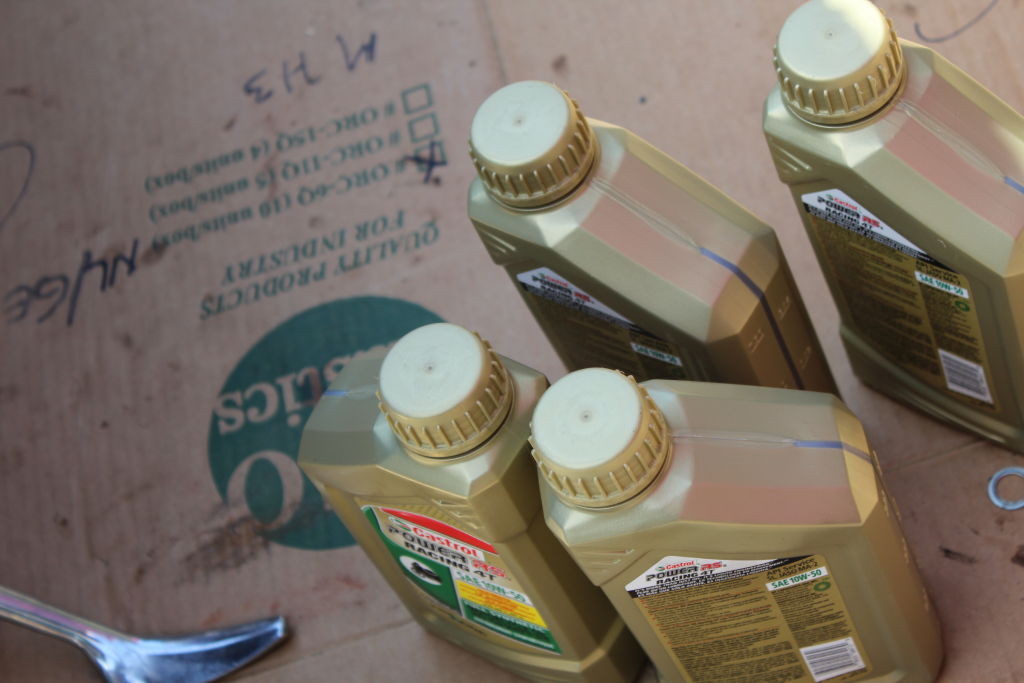
* 3-4 quarts of 20w50 viscosity motor oil (my neighbor chose Castrol motorcycle-specific synthetic oil). If you choose regular car oil rather than motorcycle oil, the round label on the back should NOT read “energy conserving”. If it does, your clutch may slip from the extra-slippery additives in the oil, intended for use in cars and trucks.
* Fresh crush washer
* Fresh Filter
* Rags/paper towels for cleanup
* ziploc bag to recycle filter after draining
* Latex or nitrile gloves to protect your hands from toxic oil

Tools Needed:
* Socket wrench and/or 17mm metric wrench
* Size 4 and 5 allen wrenches
* funnel
* oil pan
* container for recycling oil

(Find out how to get free oil and filter drainer gear and recycle your oil and filters in San Mateo County, San Francisco, Alameda County, Sonoma County, Napa County, Marin County and Sacramento.)

Yamaha has been making the V-Star 650 motorcycle, with only cosmetic changes, from 1998 to the present. The oil and filter change procedure for all these bikes is substantially similar for all of ’em.

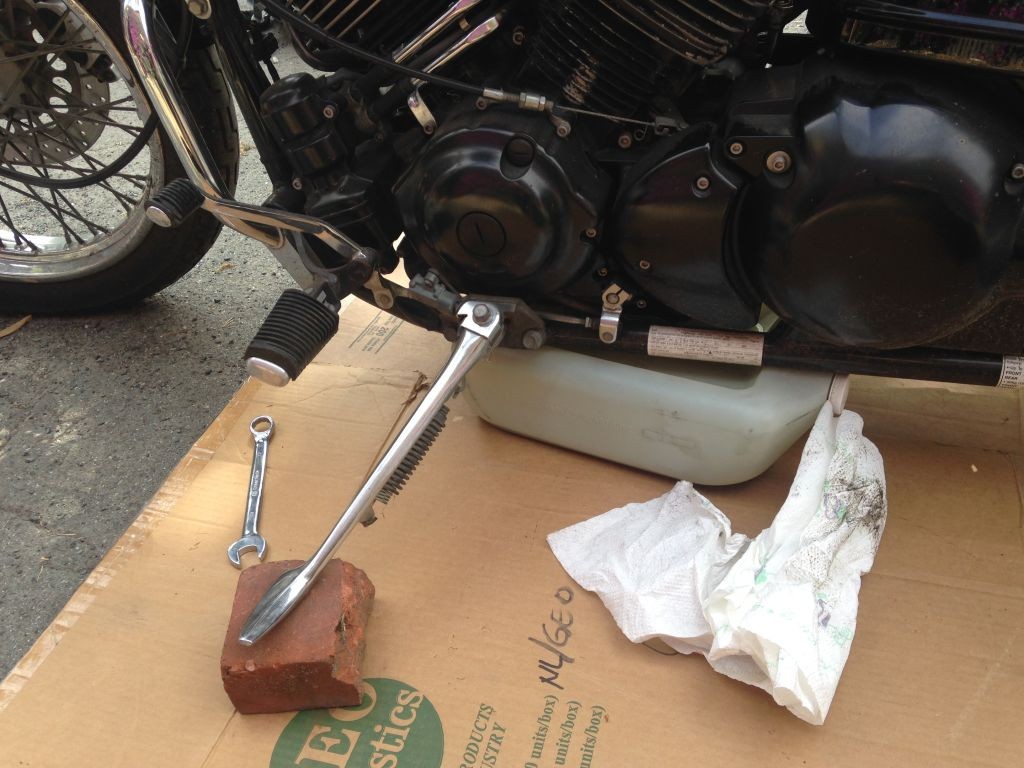
To get the oil pan under this low-slung cruiser, we propped the kickstand up on a brick, giving a little extra room to push the pan beneath the engine.

To get the oil pan under this low-slung cruiser, we propped the kickstand up on a brick, giving a little extra room to push the pan beneath the engine.

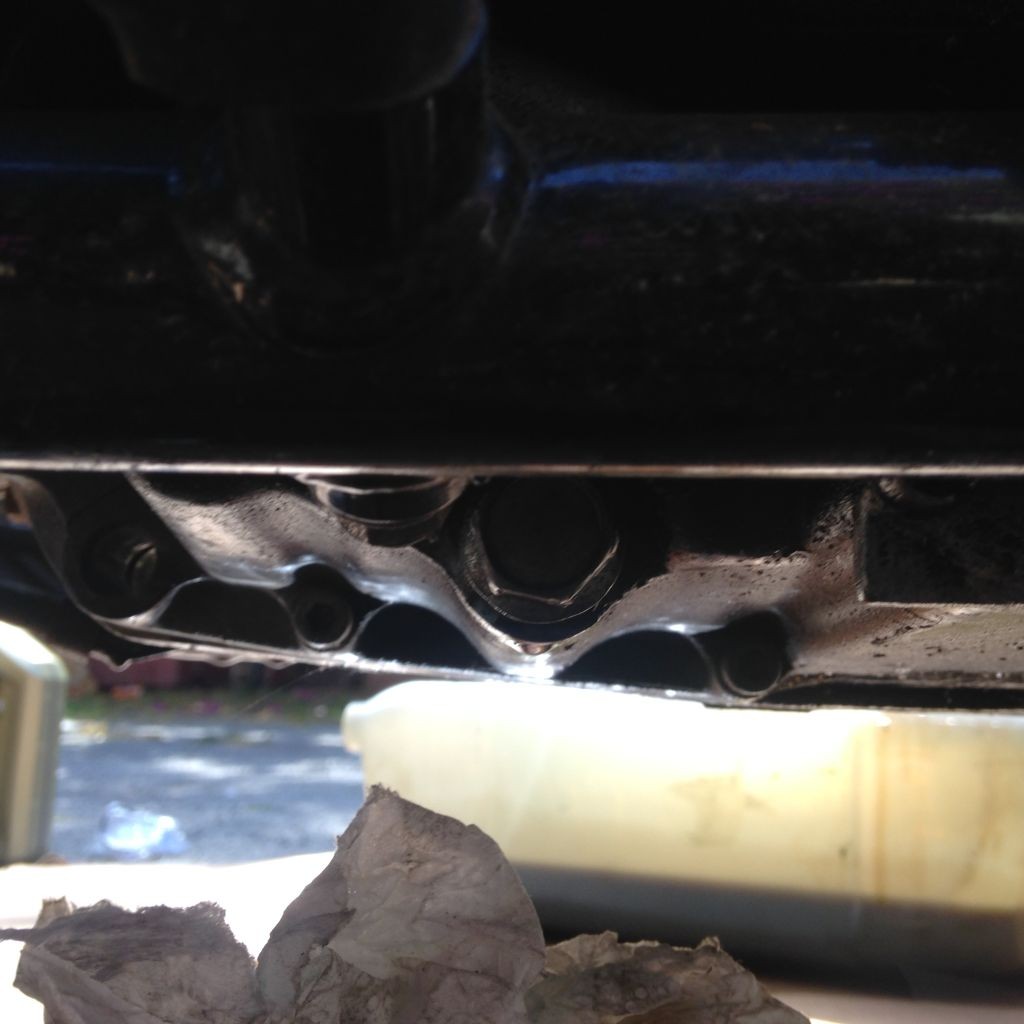
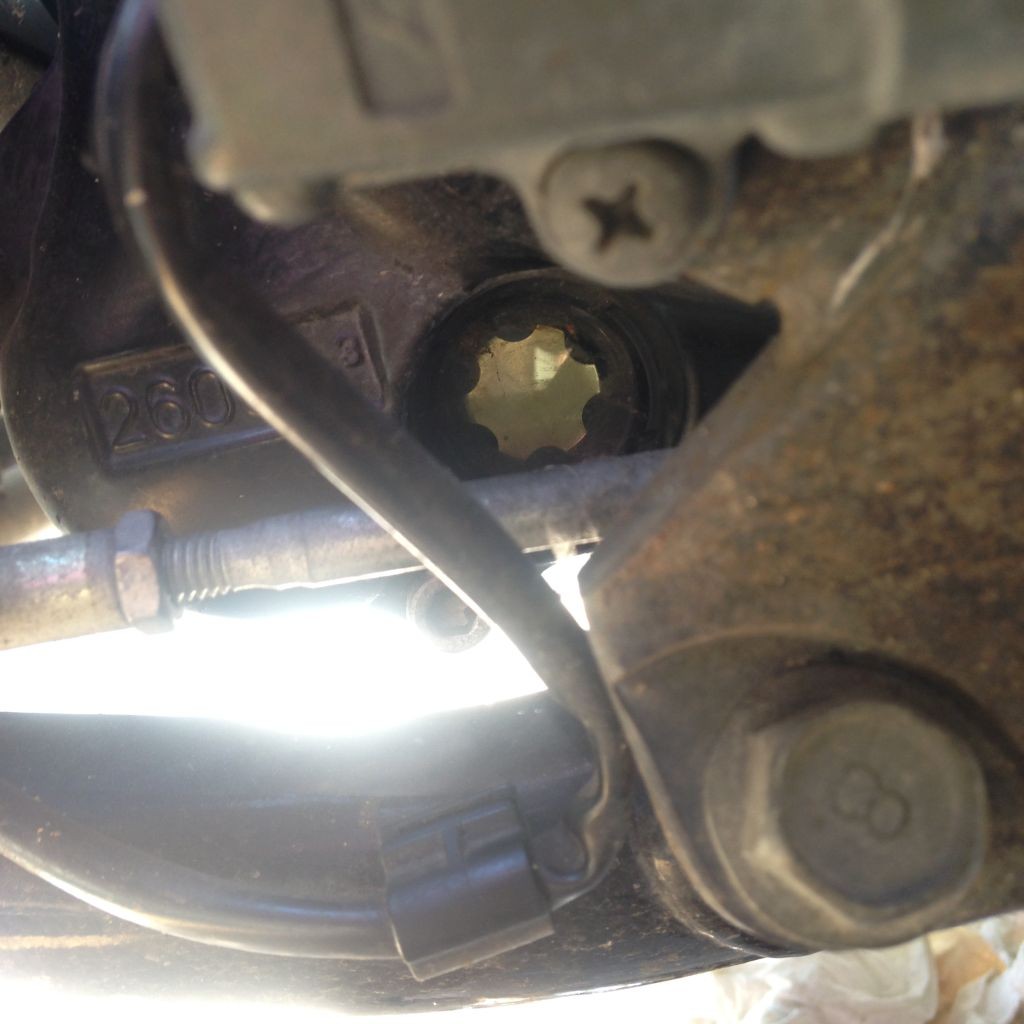
After pushing the pan beneath the bike, I got down on the ground on the left side to locate the oil drain bolt. The oil drain bolt is on the rider’s left side of the bike, tucked beneath the frame rail, on the lower left side of the oil pan. I wiggled my 17mm socket onto the bolt and wrenched it loose.

Oil drain bolt on left of oil pan

Oil drain bolt on left of oil pan

The oil drain bolt is reached on the left side of the bike, beneath the frame rail, on the left side of the oil pan.

The oil drain bolt is reached on the left side of the bike, beneath the frame rail, on the left side of the oil pan.

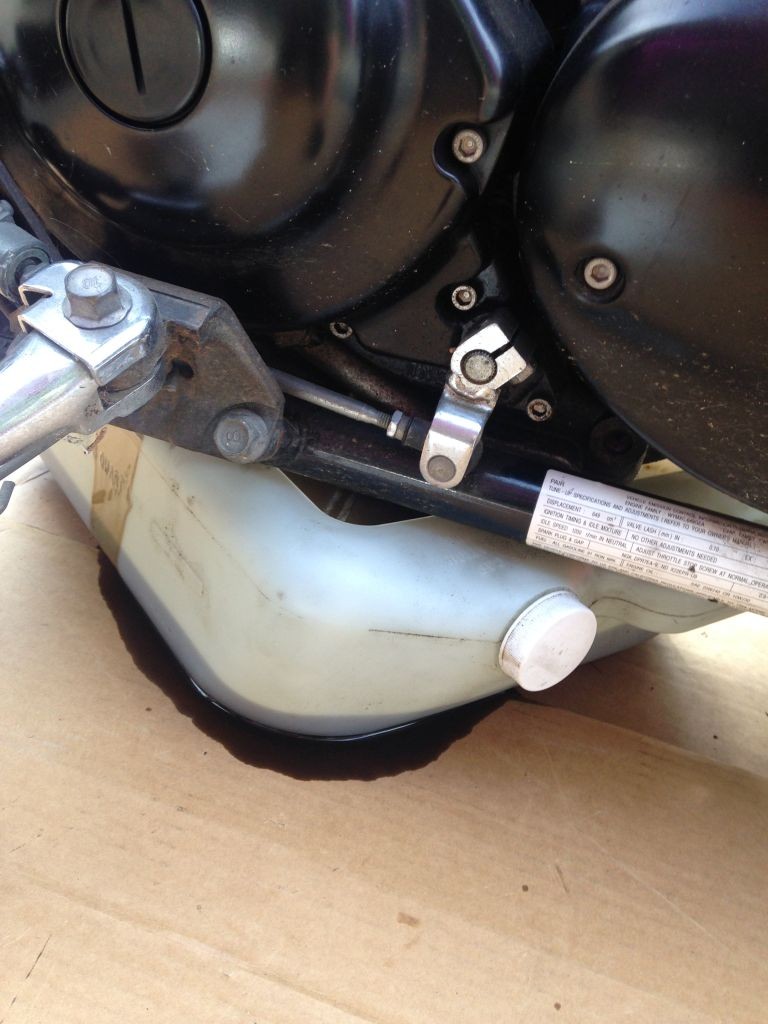
The oil poured out, a small amount of it missing the pan and making a bit of a mess–on the cardboard, fortunately. Oil-contaminated runoff is toxic, so better on cardboard than on your driveway.

Oil draining--most of it into the oil pan!

Oil draining–most of it into the oil pan!

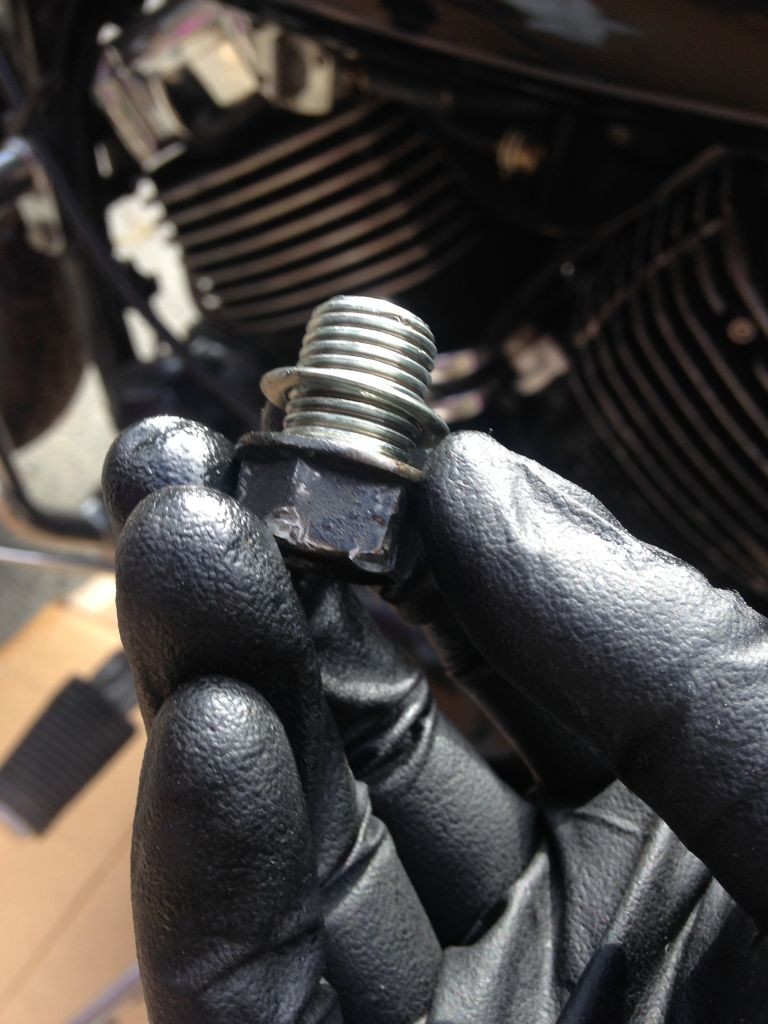
I added a new crush washer to the oil drain bolt and set it aside.

oil drain bolt, with new crush washer

oil drain bolt, with new crush washer

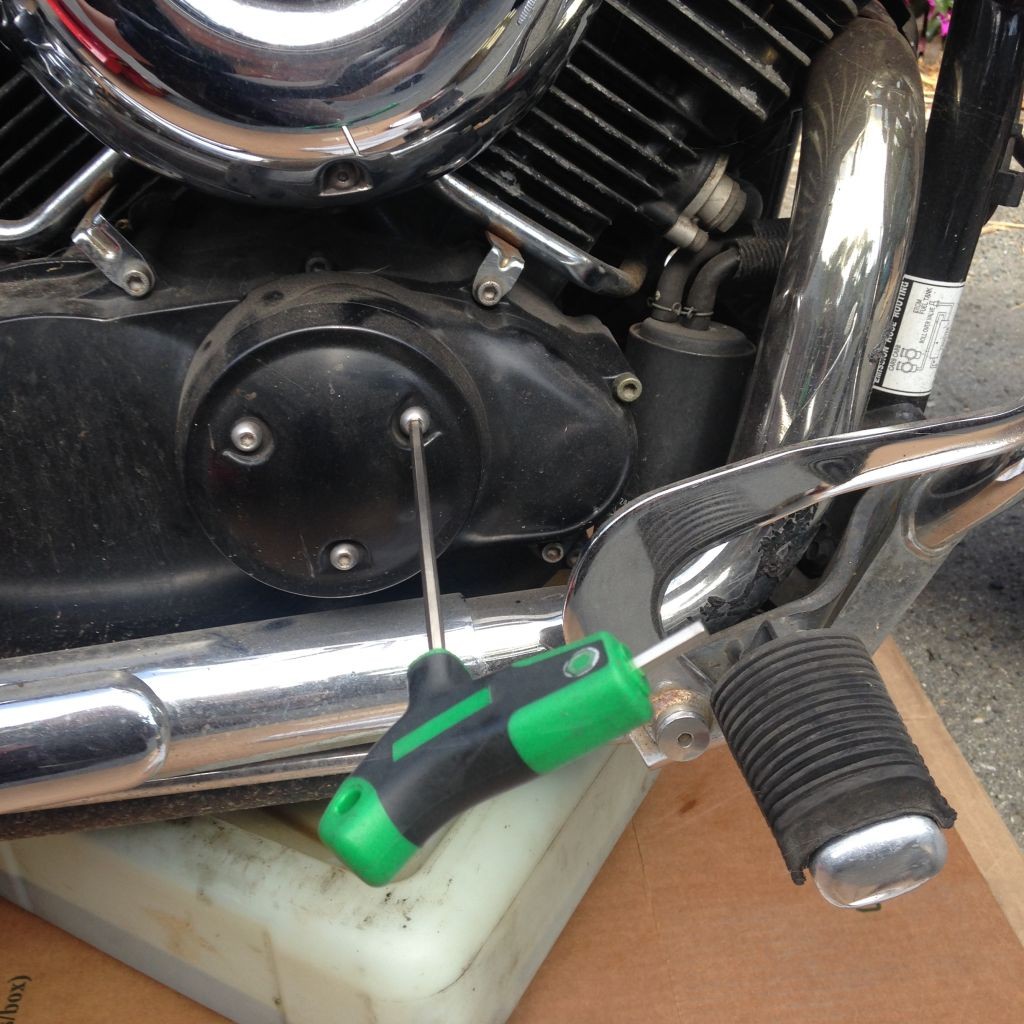
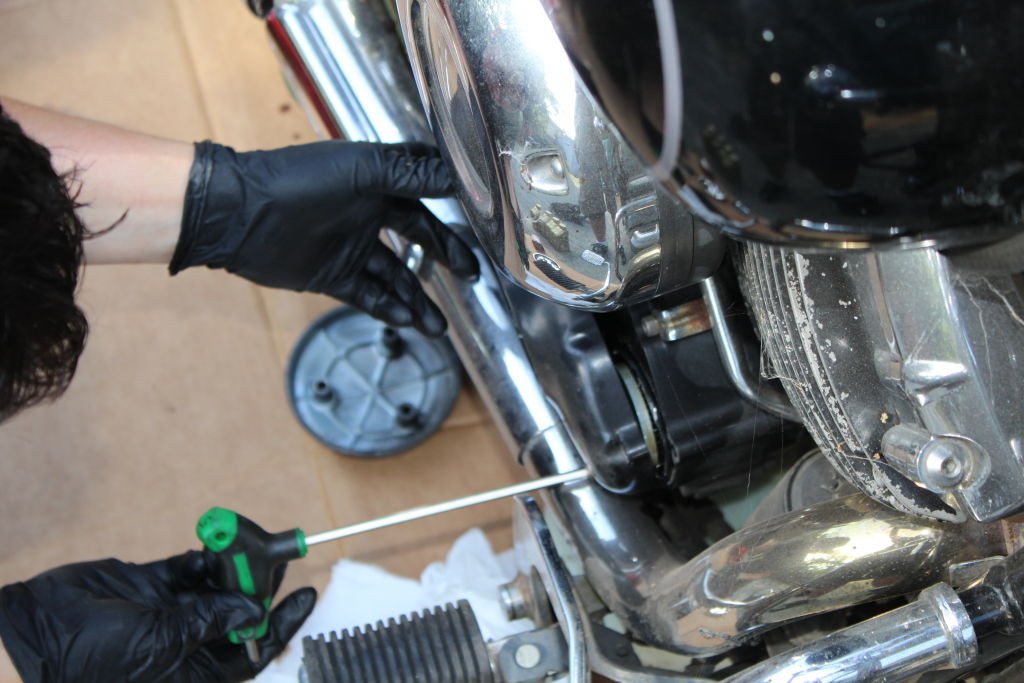
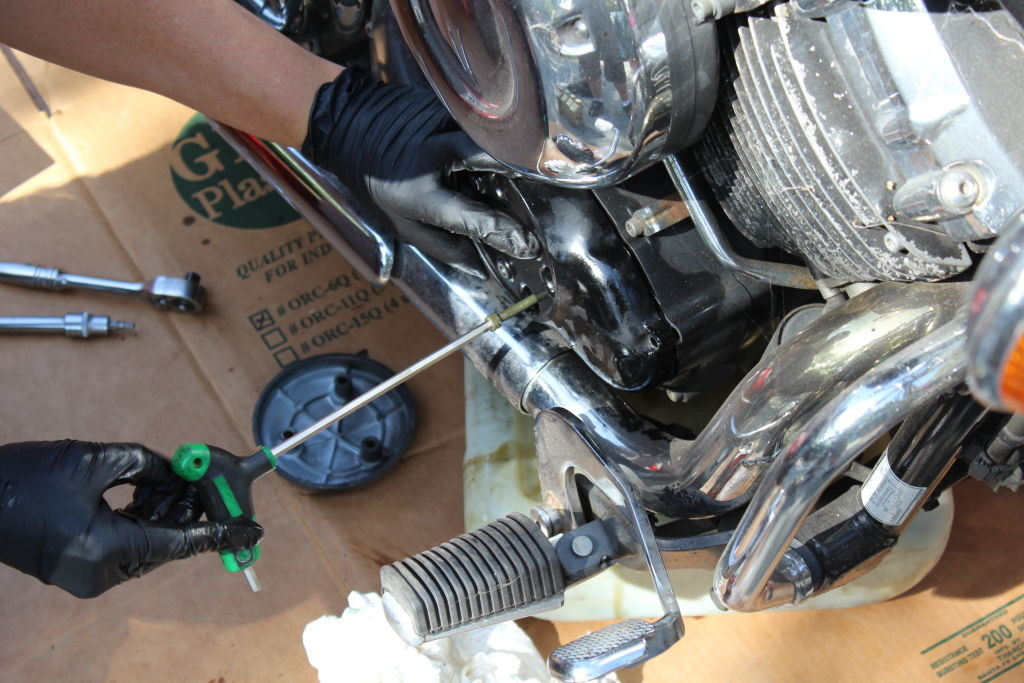
While the engine oil continued to drain, I moved to the filter. The V-Star 650 has a 2-part decorative cover over the oil filter housing, and both pieces need to be removed separately to access the filter. Using my allen wrench, I pulled the 3 bolts from the outer cover and removed it. Allen (also known as hex head) bolts can strip out and cause more trouble than anyone needs, so I used high-quality allen wrenches or socket bits, and used a careful hand to make sure the bolts came out smoothly.

Removing the outer cover of the oil filter housing

Removing the outer cover of the oil filter housing

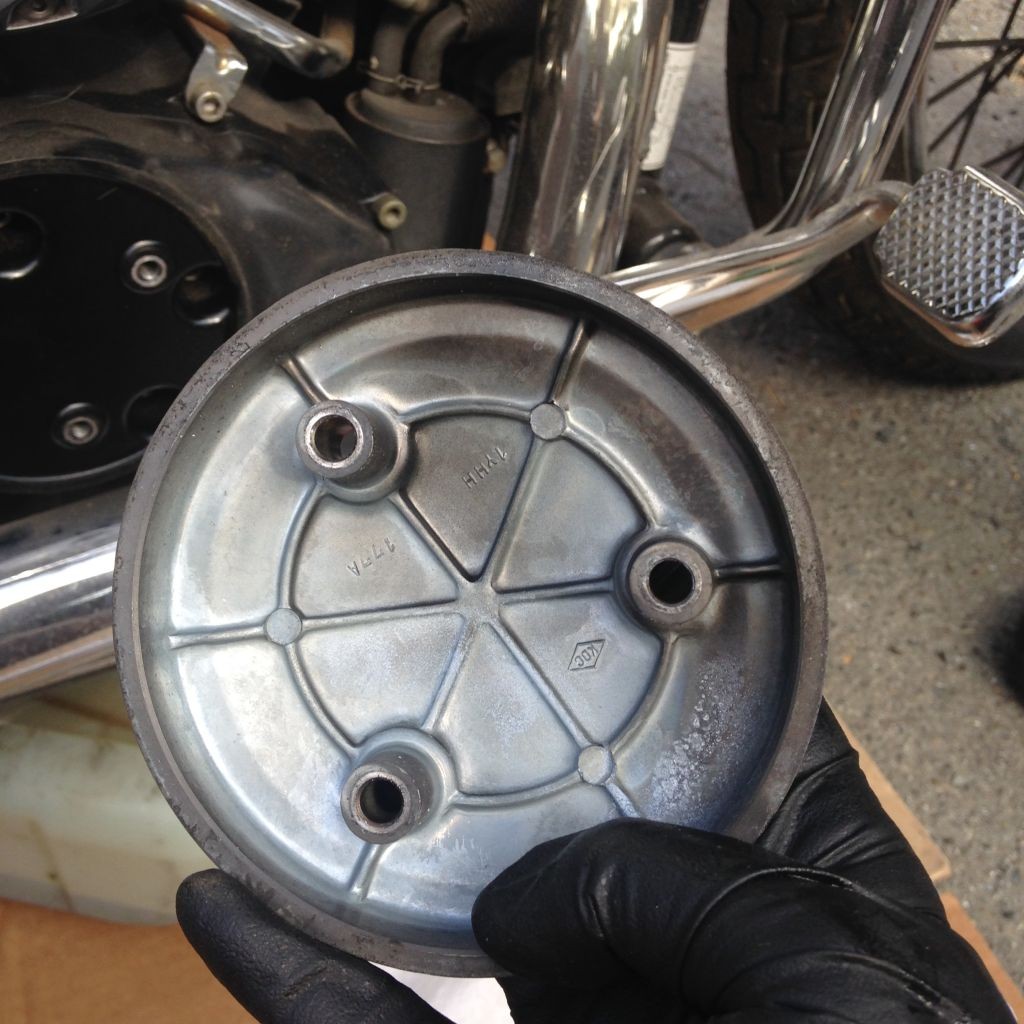
Outer oil filter cover, removed

Outer oil filter cover, removed

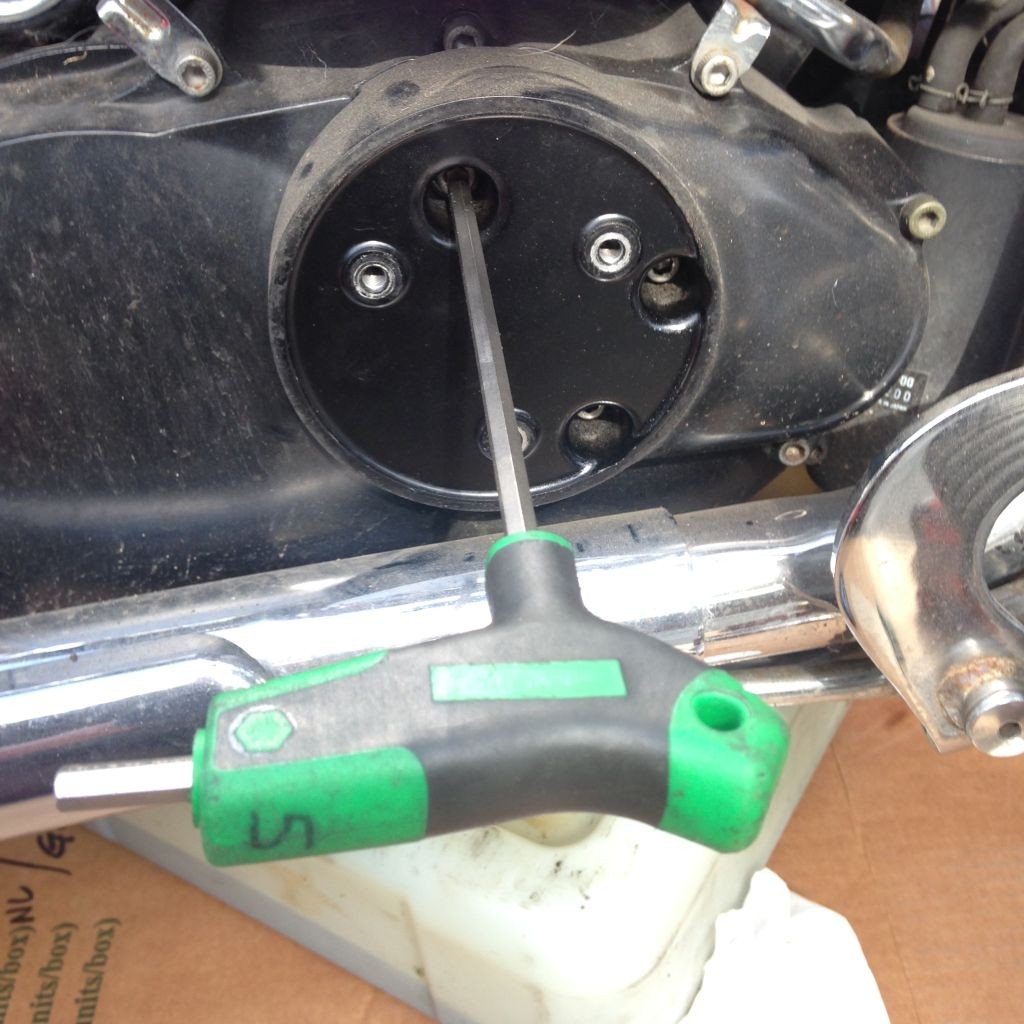
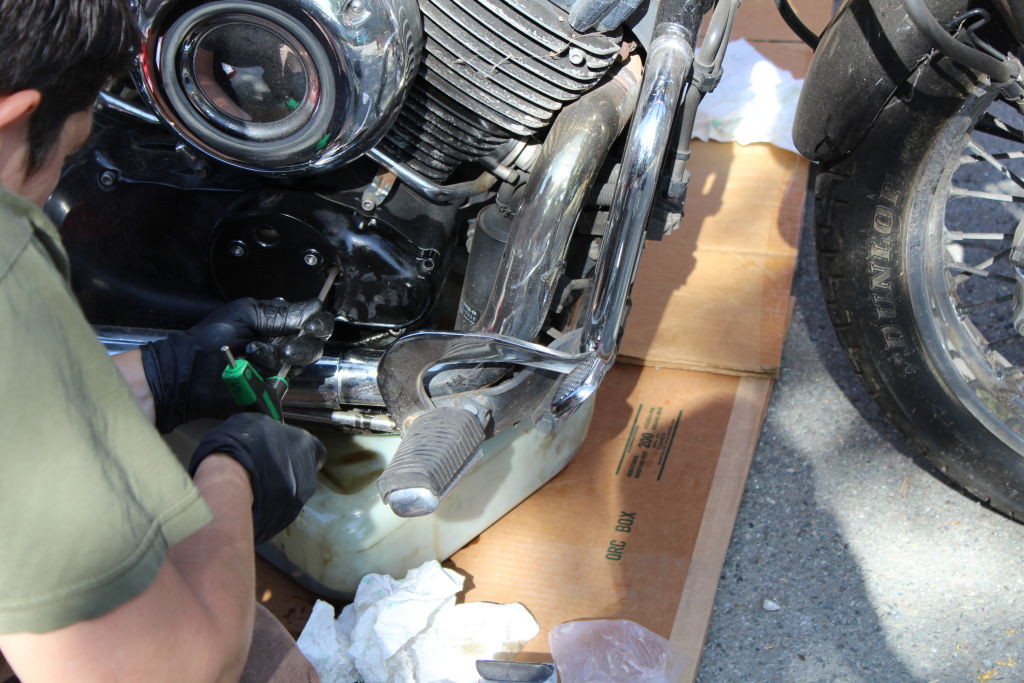
I carefully kept the 3 allen bolts with the outer cover, then began to undo the allen bolts of the inner cover.

Removing allen bolts from the inner oil filter cover

Removing allen bolts from the inner oil filter cover

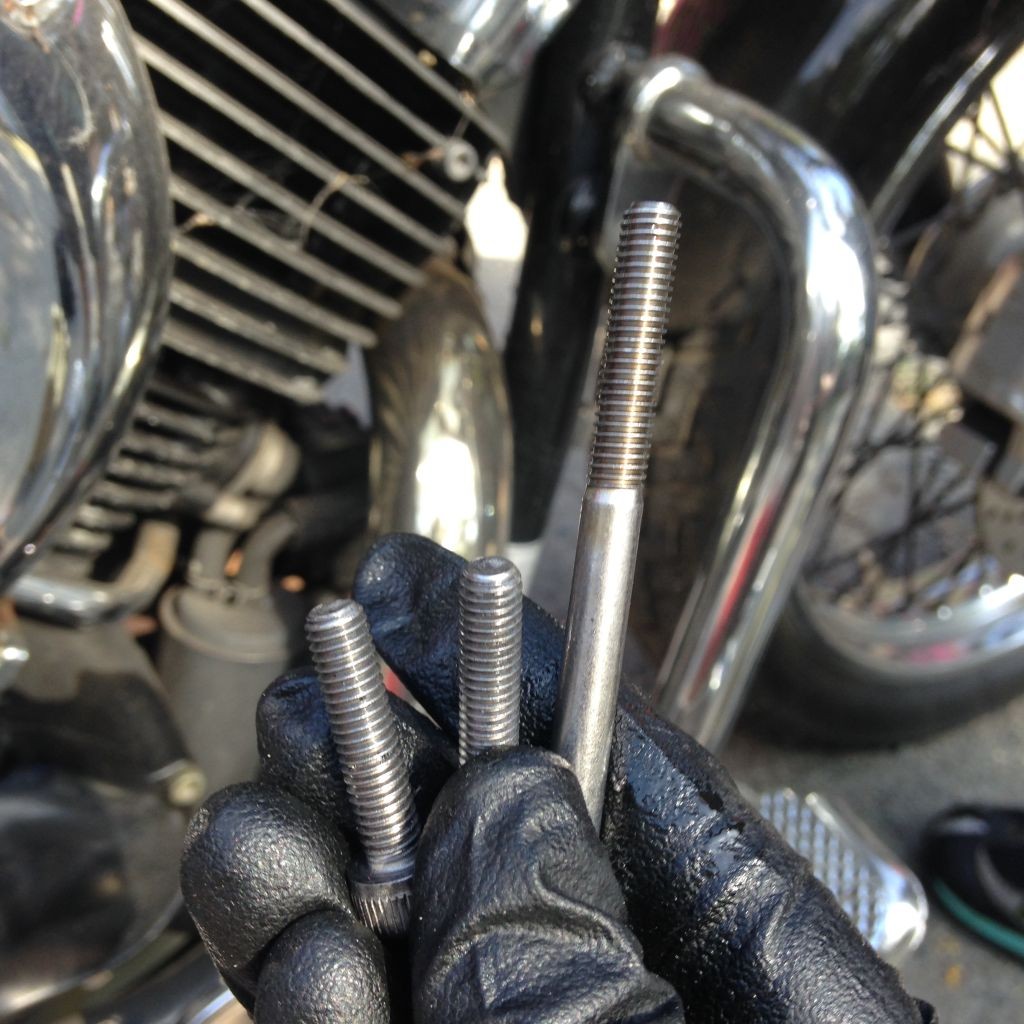
The bolts holding the inner oil filter cover are different lengths, and each must return to its proper place. Laying them out in a place they won’t be disturbed, in order, is a good idea; poking them through holes in cardboard in a way that matches the orientation of the inner cover is a good way to do it as well.

Inner oil filter bolts, different lengths

Inner oil filter bolts, different lengths

Removing the inner filter cover

Removing the inner filter cover

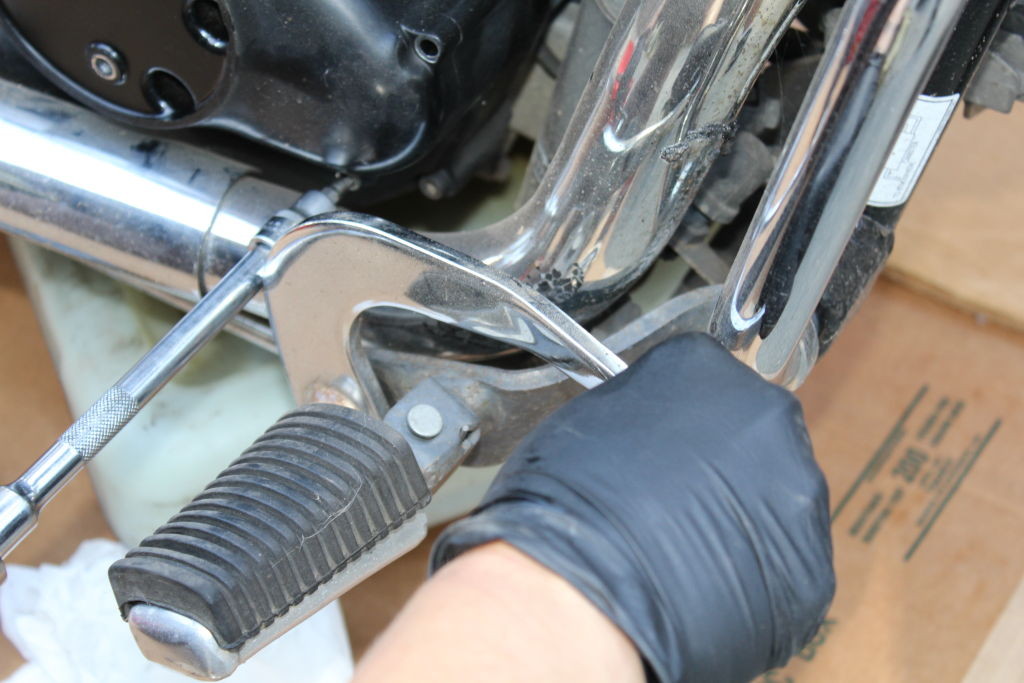
One of the allen bolts holding the inner oil filter cover is tough to get to–the rear brake pedal prevents access to its head. Try different types of allen wrenches and sockets, and most importantly, press the rear brake down with one hand while putting the tool on the bolt with the other. Again, be careful not to strip out the allen bolt–it’s easy because of the awkward access. The inner cover should be carefully handled when you remove it, too, so you don’t harm its gasket. If it does get damaged, it must be replaced or it will leak.

Pressing down rear brake pedal to access that last pesky bolt

Pressing down rear brake pedal to access that last pesky bolt

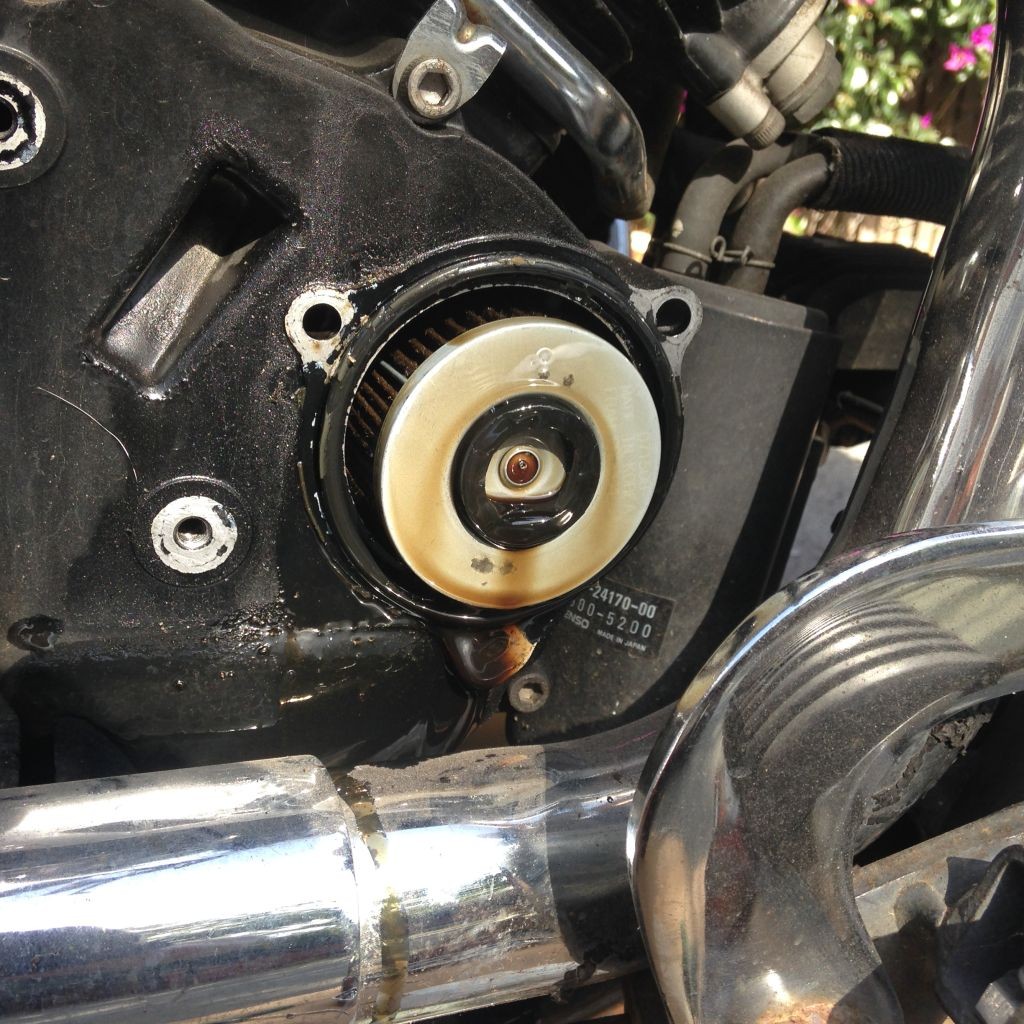
At last, I arranged all the different-length bolts in order, removed the oil filter cover, and pulled out the oil, used oil filter.

Success! The old oil filter, accessible after removing the filter cover.

Success! The old oil filter, accessible after removing the filter cover.

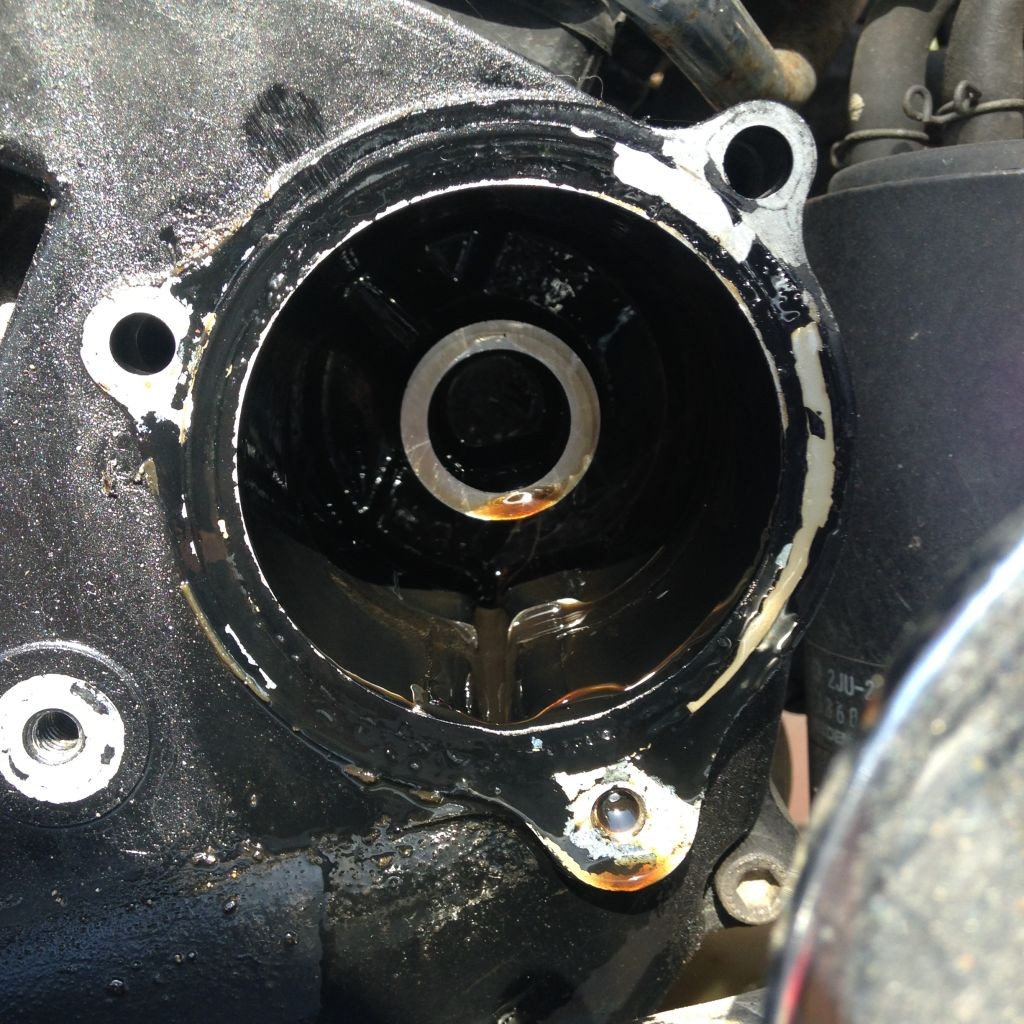
With the filter removed, I checked the empty oil filter housing for debris, sludge, or other problems, wiping it out with a rag.

The oil filter housing, empty

The oil filter housing, empty

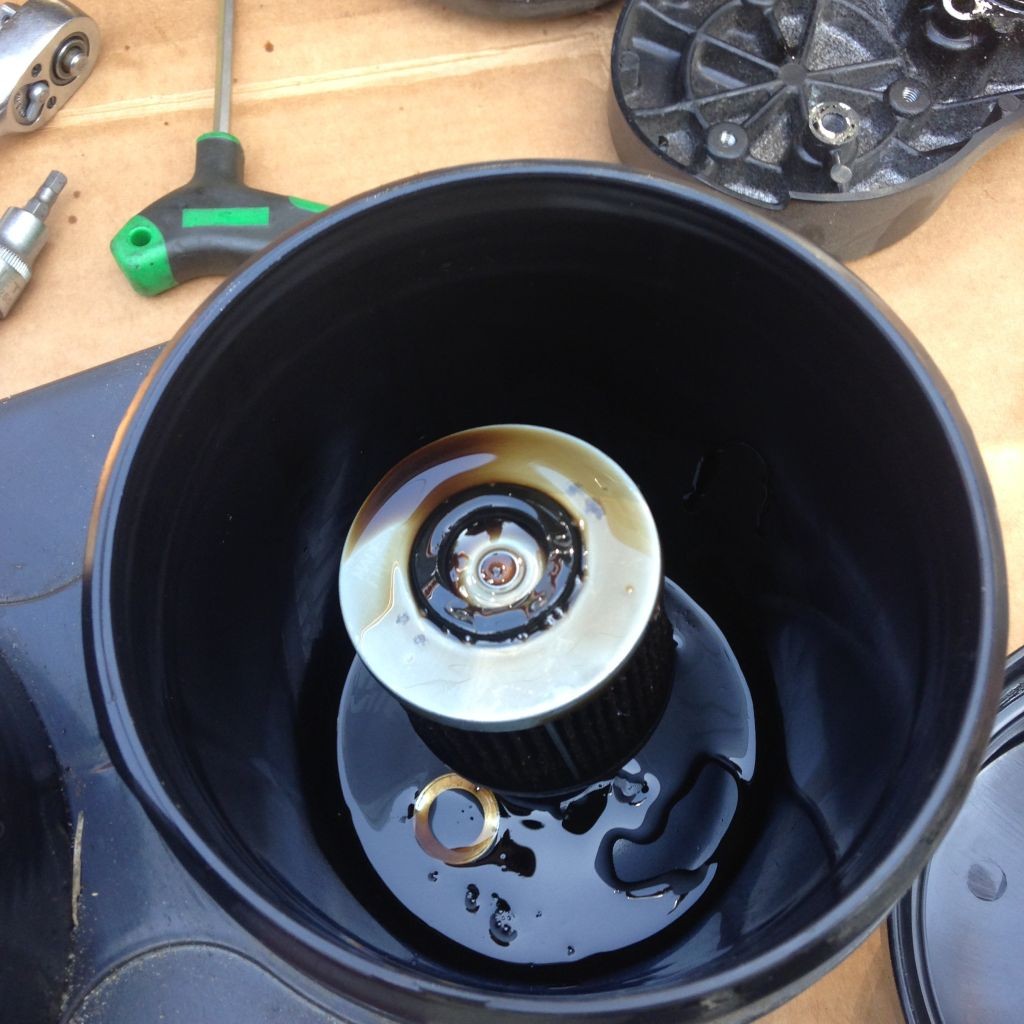
I placed the oil filter on its spike in my oil filter drainer. They can also be simply drained out over your oil pan, or on a spike or rack in the pan. Whatever method you use, the filter should drain at least overnight before you bag it in a ziploc bag and recycle it alongside your oil.

Old filter, in its filter drainer

Old filter, in its filter drainer

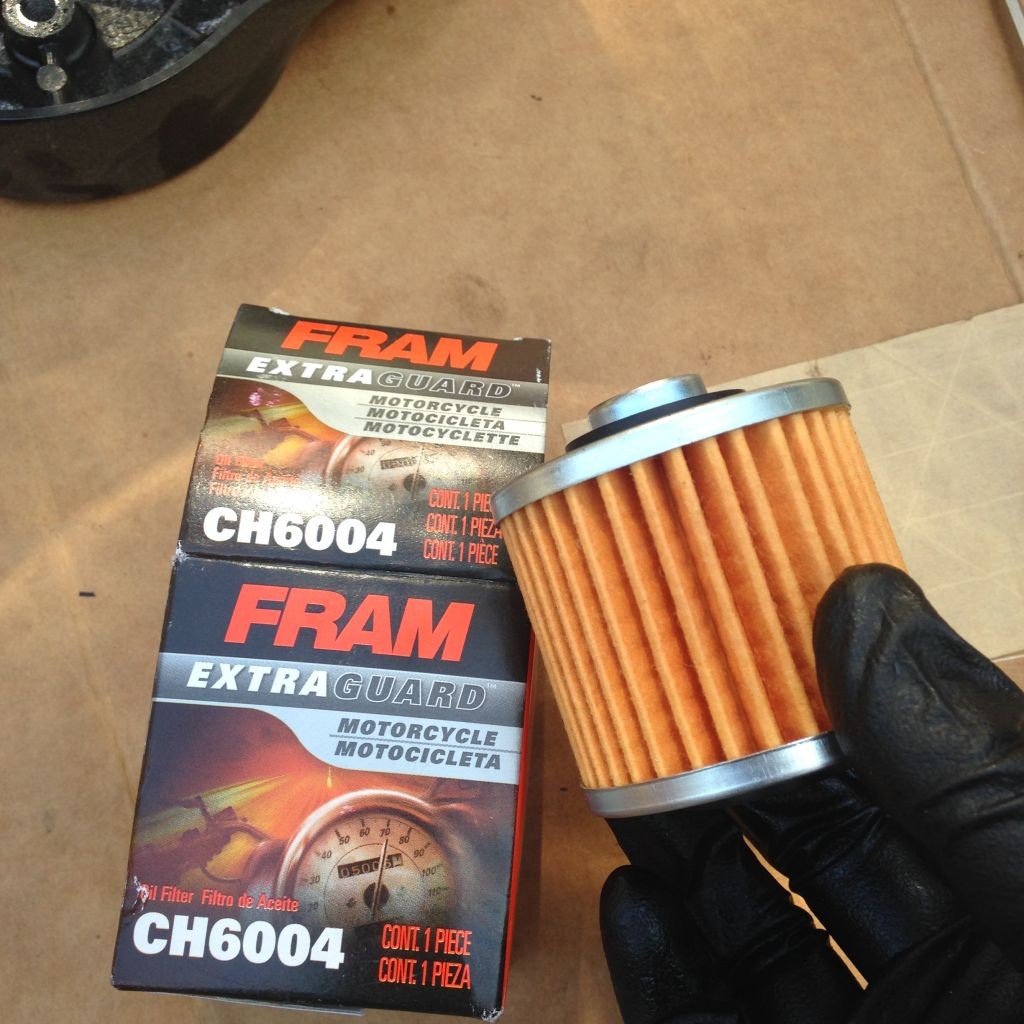
Now, it was time to install the new oil filter.

New filter ready to go

New filter ready to go

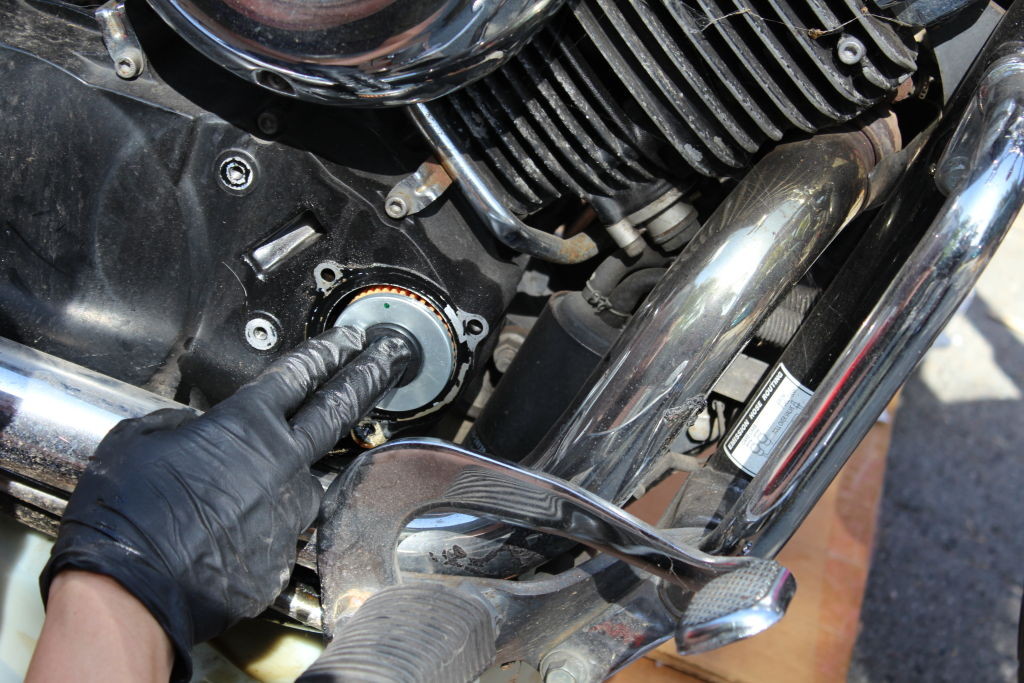
I checked all the o-rings and made sure I was inserting the new filter in the correct direction.

Inserting the new filter

Inserting the new filter

Carefully, I held the inner oil filter cover in place, and installed the varying-length bolts around its perimeter in the proper order. I torqued each bolt down gently but securely (the spec in the manual is 10Nm, or 7 ft-lb., so not much), not wanting any to strip or snap, and accessed the head of the last bolt by pressing down the rear brake pedal, as before. I also tightened the bolts in a diagonal or star pattern, so that the aluminum cover would not warp from uneven pressure.

Replacing the inner filter cover

Replacing the inner filter cover

Once the inner filter cover was secure, I replaced the outer filter cover.

Replacing the outer filter cover

Replacing the outer filter cover

With the new filter in place, I slid out the used oil pan and replaced the cap, setting it aside to recycle.

Pulling out the now-full oil pan

Pulling out the now-full oil pan

Making sure that the new crush washer was on the oil drain bolt, I re-inserted it and torqued it down firmly–but not harshly. You want to gently smush the crush washer without damaging the aluminum threads or case. If you use a torque wrench, the manual calls for 43 Nm (31 ft-lb) of torque on the drain bolt.

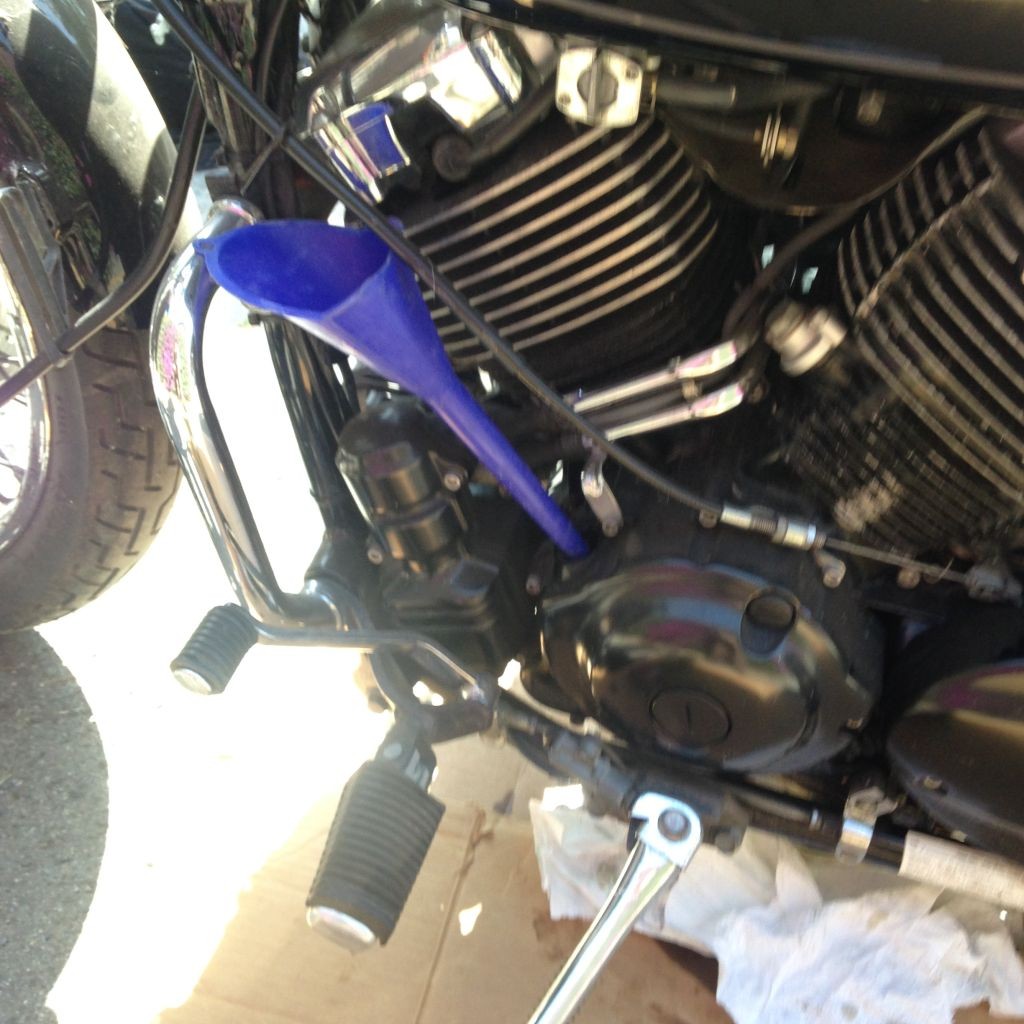
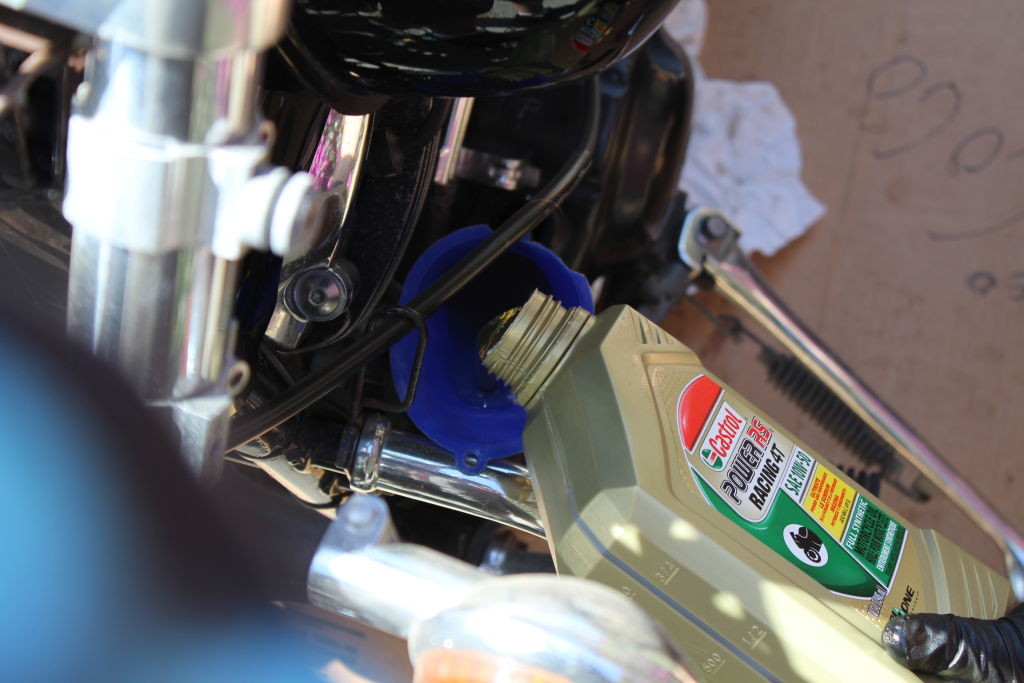
I opened the oil-filler cap and placed a long-necked funnel in the opening.

Funnel in place to re-fill the engine

Funnel in place to re-fill the engine

The oil capacity of the V-Star 650 is 2.97 quarts; the bike owner had 4 quarts on hand just in case–a wise move.

Fresh new oil

Fresh new oil

I poured in 2 quarts of oil, then figured I should check the oil sight glass to monitor the rising oil level. The sight glass is low on the left side of the bike; it’s easier to have an assistant hold the bike upright while you sit or crouch and look at the sight glass. It’s in the middle of the photo below.

The oil sight glass, just visible on the side of the engine

The oil sight glass, just visible on the side of the engine

I poured oil and checked the sight glass repeatedly, with my helper holding the bike upright, until the sight glass was completely full. I let the oil settle for a couple of minutes, then started up the bike and let it run for 3 minutes to circulate the new oil through the engine and filter. The level dropped somewhat, once I’d allowed the bike to cool for another 3-5 minutes, so I topped off the level and started the bike for another 3 minutes, then waited for another 3-minute cooldown.

Pouring in fresh oil

Pouring in fresh oil

After a couple of running and cooling down cycles, the oil level was perfect–almost to the top of the sight glass.

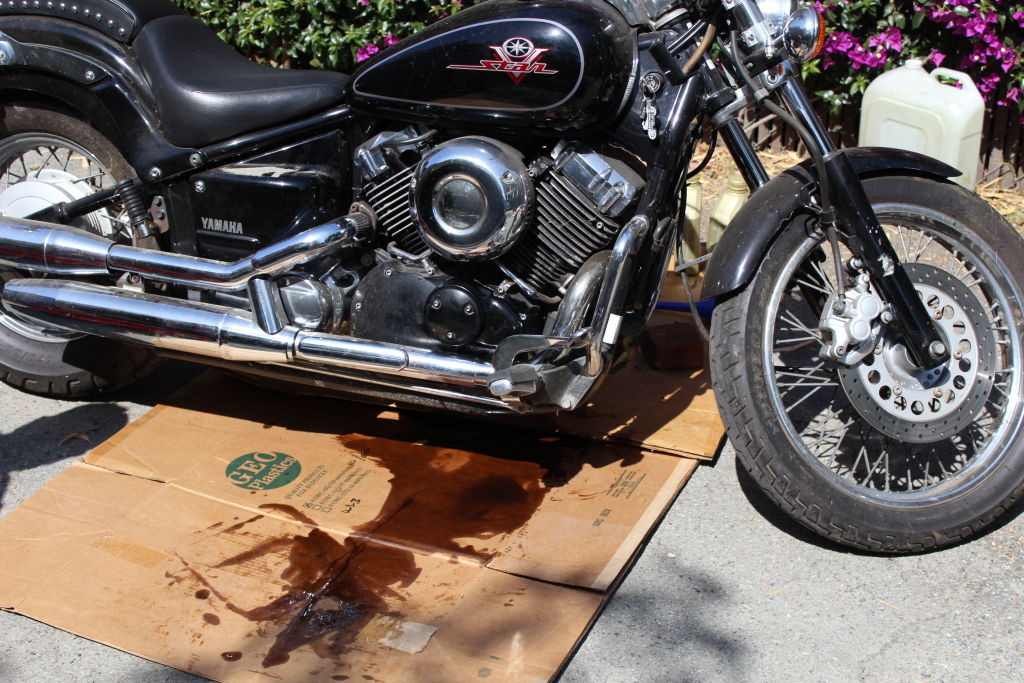
The V-Star 650, ready to ride. Glad that cardboard was there!

The V-Star 650, ready to ride. Glad that cardboard was there!

Glad that cardboard was there to prevent an oily mess in my driveway! The bike had a fresh oil and filter, and I put my tools away, cleaned up, and sealed the used oil in jugs and the used filter in my drainer for later recycling. I’m lucky enough to have an auto parts store that recycles oil a mile from my home, and that’s where I took the oil and filter for recycling.

Find out how to easily recycle your used oil and filters in San Mateo County, San Francisco, Alameda County, Sonoma County, Napa County, Marin County and Sacramento. If you’re not in those counties, find your own convenient oil and filter recycling location HERE.

Note: Several of these photos were taken by the bike owner, Sue Bennett. Thanks Sue, two hands are better than one!

Marin County–Free Oil Change Kit Program at Marin HHW

Yesterday, the Riders Recycle team toured the Marin Household Hazardous Waste (HHW) facility in San Rafael. It’s an expansive place, with areas for household and business hazardous waste disposal, automotive waste disposal (including oil and filter recycling, naturally), a materials processing and handling site, and even a pilot mini-farm program where food waste is separated out and fed to the resident pigs. The sound of roaring garbage trucks mingles with the cries of the peacocks wandering around the grounds–it’s quite a place.

IMG_1457

Unlike many other county household hazardous waste places, Marin’s has solid, regular hours; residential dropoff is accepted from 8:00 am to 3:30 PM, Tuesday through Saturday. If you’re a Marin county resident, drive on in, pull up to the residential dropoff lane, and the Marin HHW team, in their sharp Tyvek suits, will even unload your car or truck for you.

IMG_1459

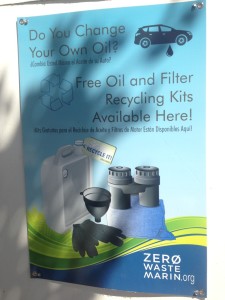
Kathy Wall, Marin’s own household hazardous waste coordinator, has partnered with Marin ZeroWaste and Riders Recycle to provide county residents with oil change kits for motorcyclists and motorists. Each one consists of a motorcycle and standard automobile-sized 6-quart drain pan, a double oil filter drainer to keep your filters drained and not leaking on your garage or car floor, a shop rag, a pair of nitrile gloves to protect your hands, and a quality no-glug funnel. Everything you need to change and recycle your oil and filters, right there. A 15-quart drain pan is also available for vehicles, such as diesels, which have a large capacity oil sump; just ask.

Here's the kit--funnel, pan, drainer, gloves, and rags

Oil recycling kits with 15-quart pans

Oil recycling kits with 15-quart pans

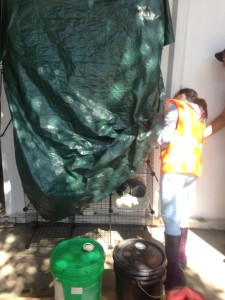
When you pull up to the unloading spot, take a look for the free oil change kit sign on the side of the building. There, on the wire-mesh shelves placed against the building, you will find stacks of free oil change kits.

Get your free oil recycling kits here!

Here's where the kits are located--shelves beneath the tarp

You can find the Marin HHW facility’s website here: http://marinhhw.com/
Their physical address is: 565 Jacoby Street
San Rafael, CA 94901
Phone: 415-485-6806

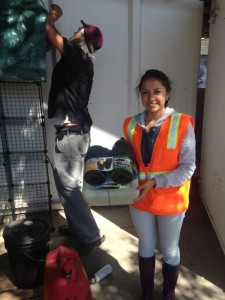
HHW coordinator Kathy Wall shows off an oil change kit.

HHW coordinator Kathy Wall shows off an oil change kit.

Marin residents: Drop by, smell the smells, listen to the peacocks, and pick up a free oil change and recycling kit while you’re there.

Peacock wandering the grounds at the Jacoby Street HHW facility

Peacock wandering the grounds at the Jacoby Street HHW facility