Now that you’ve changed the engine oil, how about those other fluids?

There’s no greasy chain to adjust on a shaft-driven bike. But there is regular maintanence. If you don’t do it, you’re liable to destroy the seals and gears spinning inside. The replacement cost will make you wish your bike had a chain.
That’s why changing the final drive oil on a regular basis is key. Many people recommend it be done at 6,000-mile intervals — or about every time you change your motor oil.

Getting final drive oil into the pan requires ingenuity and good scotch.

Fortunately, it’s even easier than changing your oil.
Here’s what you do on a classic shafty, the BMW R1150RT:
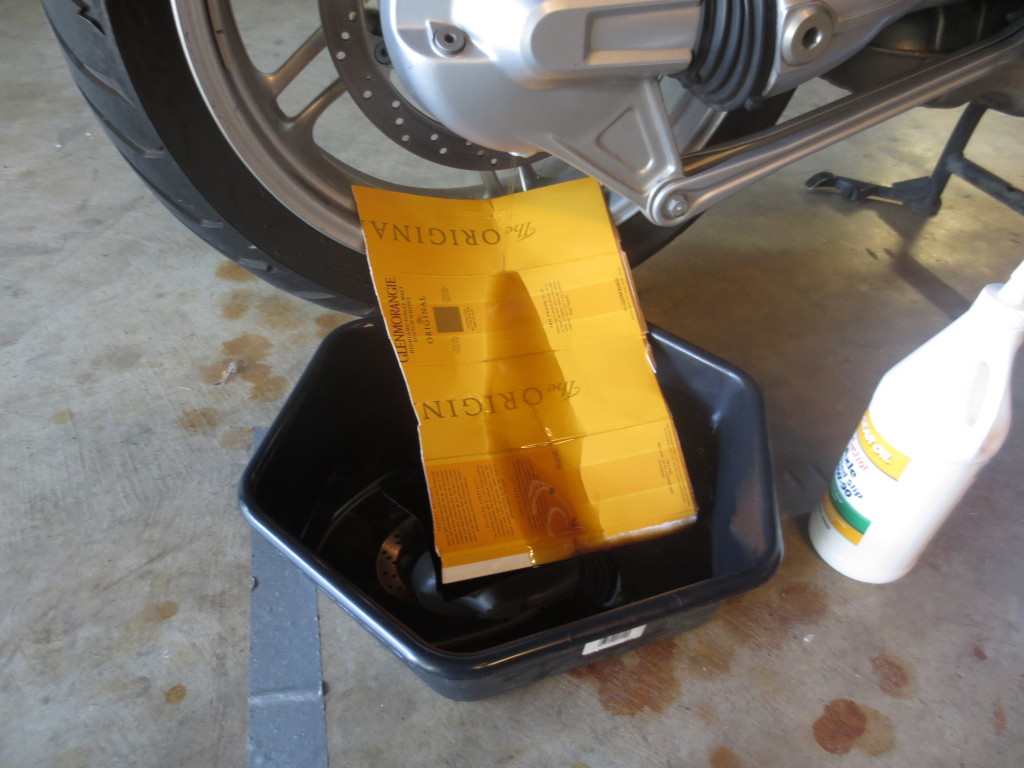
First, gather your tools. You’ll need a torque wrench and a 6mm allen wrench for the filler plug, located on top of the rear hub. A 19mm socket fits the drain plug below it. Get a drain pan and cut a piece of cardboard or other material to keep the oil from draining onto your rear wheel. Also, you’ll need a small funnel and possibly a measuring cup.

Final drive drain plug is attractive, literally.

For oil, almost any GL-5 rated gear oil in the 75-90 weight will do. I am using Castrol 80-90, non-synthetic gear oil ($6.99 per quart at Kragen). Also, you must have two new crush washers. They are about 50 cents each at the dealer.
Start by positioning the drain pan under the drain plug with the cardboard chute in place. Remove the filler plug first. Then unscrew the drain plug and let the oil flow out. Inspect the plug. It has a magnet on it to catch metalic debris and keep stuff out of the works. If there’s a lot of metal on your plug, start saving for a new final drive.
Clean it off, put a new crush washer on it and screw it back in by hand. Torque it to about 17 foot-pounds.
Fill the final drive with fresh oil. It takes 230 ml or about 8 ounces. You may need a separate measuring cup if the oil bottle doesn’t have markings on the side. Castrol gear oil has a narrow tipped end that is perfect for getting the oil into the small filler hole.

Filler up.

Once you’ve filled it, put the filler plug in with a new crush washer. Tighten to 17 foot-pounds also. Dump the used oil in with the other stuff you’re recycling. I put it all in one-gallon iced tea jugs from Trader Joe’s. I like them because they are clear and have wide openings.

Bill’s garage: Oil change for the ’02 BMW R1150RT

As you’ve seen, changing the oil and filter on a motorcycle is a relatively simple task that even a beginner can do. Servicing this BMW sport-tourer is no different. Here’s a straightforward how-to on the bike.

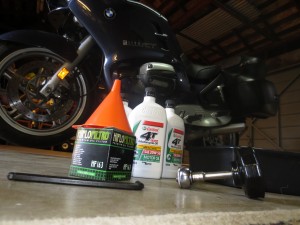
Everything you need except the torque wrench and the beer.

First, assemble your tools and parts. You’ll need four liters of moto-specific oil. I use Castrol 20-50 4T because it’s cheap and they stock it at my local auto parts store. My filter is a Hiflofiltro HF163 ($9.95) instead of the BMW-branded filter at $18.95. In addition, you’ll need two new crush washers and shop towels.

For tools, you’ll need a torque wrench, a ratchet, a 76mm filter wrench, an 8mm allen head wrench or driver, an oil catch pan and a funnel. An aftermarket service manual is a nice thing to have, too.

(Find out how to get free oil and filter drainer gear and recycle your oil and filters in San Mateo County, San Francisco, Alameda County, Sonoma County, Napa County, Marin County and Sacramento.)

Knowledge is power. Always have a shop manual nearby.

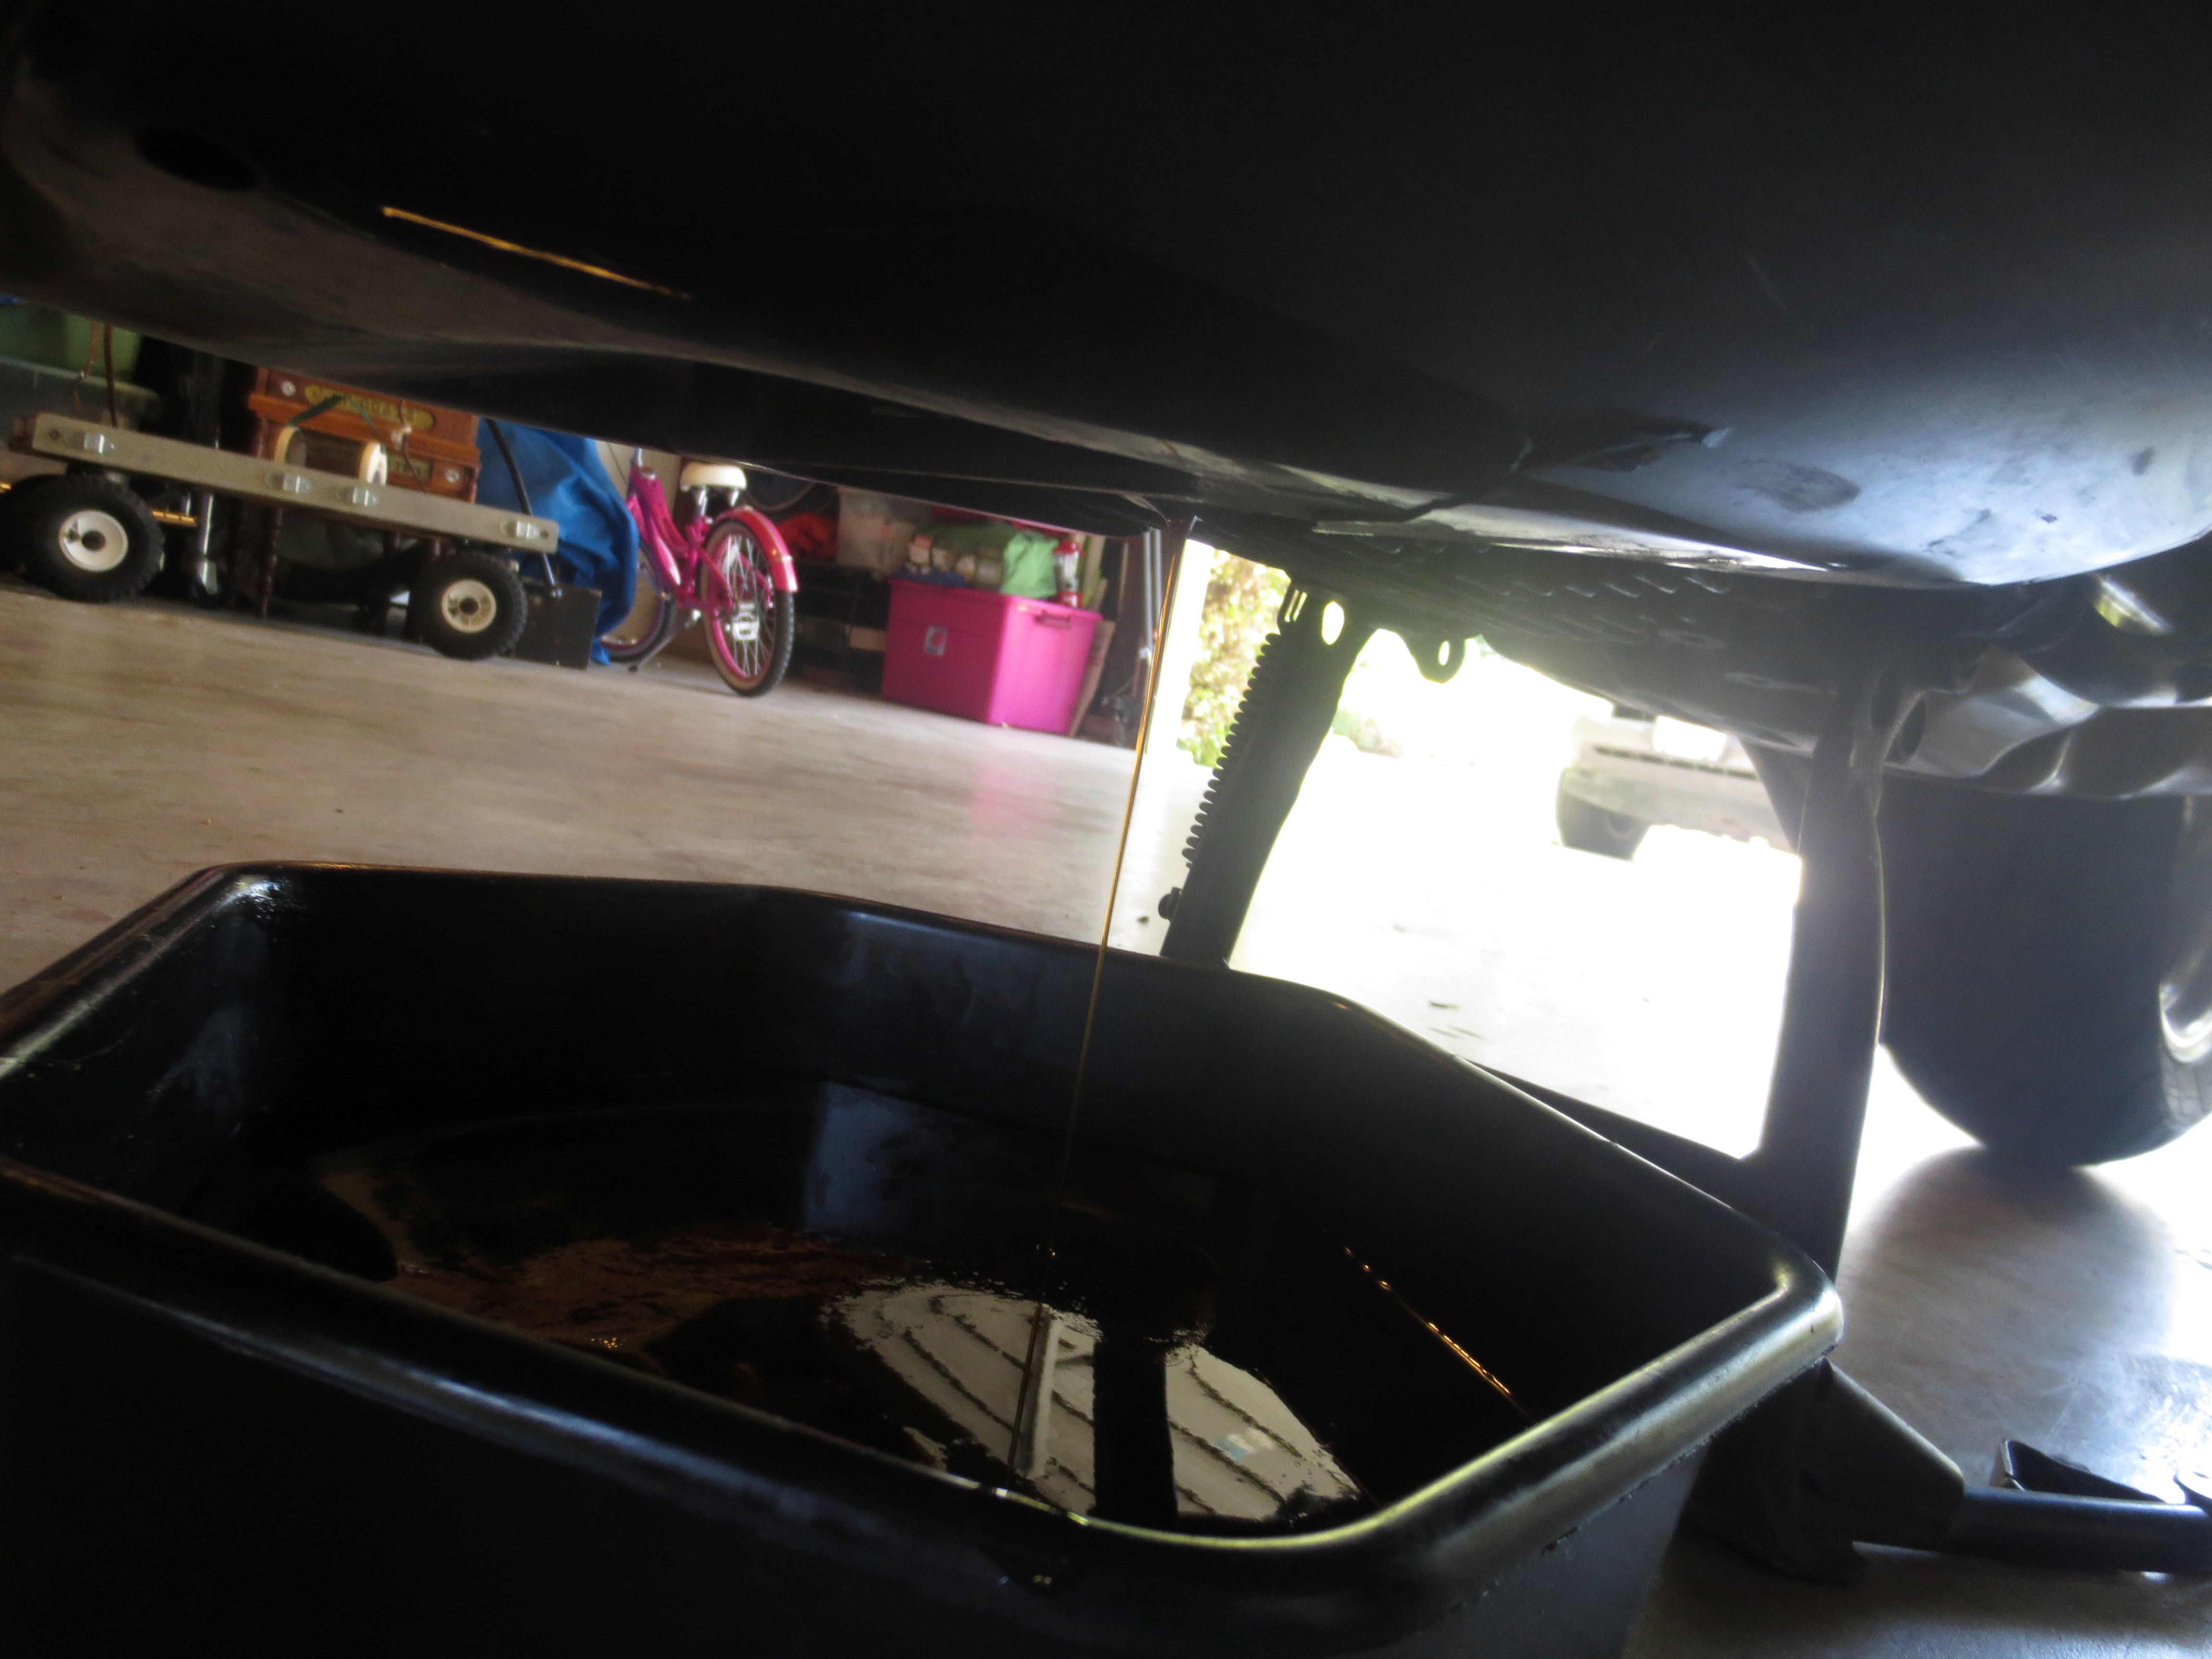
Get the bike hot and park it on the center stand. No need to remove the fairing. You can reach everything. Postion the catch pan and remove the drain plug with the 8mm driver. The plug is located on the bottom of the engine case. Be careful not to let it fall in the oil.

Drain plug with oil filter on right. Pink Schwinn in background.

Thar she blows!

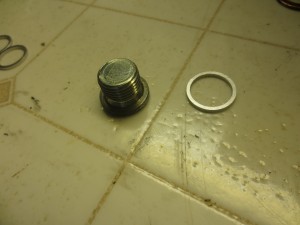
Discard the old crush washer in a place where you won’t accidentally reuse it.

Clean plug and new crush washer.

Next, grab your filter wrench and ratchet and remove the filter. It is in a recessed spot near the drain plug. If the rubber gasket is not in the old filter when you take it out, check to be sure it isn’t stuck to the case. If so, reach up and pull it out.
Prepare your new filter by filling it with oil and spreading a bit of oil on the rubber gasket to help the seal.

Priming the filter and wetting the seal

Clean off any grit from the engine case before installing the new filter. The filter should be torqued to just 8 foot-pounds or about hand-tight.

You put the lime in the coconut … or something like that

Going up. Installing the filter.

Clean the drain plug, put a new crush washer on it and install it, torquing it to 23 foot-pounds. Don’t overtighten.
Now you’re ready to fill the bike with oil. It will take about 3.75 liters. Don’t overfill it. It goes in the oil cap atop the left cylinder head. I use a small funnel and pour the oil carefully, so it doesn’t spill on the engine.

Oil goes in da hole.

Check your oil level by looking at the sight glass below the cylinder and behind the fairing. A flashlight helps to see it.
Finally, start the bike and check for leaks.
Pour the old oil in a jug and take it back to the auto parts store to recycle it. Find out how to easily recycle your used oil and filters in San Mateo County, San Francisco, Alameda County, Sonoma County, Napa County, Marin County and Sacramento. If you’re not in those counties, find your own convenient oil and filter recycling location HERE.

High-tech records management system

I usually write the mileage and date on a piece of masking tape and stick it somewhere on the fairing. In 6,000 miles or so, I’ll change the oil and filter again.
You’re done!
–BV

Scooter Time! Change the Oil on That Honda Elite 80

Changing your own oil makes for an easy and satisfying Do-It-Yourself project requiring a minimum of tools and supplies, saves you money at the bike shop or dealership, and helps you learn to keep your scoot purring along in fine mechanical shape. It’s an easy job, and the Elite has no oil filter. The Elite 80 has a little square on its dashboard, usually green, that switches to red every 3,000 miles. This indicates that it’s time to change your oil…though in practice, I’ve seen many scooter mechanics advocate changing the oil every 1,000 miles, just to be sure. In any case, the oil on this little scooter was 2100 miles and over a year old, so I prepped for an oil change.

Supplies you'll need to change the oil on a Honda Elite 80

I gathered all the supplies I’d need–

  • the Honda,
  • a jug of 10w40 oil (plain ol’ automotive oil is fine, as long as it does not have an “Energy Conserving” label on the back),
  • pan,
  • funnel,
  • a cleaner or solvent (I like Winzer MPS-100, but Simple Green is fine too, with a rinse afterward)
  • a jug for waste oil,
  • an 8mm metric allen or hex wrench to remove the oil drain bolt,
  • nitrile gloves to keep my hands clean,
  • paper towels or rags for cleanup,
  • and a new crush washer.
  • With everything I needed at hand, it was time to change some oil. First, to drain the oil in a small scooter effectively, you often need to tilt the machine to help it drain. I placed a board under the right foot of the scooter’s center stand, to help the scoot lean and drain to the left.

    Note the board placed under the right foot of the centerstand--to help the oil drain

    Here, you can see how I tilted the scooter up and placed the oil pan directly underneath the centerstand, with the left foot of the stand actually sitting in the pan. If you aren’t comfortable slinging the scooter around at such sharp angles, you could use a large funnel to catch the oil and direct it over into the pan.

    I located the drain bolt on the left side of the scooter’s engine.

    The red arrow indicates the oil drain bolt

    Other views of the tilted scooter.

    Maximizing oil drainage with oil pan and board propping up the scooter at an angle

    From behind, this shows the tilt of the scooter when placed on a board for drainage

    I used the 8mm allen wrench to loosen and remove the drain bolt.

    Removing the oil drain bolt

    With the drain bolt out (be careful not to burn your hands if the engine and oil are hot), the oil can flow freely into your catch pan.

    With the drain bolt gone, the oil begins to drain

    Remember, if the scooter is warm when you start, the oil will drain more quickly and effectively.

    Allen/hex wrench (metric size eight) with oil drain bolt

    After waiting a while for the oil to completely drain, I moved on to the next step.

    On the other side (the right side) of the scooter, I unscrewed the oil filler cap/dipstick in preparation for filling the scoot with oil.

    Then, I pulled off the old crush washer, added a new one, and replaced the oil filter bolt. Use awareness and careful feel to tighten the drain bolt–you want to slightly compress the crush washer and ensure that the bolt isn’t so loose that it works its way out, but avoid stripping the aluminum threads in the scooter’s small oil pan. Have an experienced friend or family member help you with getting the feel for bolt tightness if you feel hesitant.

    Replacing the oil drain bolt and new crush washer

    Then, with the bolt replaced and the oil drained, I was ready to take care of the old stuff and add fresh oil. I wanted the scooter to be level and perpendicular to the ground to get an accurate measurement of the oil level, so I removed the board from beneath the right side of the center stand.

    Then, I moved around to the left side, and tilted the scooter over to the right to pull the center stand completely out of the oil pan.

    Leaning the scooter so the center stand is no longer in the oil pan

    I leaned the scooter waaay over, and pushed the oil pan out from under the center stand carefully, taking care not to tip it over.

    Leaning the scooter, and now the oil pan is clear of the center stand

    With the old oil safely out of the way and the scooter level again, it was time to pour in the fresh oil. I put a funnel in the oil filler neck and slowly added oil, stopping to check the level with the dipstick frequently. A funnel with a long neck or, better yet, a flexible neck, is needed to reach the filler opening on the Elite 80–it’s pretty far down there..

    Adding oil

    Checking the level (the oil capacity is 3/4 of a quart–not much, be careful not to overfill)…

    Checking oil level--should be to the top of the checkered area on the dipstick

    And with the fresh oil in, it’s time to spray some cleaner on the oily areas beneath the scooter (if you use Simple Green, remember to rinse with water), and then to take care of the old oil. Any sturdy container with a secure cap will do for transporting the oil for recycling–I had a screw-top laundry detergent bottle rinsed and ready to go.

    Draining old oil into a container for recycling

    Draining oil into a bottle--I'll be taking this jug down to my local O'Reilly's for recycling

    The last step is to start and run the Honda for a minute or two, the turn it off, let the oil settle for 3-5 minutes, and check the level on the dipstick again, adding oil bit by bit if necessary. This allows the oil to circulate through the engine and level itself out. Remember, on Hondas and Japanese bikes and scooters in general, you check the oil level by simply setting the dipstick into its hole, not by screwing it all the way in.

    Once you've got the level right, it's time for a ride

    With that, you’re done. Give yourself some props for your mechanical accomplishment, then think about heading out for a ride…your scooter with run all the better with fresh oil!

    Don’t forget, of course, to recycle that used oil. I have curbside pickup in the city where I live, but most areas have a variety of automotive retail businesses and oil changers that will happily accept your used oil for free. For a more detailed answer about where to recycle your oil after an oil change, visit Riders Recycle’s web site.

    Engine Autopsy II–What Happened to this V-Strom?

    Our deconstruction of an oil-starved Suzuki V-Strom engine continues…
    In the last post, I took apart the top end of the engine, finding some cylinder and piston scoring from running the engine dry. Now, to dig down even further into the mystery and find the bike’s exact cause of death.

    This was our last view last time; the clutch and basket were off, revealing the oil pump gear (orange), the drive shaft (top), and the lower cam chain sprocket (left).
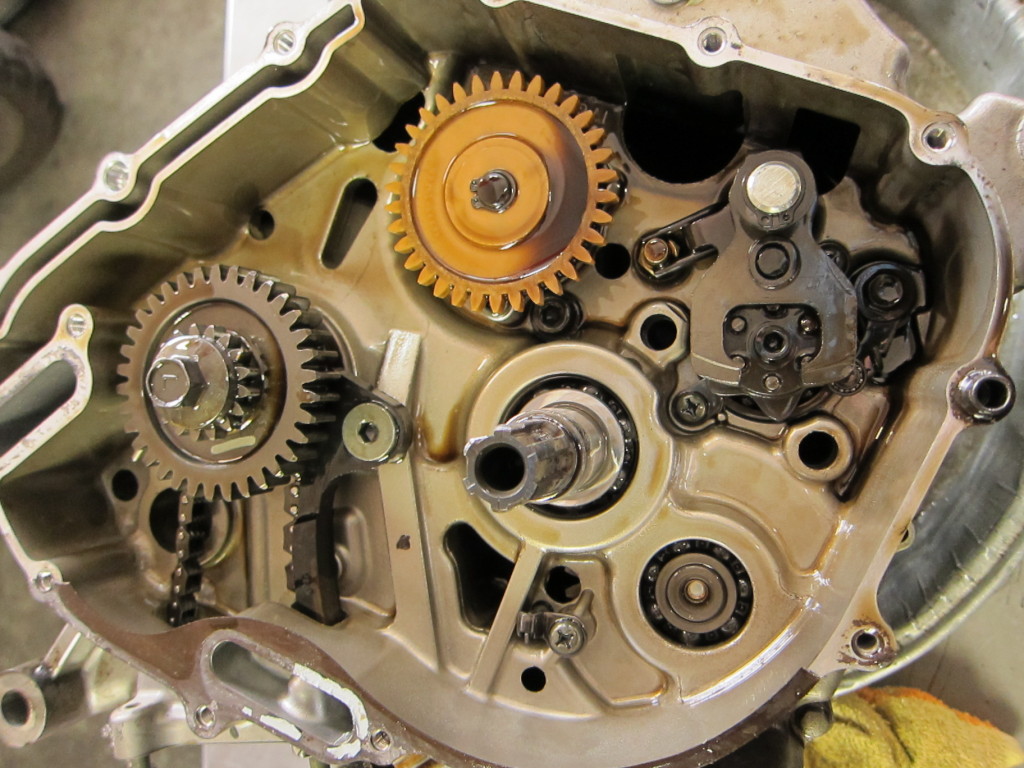
    Beneath the clutch

    Grabbing the circlip pliers, I lifted off the circlip, then the oil pump gear.

    Oil pump gear, held on with circlip

    The oil pump had a small transverse pin holding it in place below the oil pump gear. With it out of the way, the oil pump could be lifted out.

    Oil pump, freed

    The cam chain sprocket nut was reverse-threaded, and required some bearing down with the rattle gun before budging.

    The nut holding on cam chain sprocket comes off with an impact gun

    Next it was on to the gear shift plate, with the shift shaft running through the transmission below it.

    Gear shift plate--Time to start dismantling the transmission
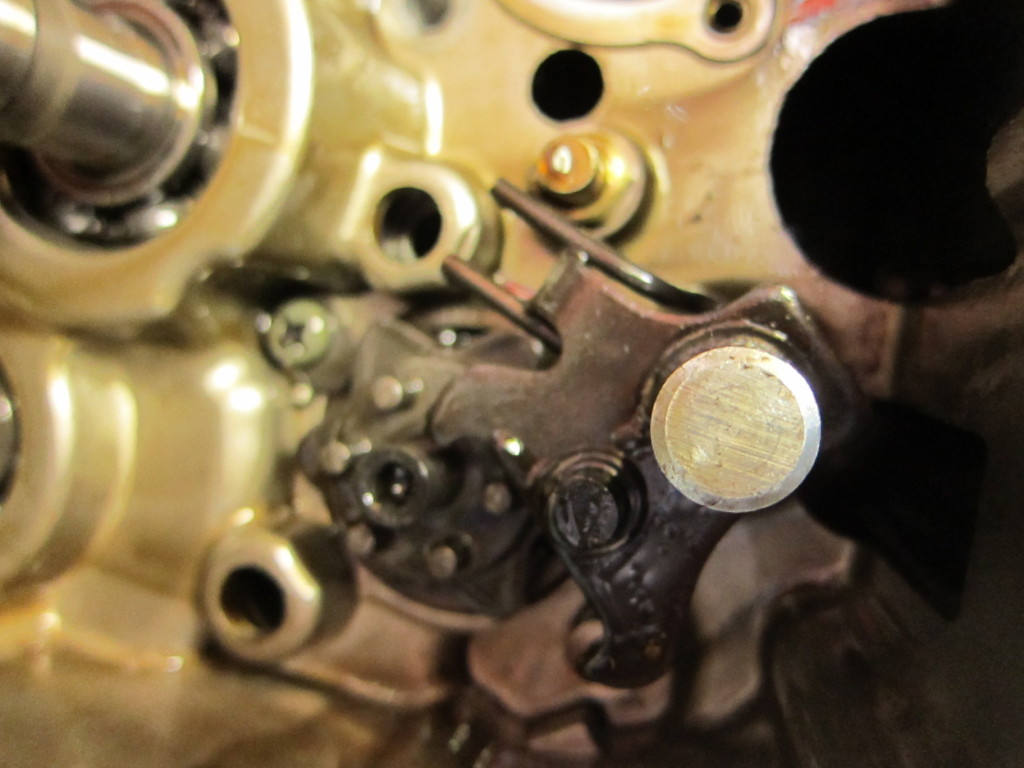
    Beneath the gear shift plate

    At that point, I was able to pull the shift shaft from the left side of the engine.
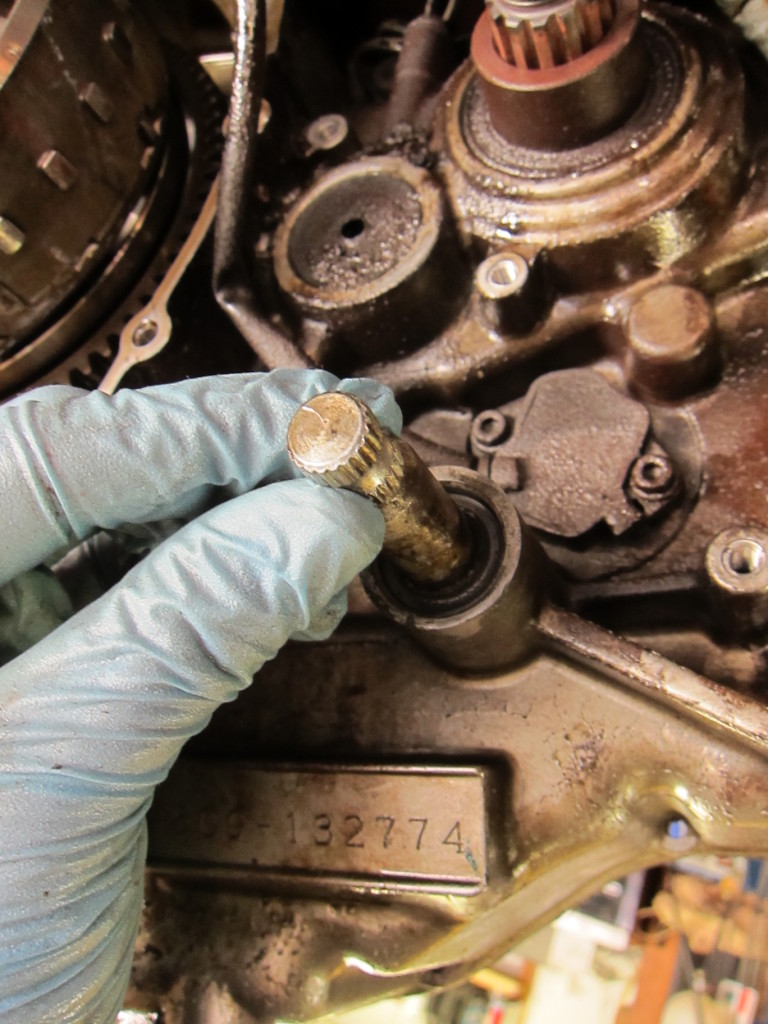
    Pulling the shift shaft

    After that was out, I began cracking loose the 8mm case bolts with my trusty T-handle.
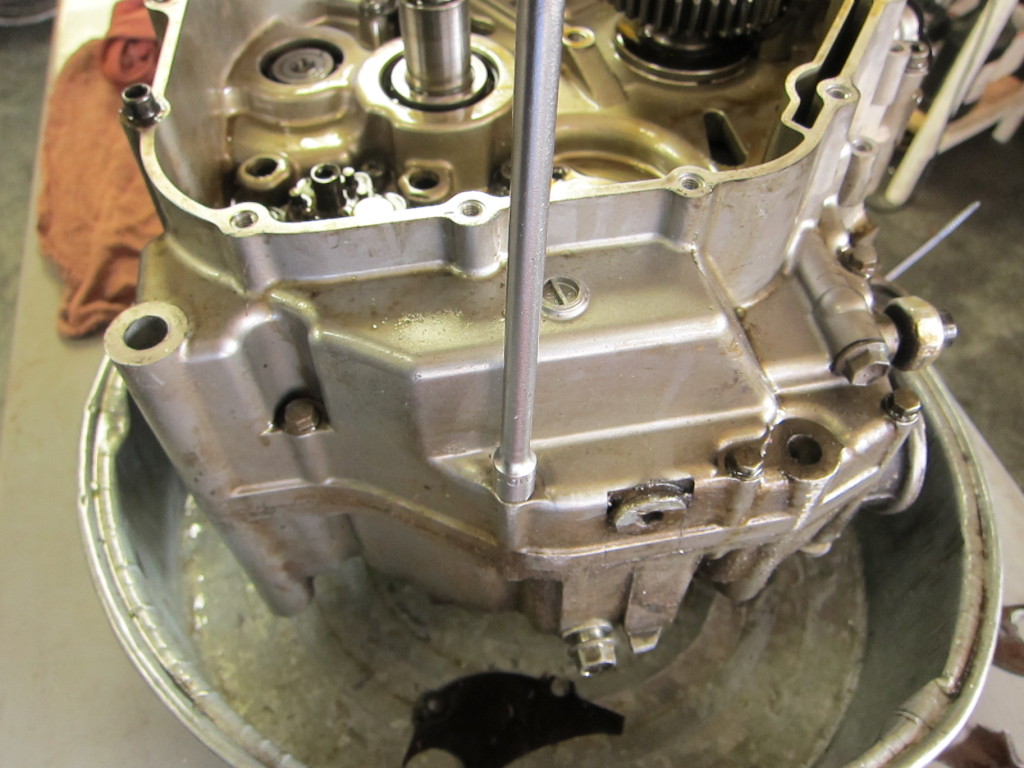
    Beginning to work on the 8mm case bolts

    Closer and closer to splitting the cases...

    With some of the easily-accessible case bolts out, it was time to turn the motor over and remove the flywheel. The retaining bolt needed an impact gun to get loose.

    Flywheel bolt--more work for the trusty impact gun

    With some effort, it came off. I moved on to the flywheel allen bolts.
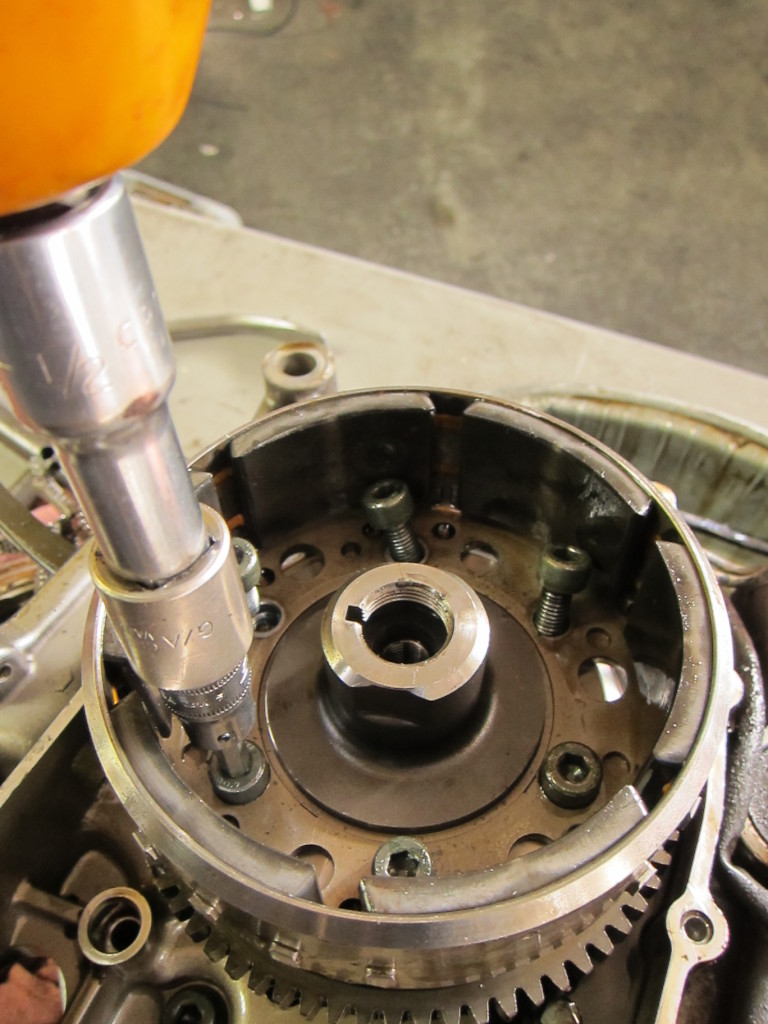
    Removing the flywheel allen bolts

    Fortunately the shop has a universal flywheel puller on hand; I threaded in the 22mm size end and prepared to do battle with the flywheel (also known as the rotor). It’s on there very tightly, and has magnets cast into it, so removing it is a memorably sweaty task.

    Threading in the flywheel puller

    I hammered on that flywheel puller and flywheel with my skinny arms for a while, until the hammer flew out of my sweaty hands and nearly hit my coworker. At last, the flywheel came off with a mighty blow.

    Victory! The detached flywheel

    Removing plate and gears below the flywheel/rotor
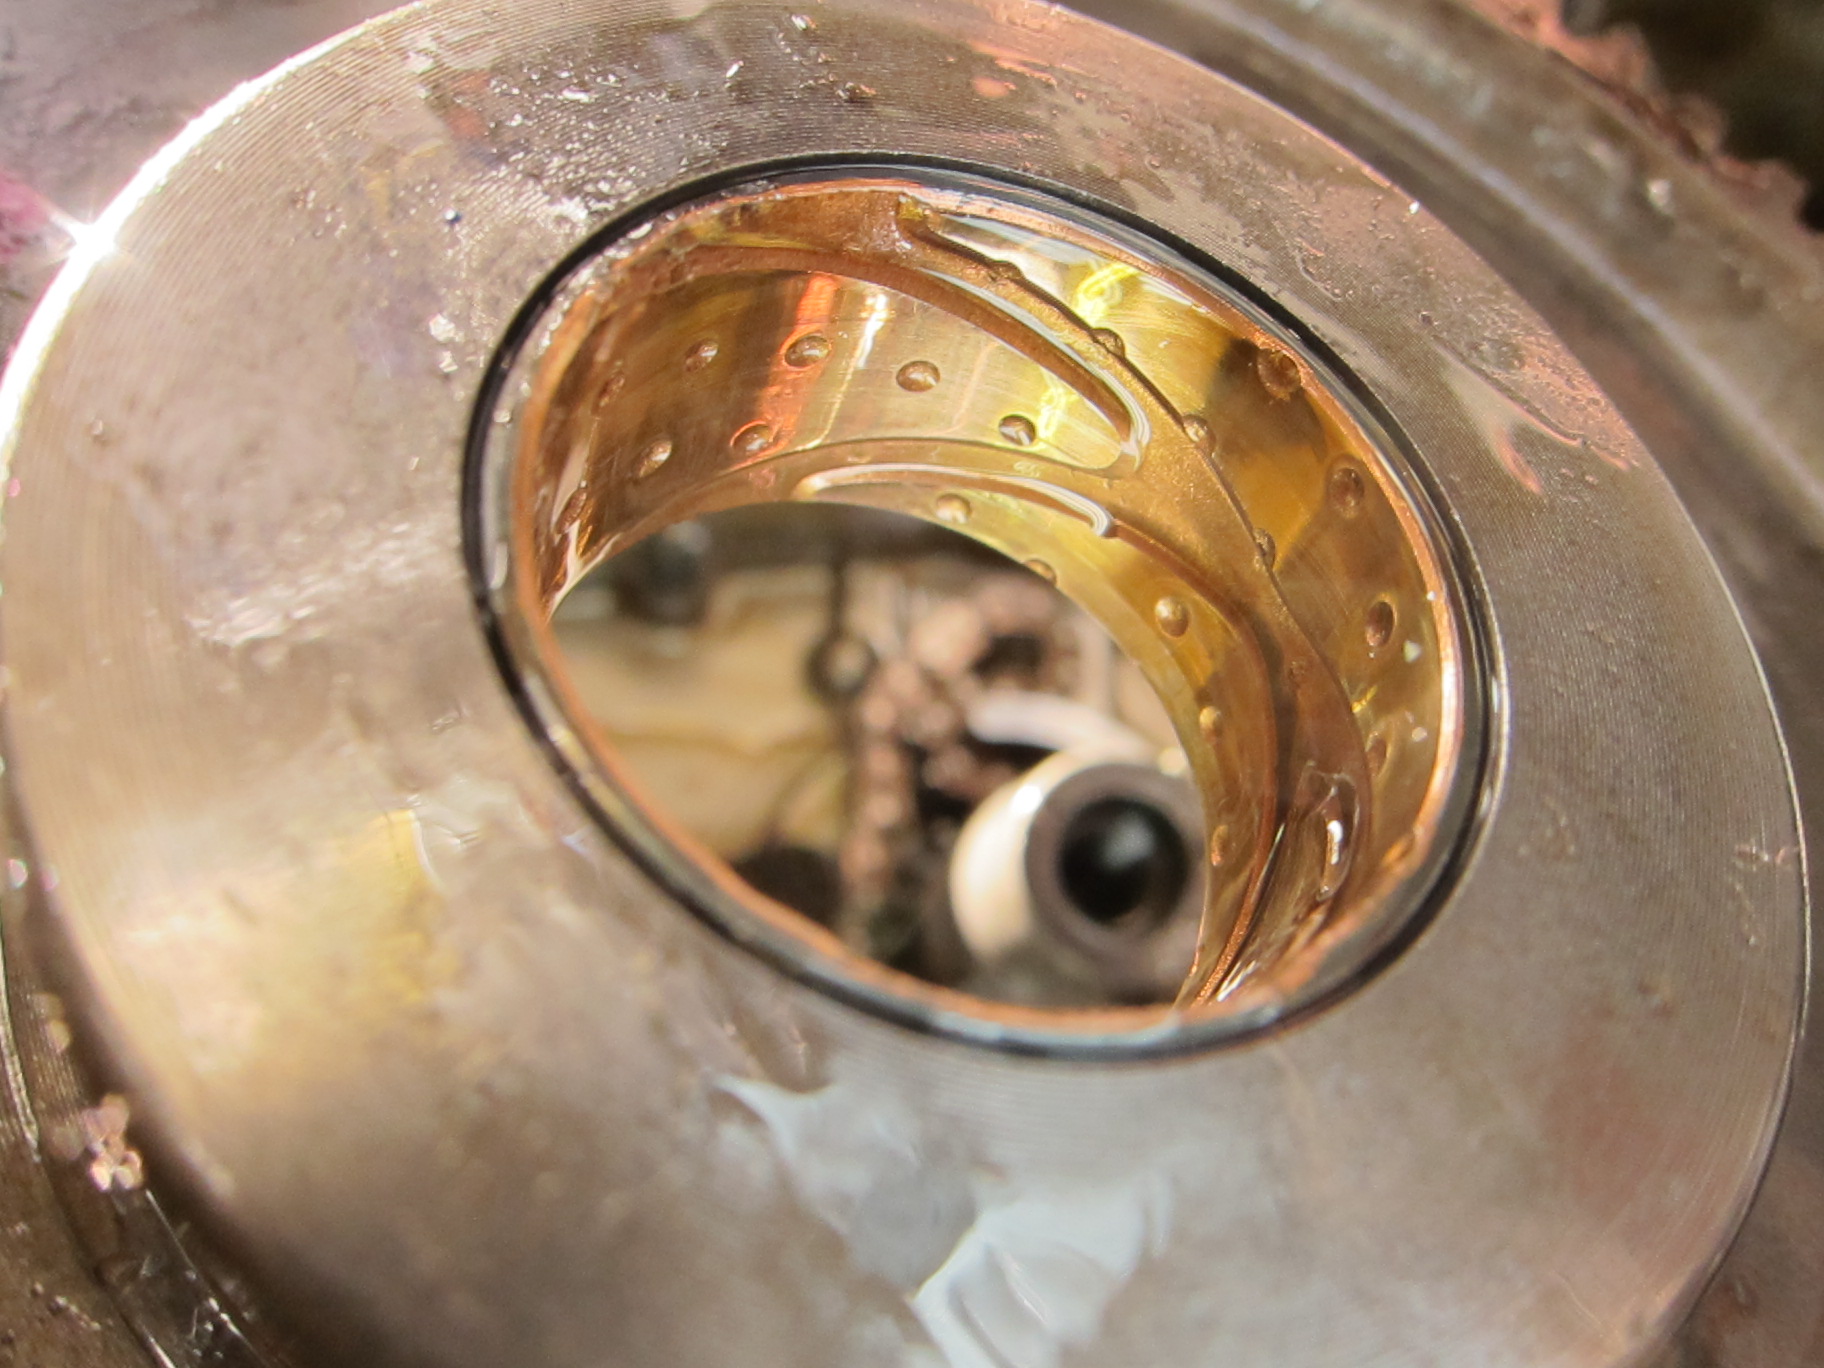
    Fascinating slotted insert/worm gear insert beneath the flywheel

    With the flywheel and supporting plate and gear gone, the drive shaft was exposed.
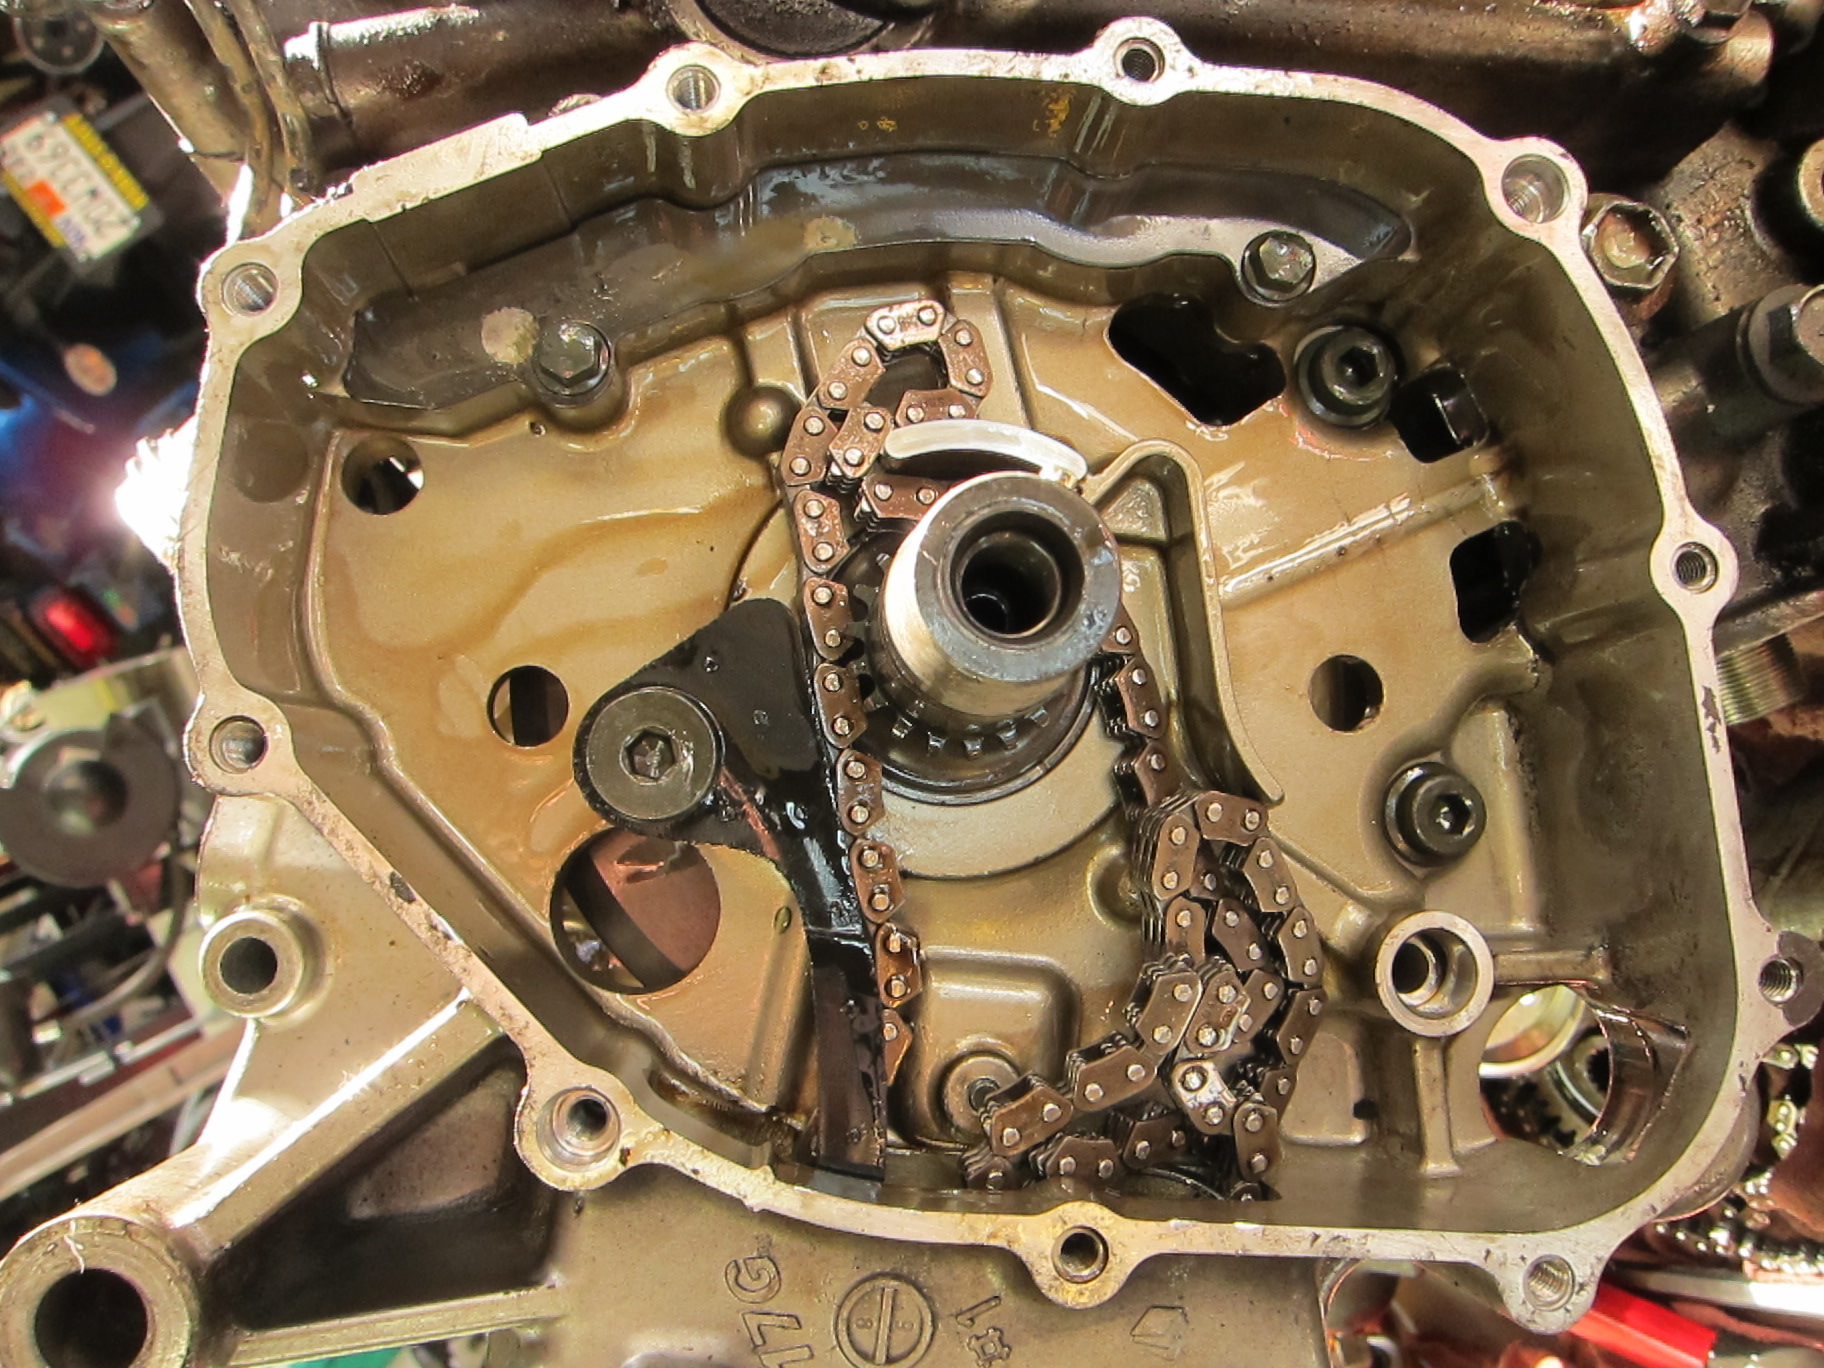
    Crankshaft exposed--note loose cam chain

    Then there were a few loose ends to clean up before splitting the cases; I pulled the oil pipe and the star gear from the transmission.
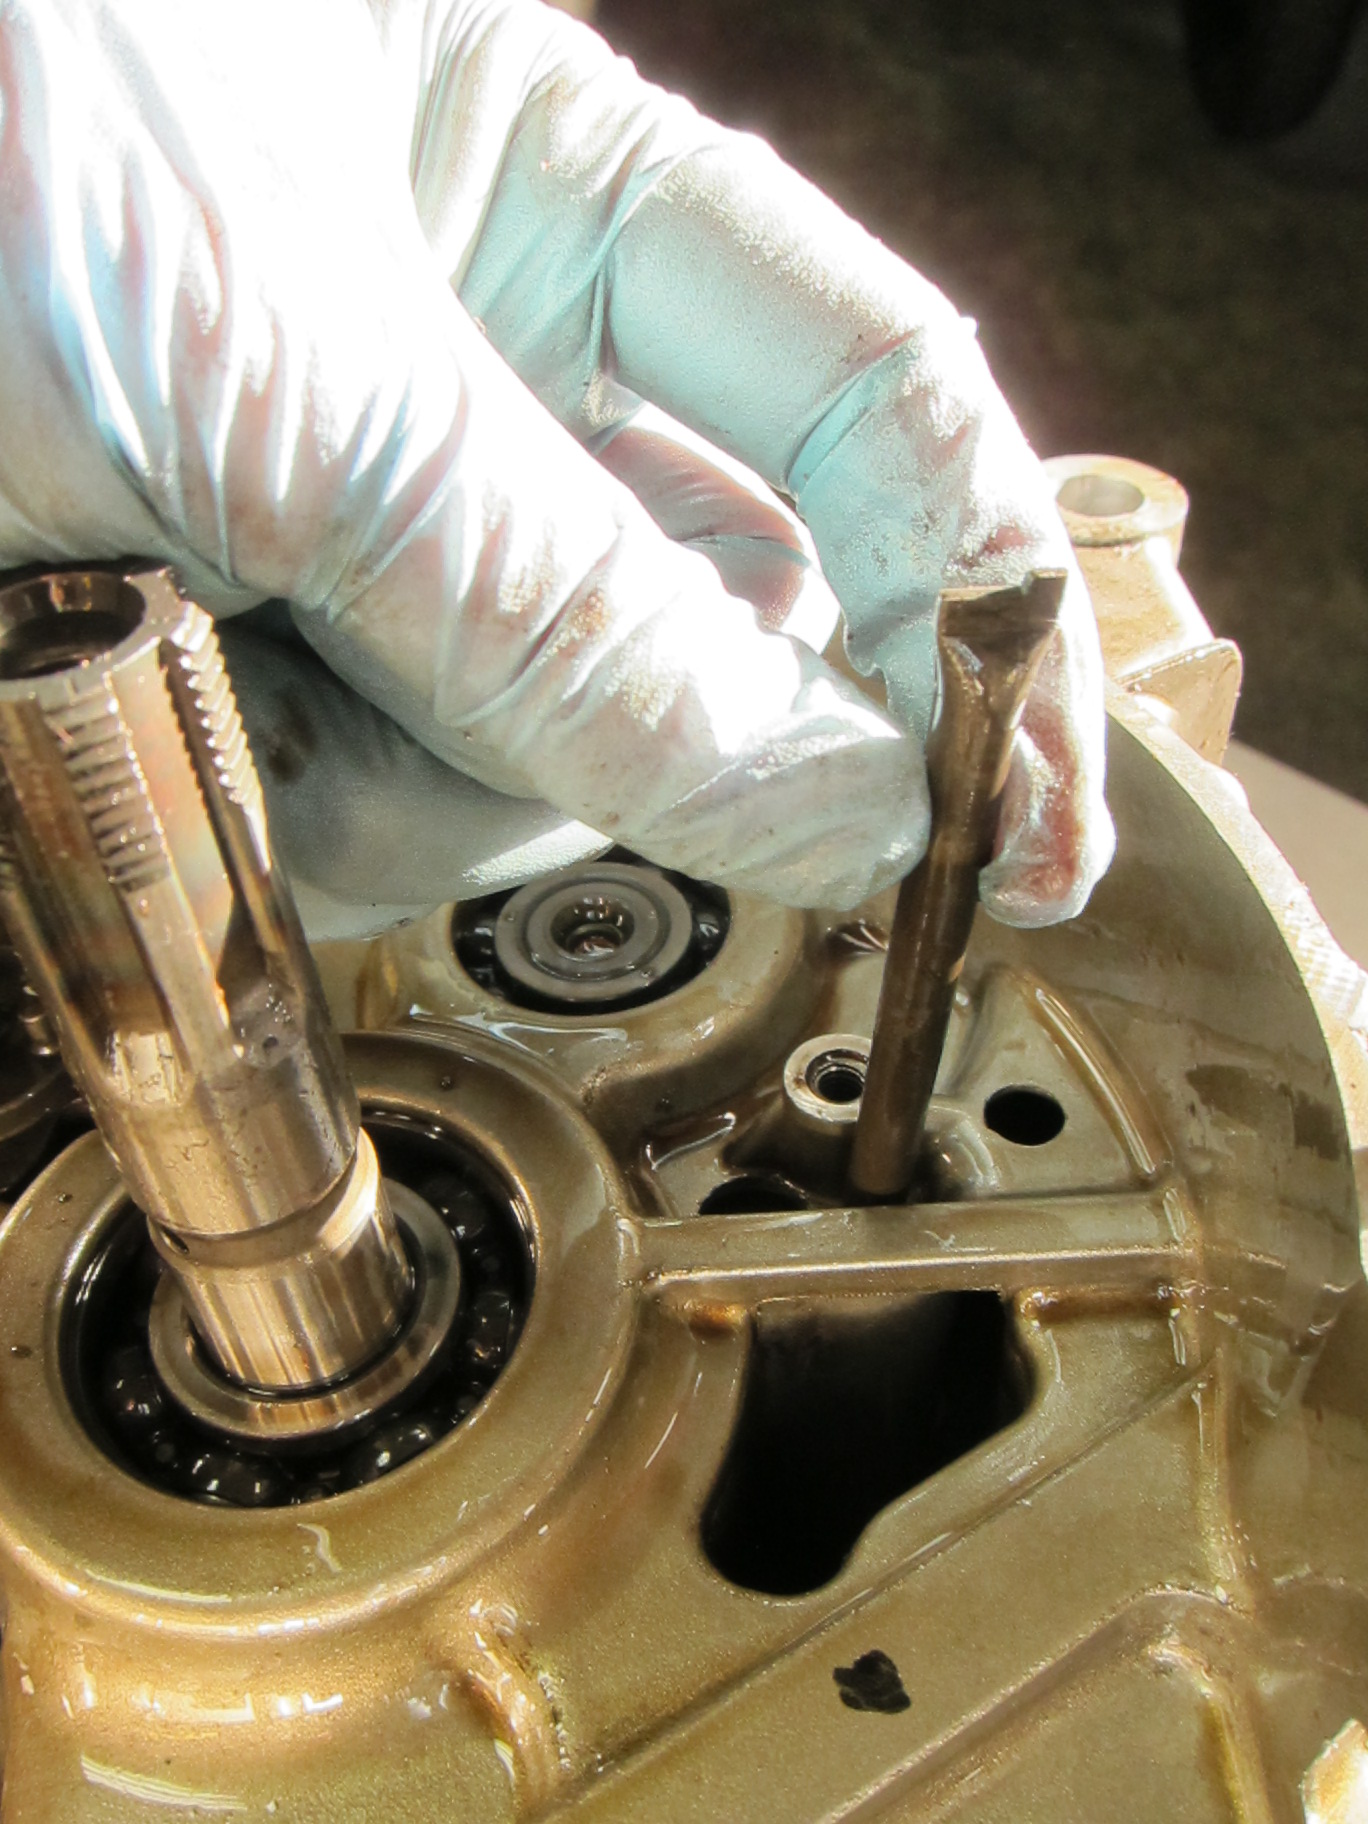
    Removing an oil line rod to prep for splitting cases

    Removing the transmission star gear

    And now, the moment I’d been waiting for–it was time to split the cases. It was my first time, prying apart the halves of the engine to get into the bottom end, to penetrate the secrets of its demise; and it felt like a rite of passage into the realm of internal combustion. I gently worked in my miniature pry bar and began to tap the cases apart with the soft-faced mallet.
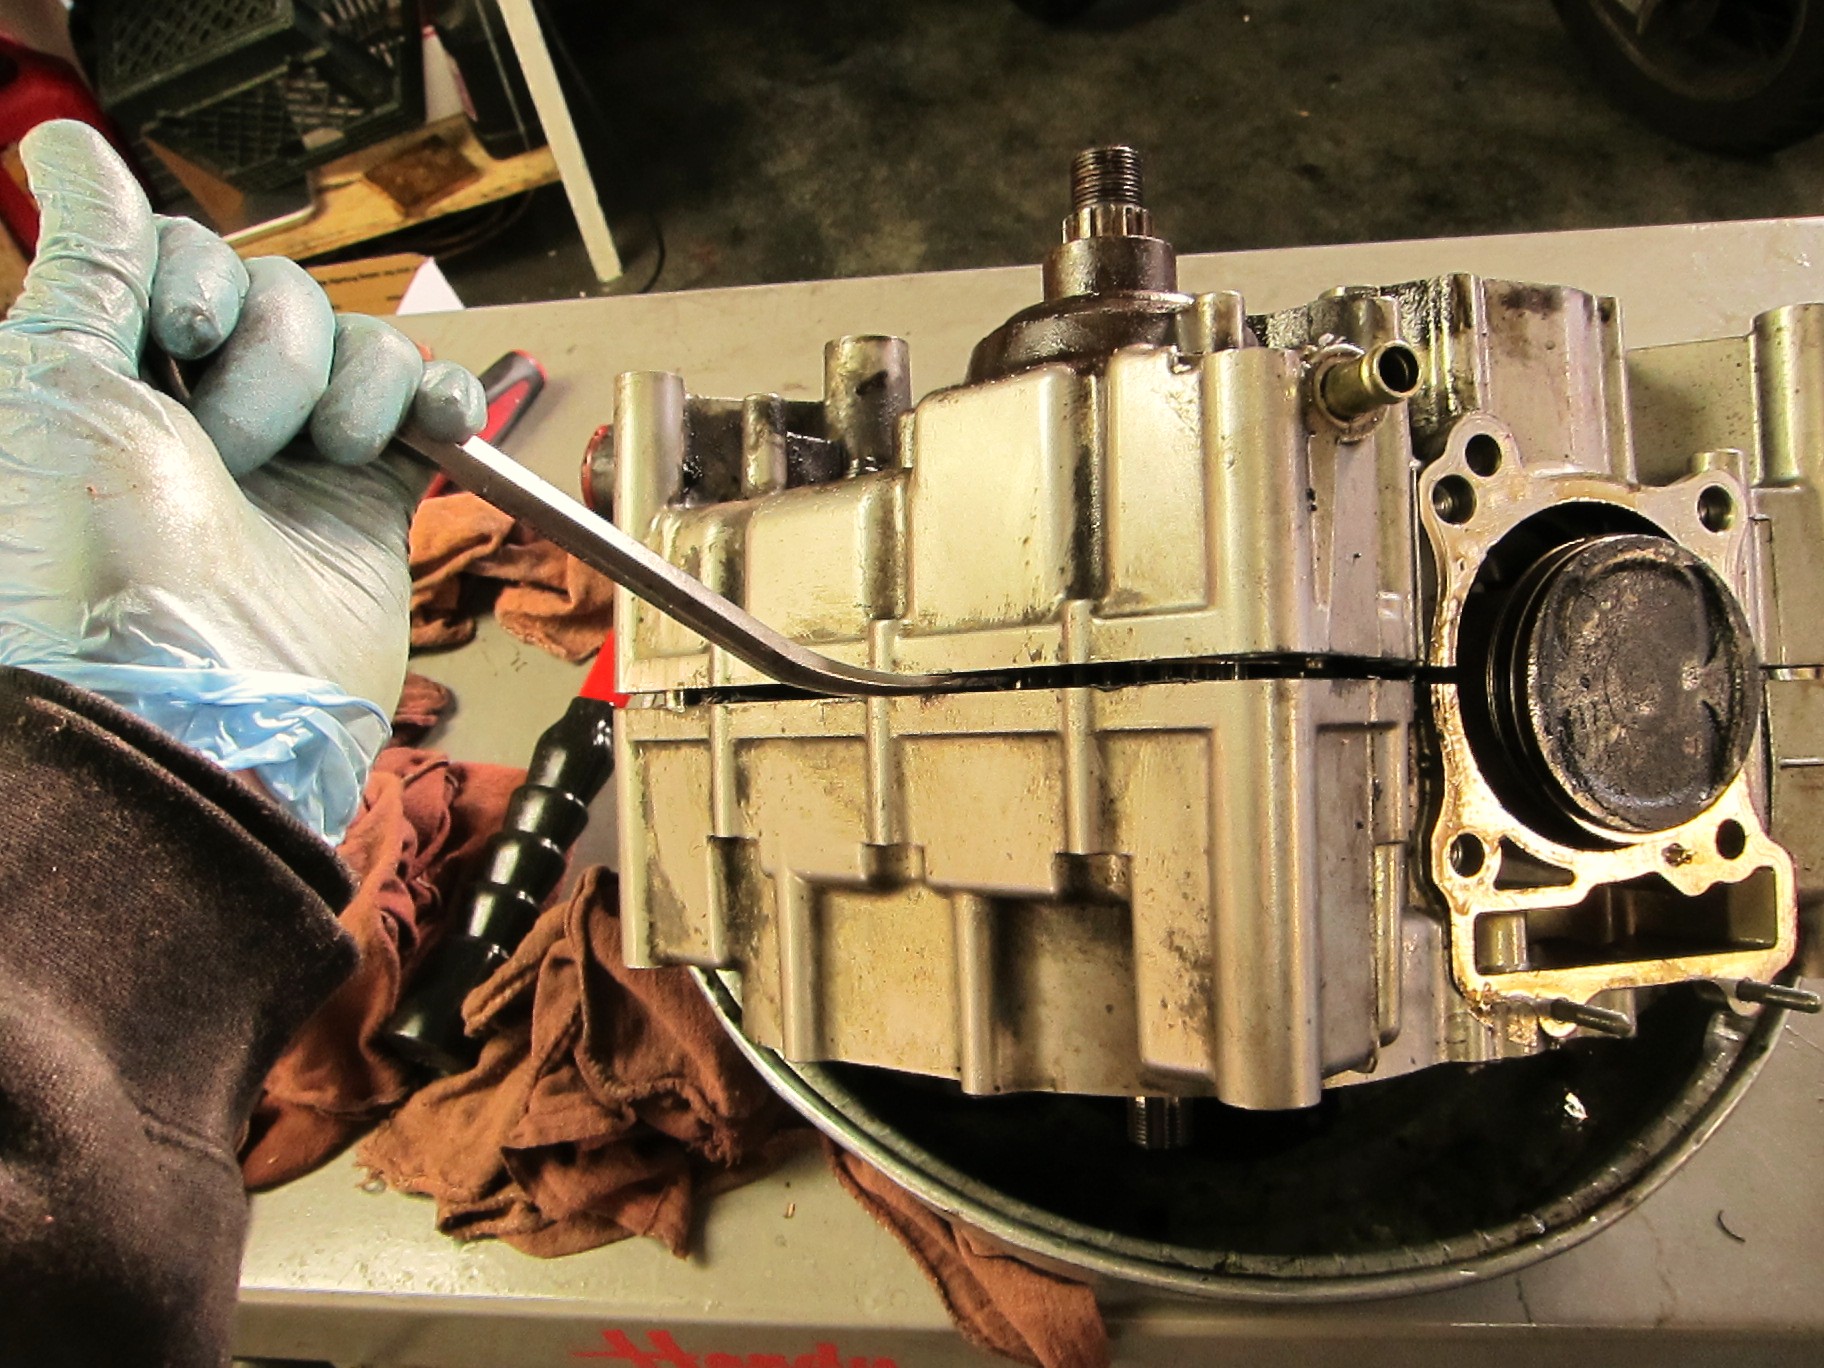
    The moment of truth--splitting the cases

    With a great deal of tapping and gentle prying, the halves began to pull apart.
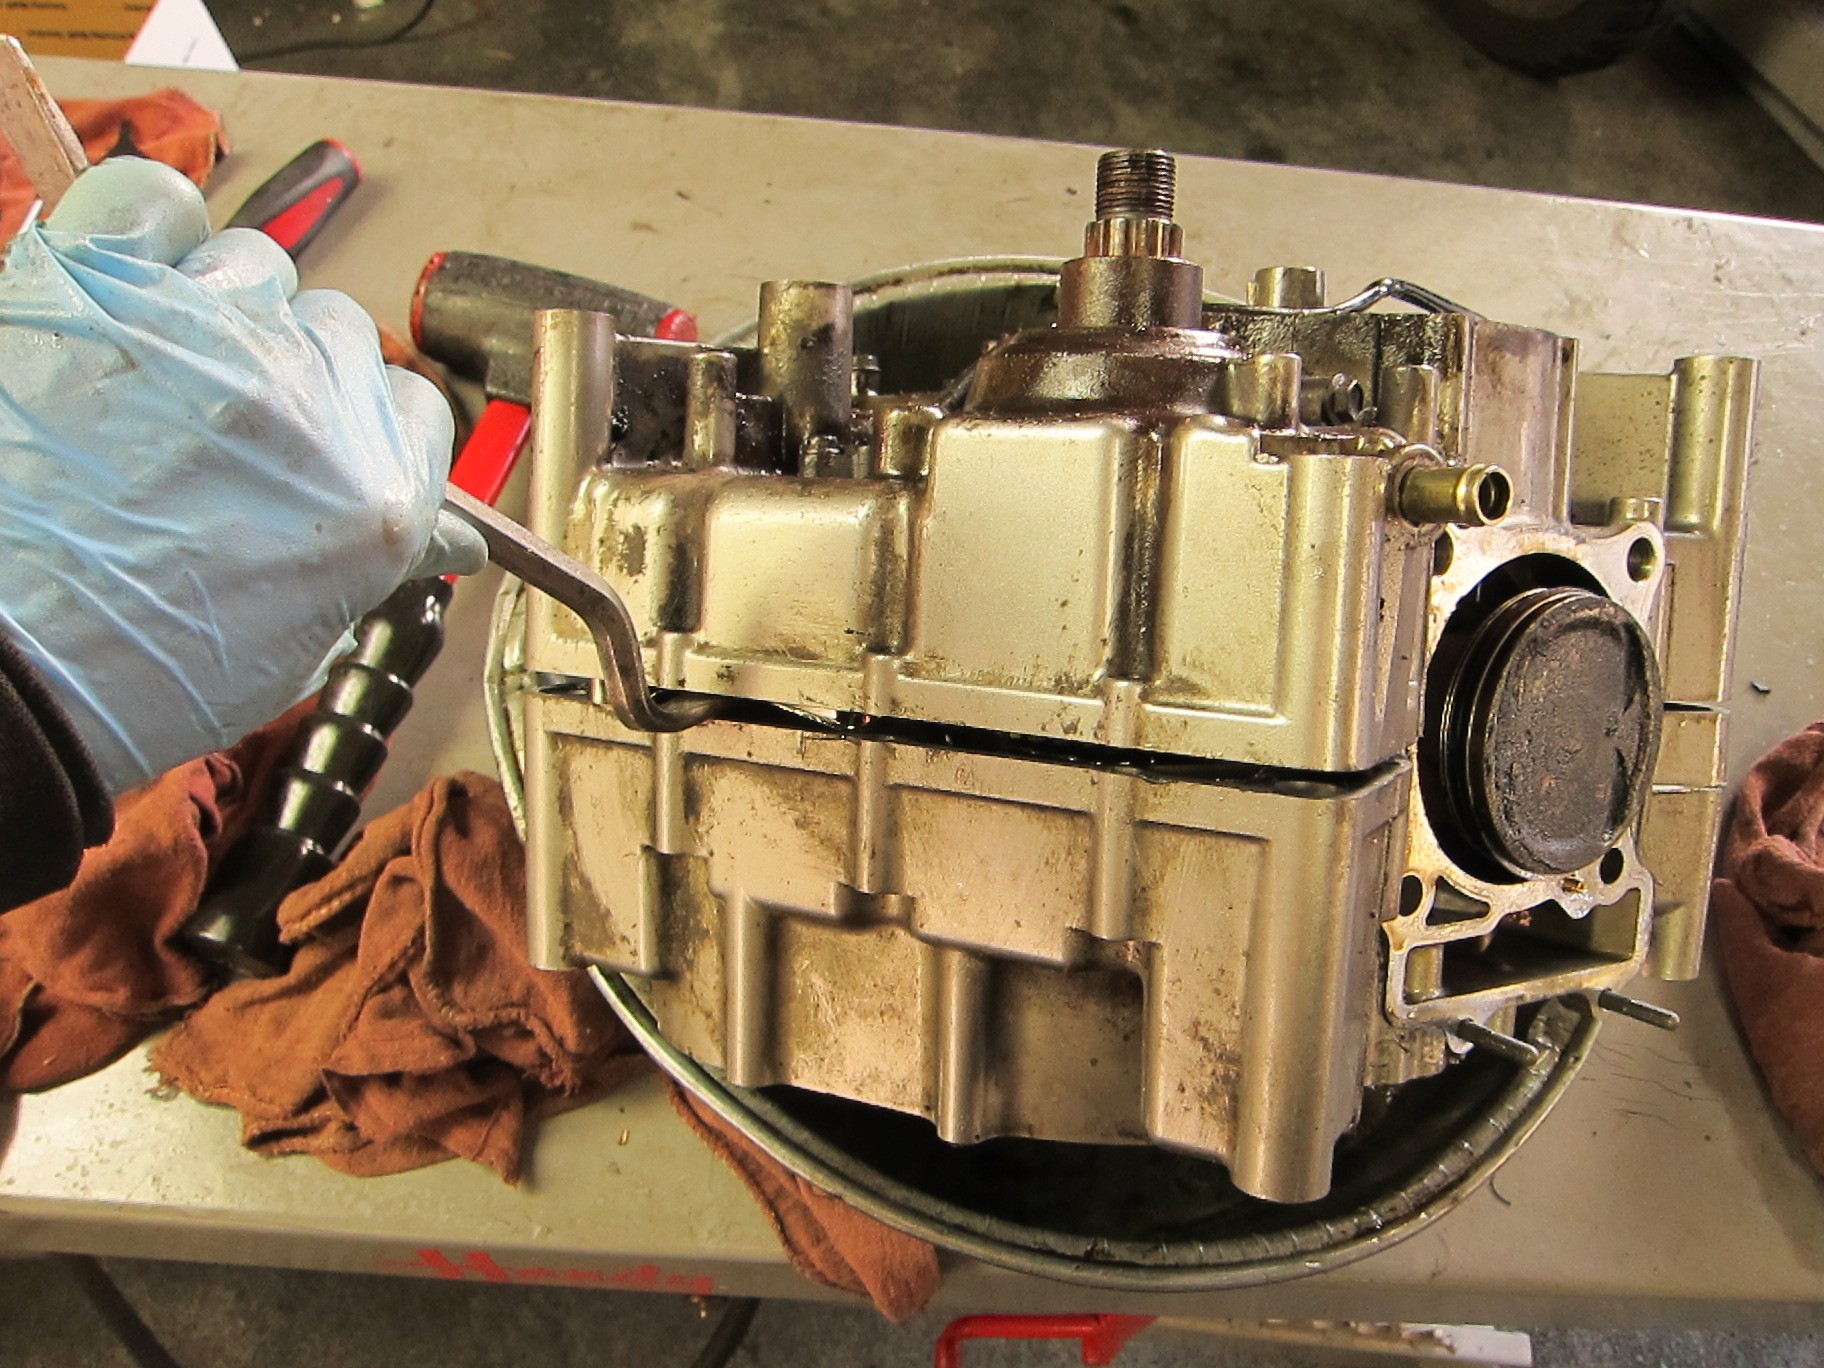
    The case halves, coming apart

    And at last, the halves of the crankcase fell apart, revealing all that lay within.

    Halves of the crankcase, apart. Note exposed crankshaft on the left.

    I lifted out the crankshaft and the pistons.
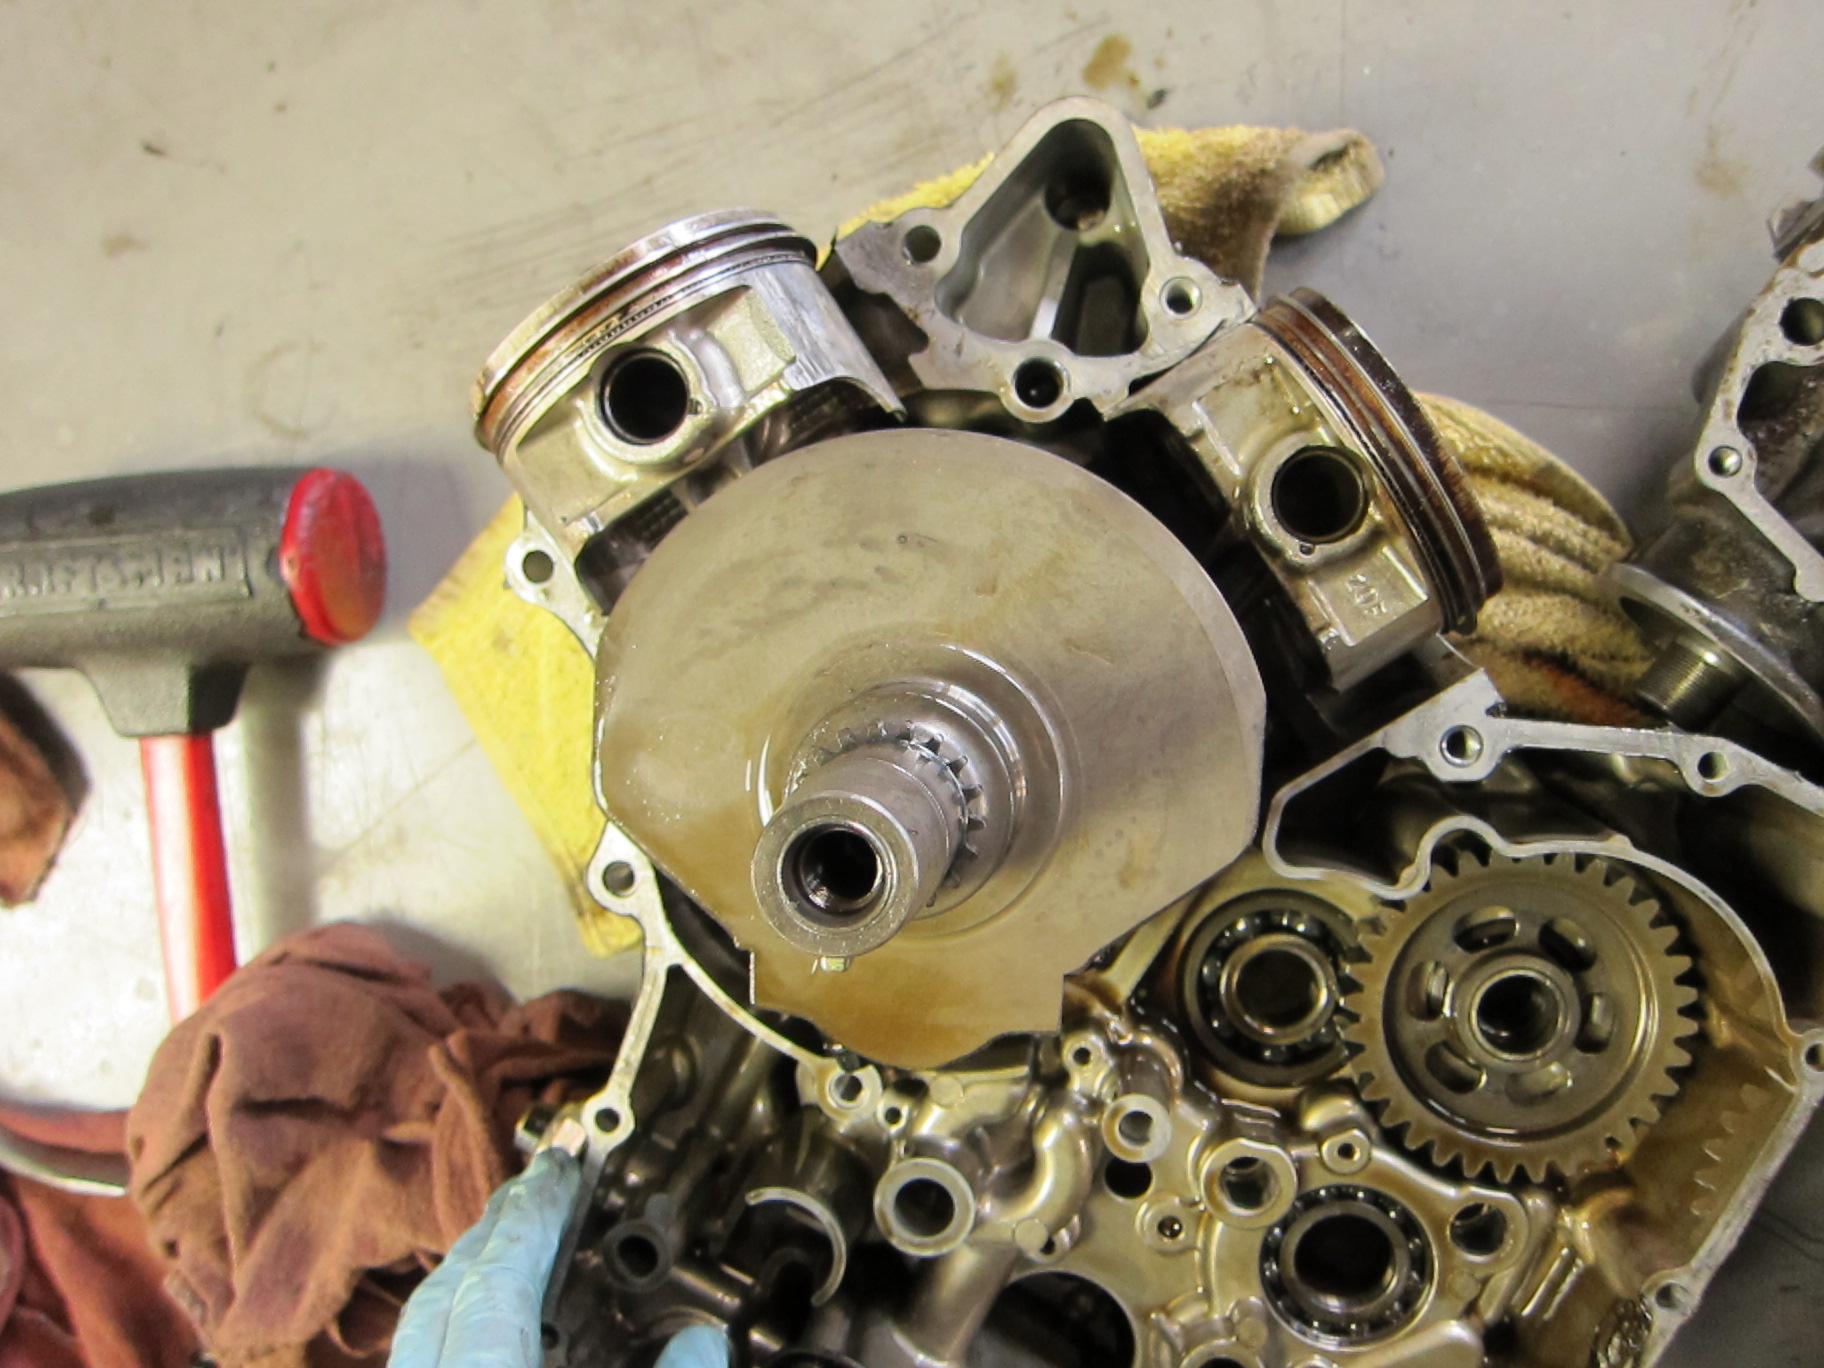
    The crankshaft, with pistons attached

    In the other half of the crankcase, the transmission gears and dogs were now visible.

    Transmission gears

    At this point, I began to see sparkly bits of metal deposited on the lower surfaces of the engine–a sure sign of severe lower-end engine damage. Those sparkly bits of metal were torn and sheared off something important…

    Look carefully--metal particles are adhering to the lower surfaces of the engine

    Something exploded into glittery fragments, leaving the residue here.

    More "sparklies," metal shavings adhering to the bottom end of the engine. They're the result of destruction somewhere in the engine, and the scoring I found earlier was not enough to make this mess.

    When the crankshaft came free, the connecting rods (which connect the pistons to the crankshaft) were heat-blackened, showing that they had endured tremendous overheating and abuse.

    Crankshaft and pistons--note heat blackening on the lower sections of the connecting rods, where they bolt onto the crankshaft

    I turned over the crankshaft and unbolted the connecting rods.

    End of the connecting rod, with bolts removed

    One of the con rods was just beginning to melt together (and the the crankshaft), and had to be pried apart with considerable force. It was another clue to the nature of the problem.
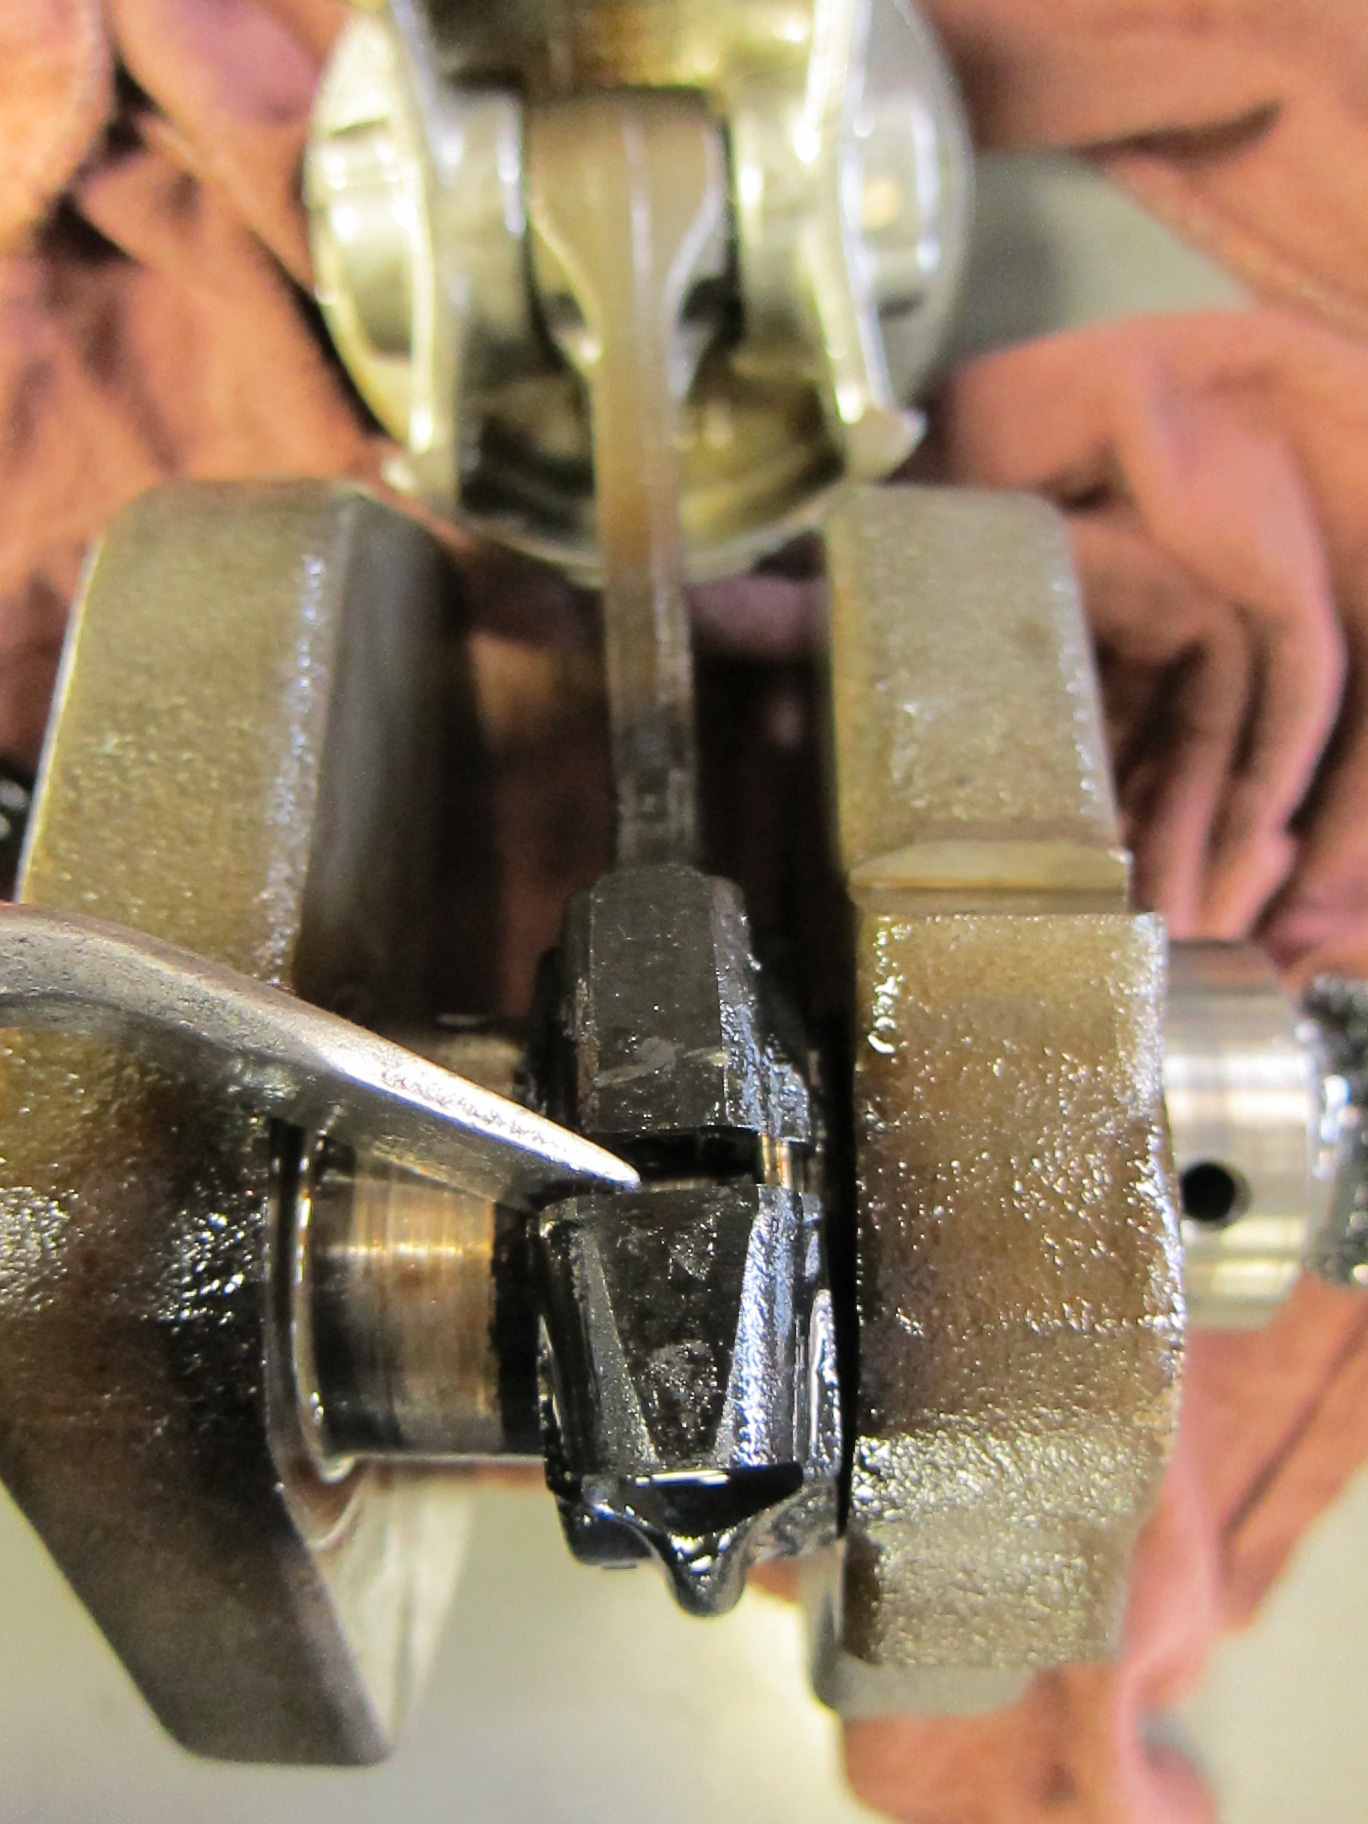
    Connecting rod and piston

    And when I finally pried off and set aside the pistons and connecting rods, down in the very belly of the beast, the oil-starvation problem suddenly revealed itself. The connecting rod bearings, which glide between the inner surface of each connecting rod and the outer surface of the crankshaft as it spins, had finally lost its protective coating of oil, and began to spin and melt and disintegrate. The scoring can be clearly seen.

    Connecting rod bearings--scored and melted and damaged.

    This was the source of all those metal flakes in the lower portions of the engine–the con-rod bearings shredding themselves into oblivion. I pried off the remains of the damaged bearings and took a closer look.

    Inner surface of a heavily damaged connecting rod bearing--a classic example of a "spun bearing"

    The truth was in there, and it was ugly.

    Connecting rods with damaged bearings inside

    Cause of death: spun bearings

    So here before us was the verdict: in addition to the scored piston and cylinder, the doomed V-Strom engine died from a textbook case of spun con-rod bearings. It was a sad death, and a preventable one, but it was a fascinating learning process to deconstruct and diagnose the cause of the engine’s demise.

    Remember, oil is the lifeblood of your bike’s engine!

    Maybe that Pennsylvania groundhog is right

    Ok. We’re not exactly breaking out the barbecue here on the North Coast of California.
    Because it’s February. On the North Coast.
    But it is warm, with temperatures flirting near the upper 60s. So warm that I fired up the bike this weekend and made a savage run to the beach, heating up the tires and getting a few grins while avoiding Sunday drivers and the fine gentlemen parked behind billboards.

    Winter on the coast -- Highway 1 near Tomales Bay


    Overall, it was a hell of a good day! My helmet is off to Punxatawney Phil. It was positively springlike.
    Other riders took advantage, as well.
    In my blast to Pt. Reyes Station via Highway 1, I saw sport bikes, dual sports and choppers, all basking in their own moto moments. I

    No dog days of winter here

    met a guy on a ’38 BMW R-61 who rode to Marin County from San Francisco wearing what looked like a trench coat.
    He seemed surprised when I asked if he rode “that” over the Golden Gate Bridge.
    “Of course I did,” he said, pointing out that the bike survived World War II and was rescued from a Polish barn. “Why wouldn’t I?”
    He rolled away in a whir of sewing machine noise.
    I took it as my cue and got my modern-day bike up to warp speed, flying north up the asphalt ribbon that envelopes Tomales Bay.
    I scraped a foot peg or two, paused for pics and headed back to may own barn.
    I stopped short of reconnecting the trickle charger. I have a feeling I won’t be needing it.

    –BV

    Engine Autopsy 1–What Happens When a Bike is Starved for Oil?

    Recently, several riders have brought oil-starved bikes into the shop–whether they were new riders or simply neglected to check their oil level for too long, the results have been uniformly disastrous. Motorcycle engines tend to rev high and hot, and like other internal combustion machines, an engine’s metal-to-metal contact points need a consistent film of oil lubrication between moving parts, whether those parts are bearings, camshafts, or piston and cylinder. When the oil level drops below a certain level, it spells certain doom for the bike’s motor–possibly with terrible consequences for the rider. In this case, the V-Strom’s owner ignored the low oil light for approximately 2,000 miles before the bike “began to make a terrible rattling noise” and breathed its last. The unmistakable rattling noise and the sparkling bits of metal in the oil confirmed to us that the motor was in bad shape. Turned out that the engine was damaged beyond repair; we found a replacement engine and installed it, and the rider learned an expensive lesson in responsible bike maintenance.

    Riders–remember to check your oil level and keep your bike filled to the appropriate level! The engine is the heart of a bike, and oil is its lifeblood.
    The engine from a 2007 Suzuki V-Strom 650--the same bike featured in the oil change tutorial This one, however, was ridden by its uninformed owner until it was dry of oil

    Another view of the V-Strom engine--note that the front cylinder has already had its valve cap removed in an effort to diagnose the problem.

    It’s painful but fascinating to dig into a ruined engine like this and do a sort of autopsy to discover which parts failed. This is the normally very robust vee-twin engine on the lift, ready for disassembly. It’s a messy, dirty job, so I’ve got gloves on and plenty of rags and a pan on hand to catch spills.

    Vee-twin top view, with water pump and coolant hoses intact

    First I loosened the bolts and eased out the starter motor.

    Out comes the starter motor

    Next, off came the valve cap on the forward cylinder head, and then I removed the camshaft journal covers. In both cases, the caps should be removed in a star pattern to prevent the aluminum from warping as it is removed.

    Removing the camshaft covers

    In order to loosen the cam chain and remove the camshafts, the cam chain tensioner needs to come off first.

    Removing the cam chain tensioner

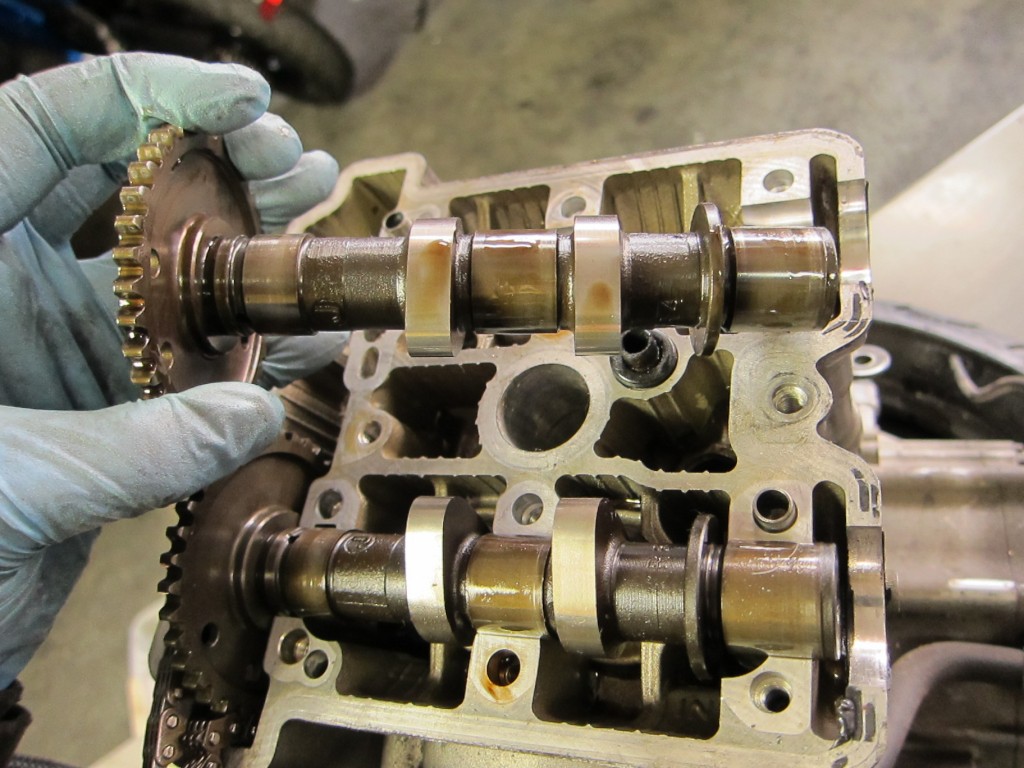
    At this point, the camshafts are exposed, and the cam chain is loose and can be pulled off, releasing the camshafts. The cam lobes, which rotate and push the valves open and closed, are vulnerable when the bike’s oil runs dry, as are the camshaft journals, which turn inside their bearings in the engine head. Upon inspection, though, the entire surface of both the intake and exhaust camshafts showed no evidence of wear or galling, a testament to the toughness of the V-Strom engine.

    Pulling and inspecting camshafts

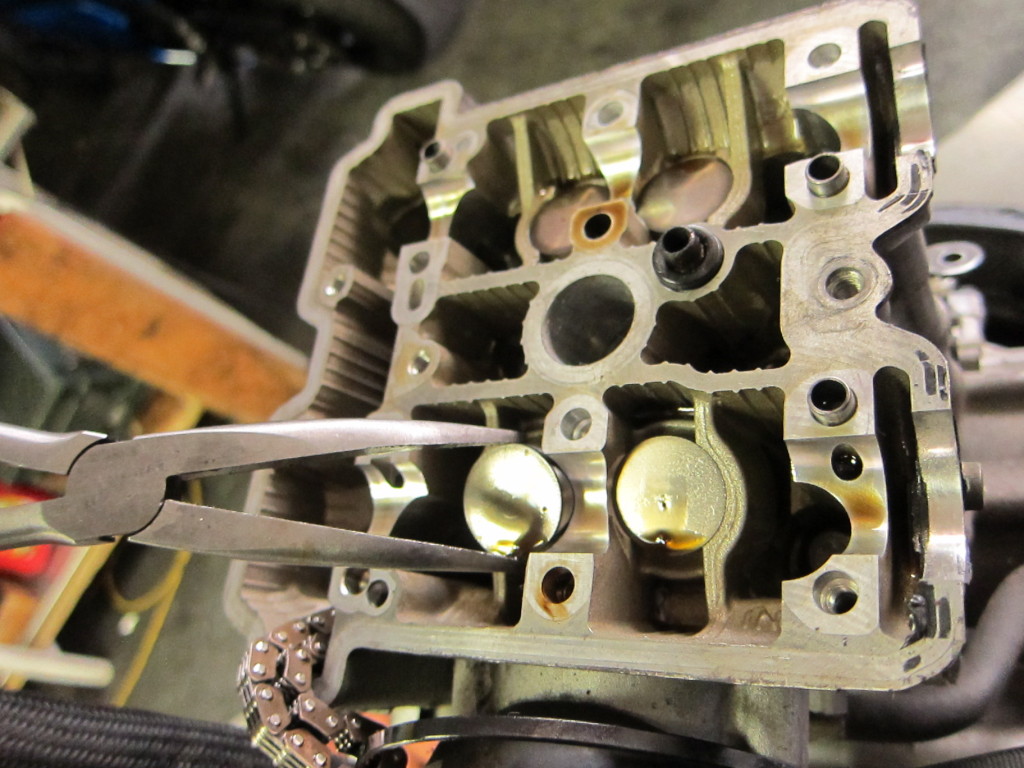
    With the camshafts removed, the valve tappets (or buckets) are exposed, easy to pull with a pair of needlenose pliers or a magnet. Since the V-Strom uses a shim-under-bucket valve design, each shim sits on the underside of each tappet. The small shims require care and a deft hand to avoid dropping into the engine, a bad scene if you’re doing a valve adjustment.

    Pulling valve tappets

    Generally, as here, the small shim adheres to the underside of its tappet, and comes out with it.

    Shim, stuck under under its bucket with a thin film of oil

    With the camshafts, tappets and shims gone, the valve ends and the tops of the valve springs can be seen.

    The four valve ends and springs

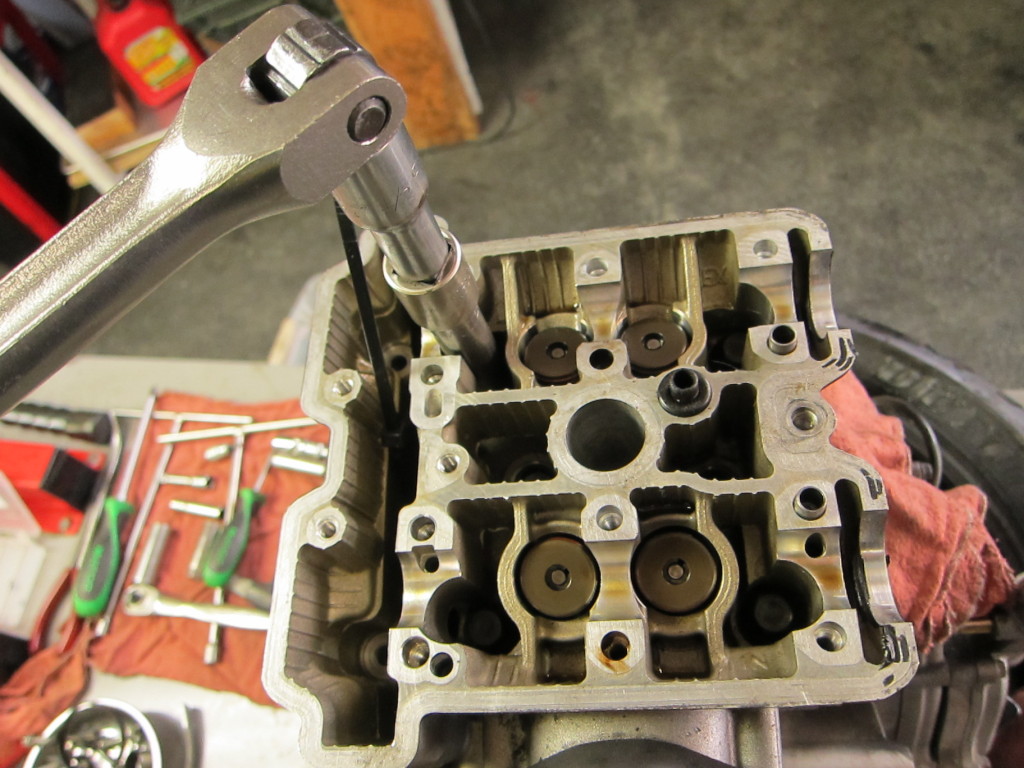
    The head bolts came out next–that took a breaker bar.

    Using a breaker bar to remove the head bolts

    The intake and exhaust valves showed no obvious signs of being bent, a frequent result of oil starvation.

    Underside of the head, showing intake and exhaust valves

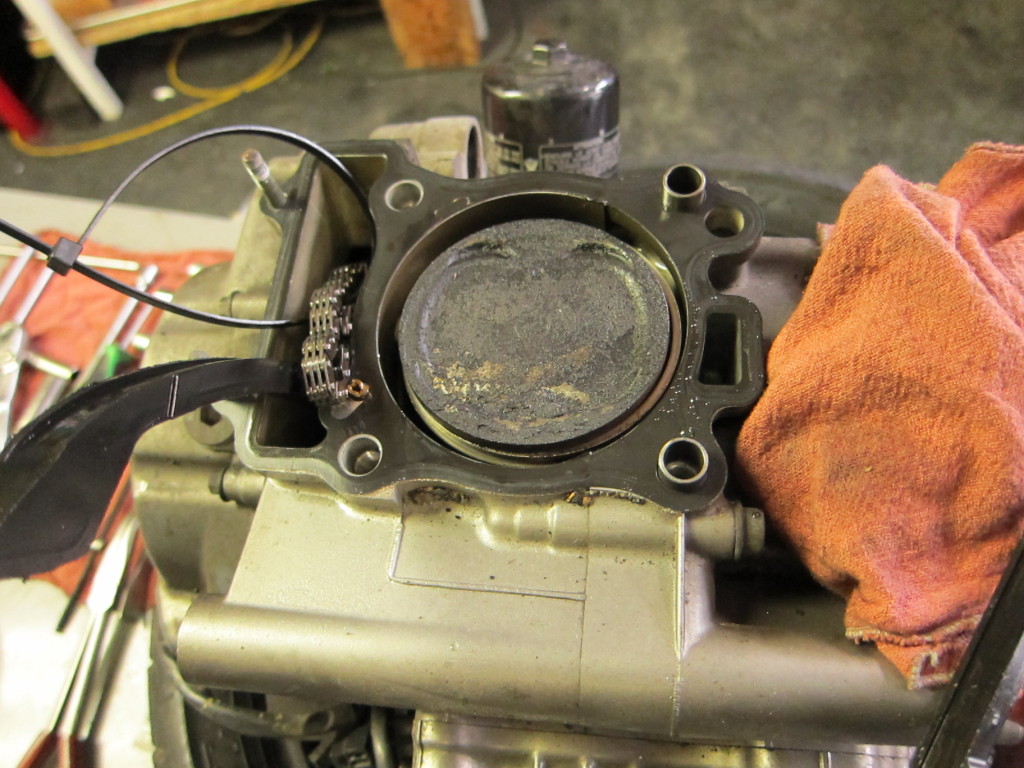
    Now that the head was off, the cylinder and piston face were visible.

    Cylinder and piston face

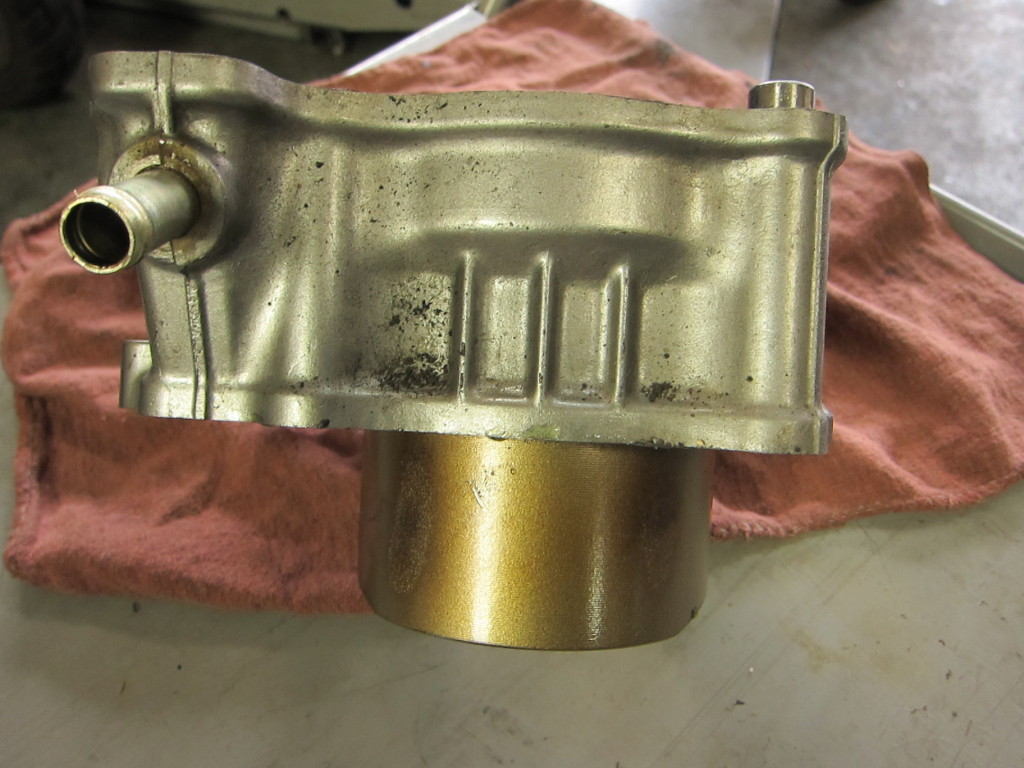
    With the head bolts out, I was able to pull and inspect the cylinder.

    Jug and cylinder

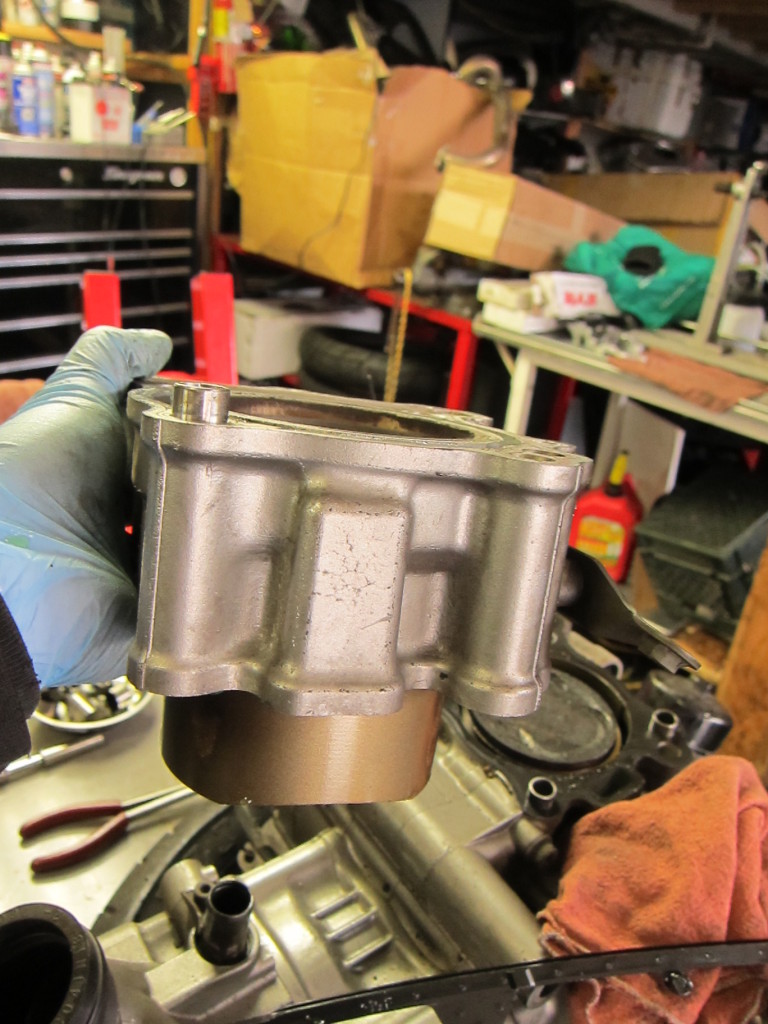
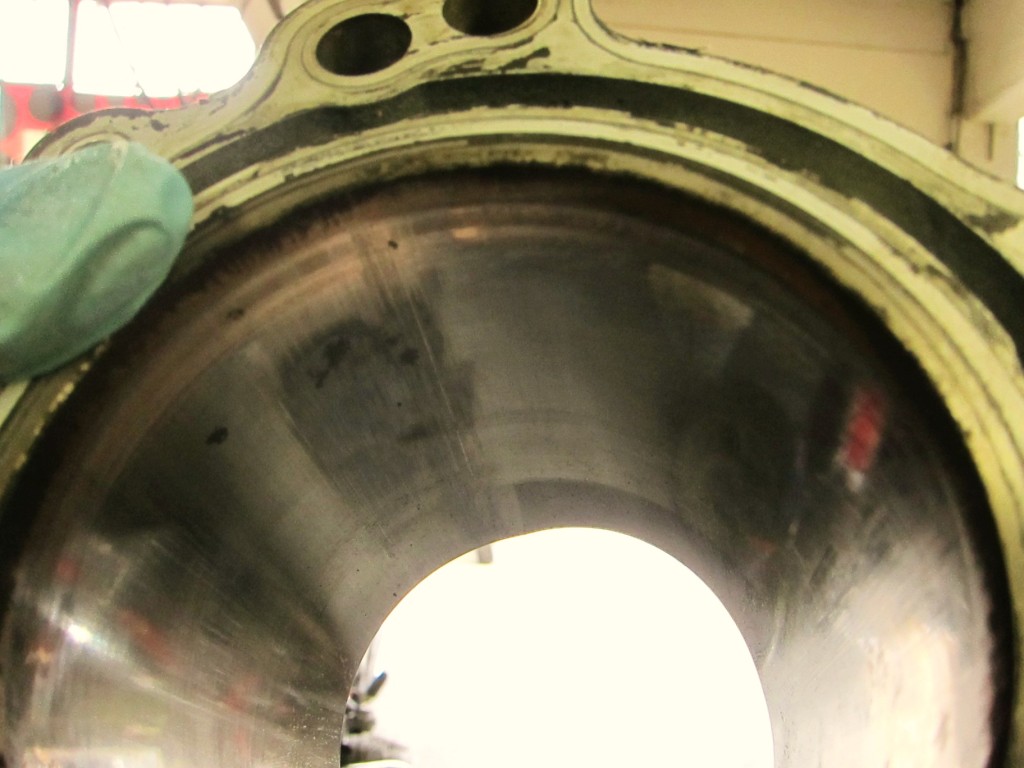
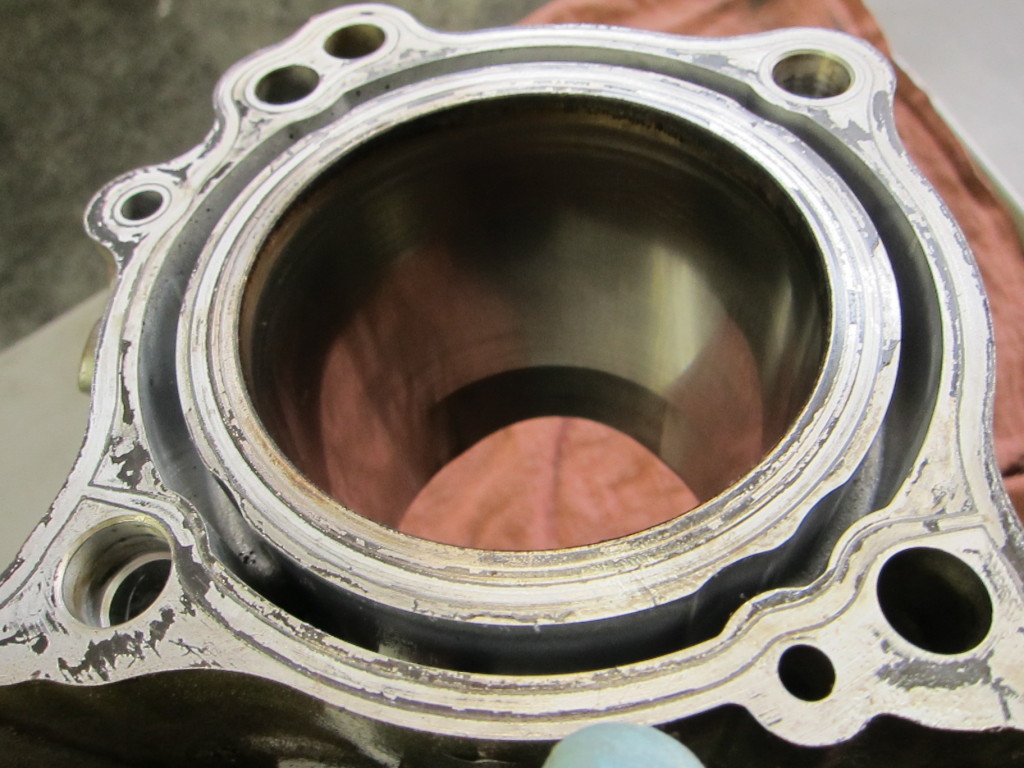
    The interior of the cylinder shows some scoring.

    Scored interior of the cylinder

    Normally, the piston rides up and down the cylinder in a thin film of oil. But when the oil is gone, there’s direct metal-to-metal contact as the piston begins to scrape and gouge the cylinder–and you can see the results.

    Cylinder scoring

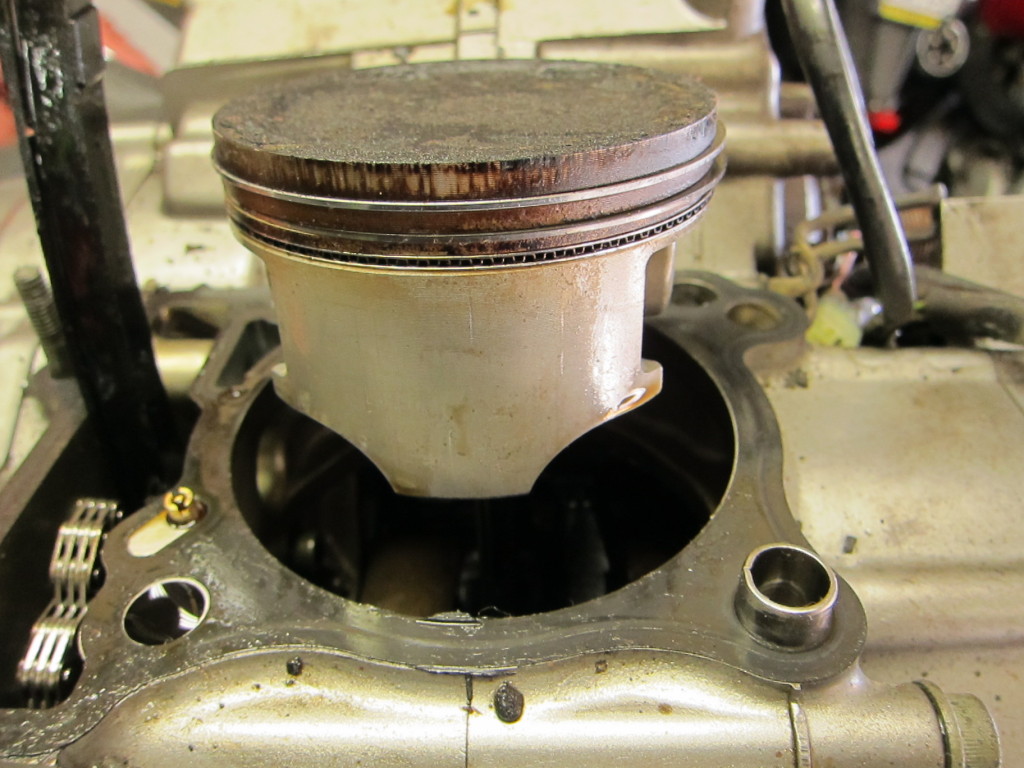
    The piston skirt had signs of scoring beginning to show as well. If the engine had not been shut off when it was, the gouges would have deepened in both the metal of the cylinder and the piston, eventually breaking one or both, or melting them together and seizing the engine.

    Scored piston

    More piston damage

    I repeated the process with the other cylinder.

    Rear cylinder cap removal

    Second piston face

    Cylinder #2 removed

    Rear cylinder looks less damaged than the front cylinder

    This piston, too, showed little to no damage, unlike the front cylinder’s piston.

    This piston looks relatively ok

    Another view of the piston

    The two rear cylinder camshafts were in fine shape, as well.

    Rear cylinder camshafts, undamaged

    After the cylinders were removed, the stator cover was next.

    Stator Cover

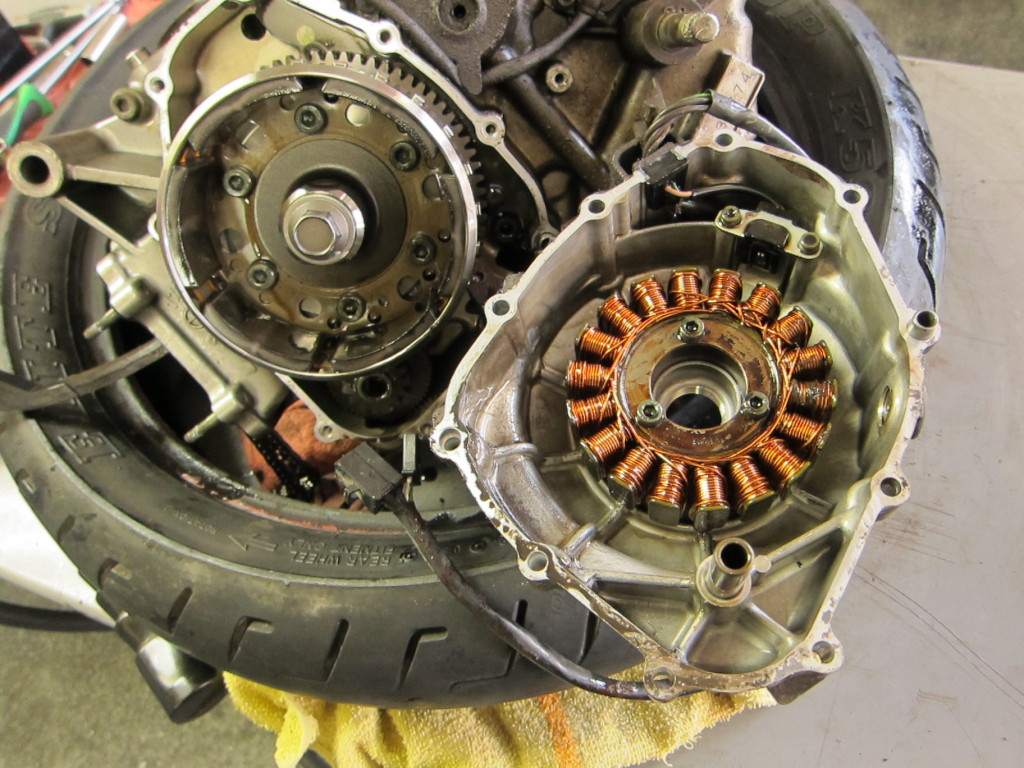
    With a bit of convincing with the deadblow hammer, the stator cover and stator came away, resisting as the flywheel magnets attempted to hold the stator in place.

    Stator cover, pulled, showing stator coils on right and flywheel on left

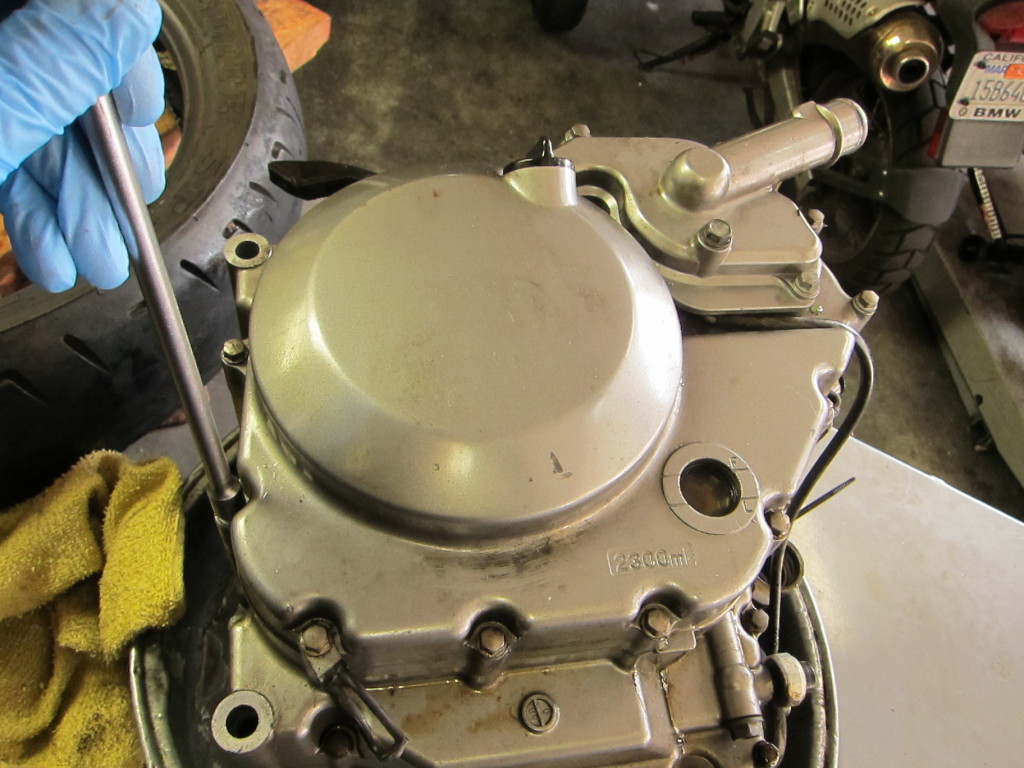
    With the stator cover off, I flipped the engine over to take off the clutch cover on the other side.

    Clutch cover

    The clutch cover came off more easily, showing the clutch basket beneath.

    Clutch exposed

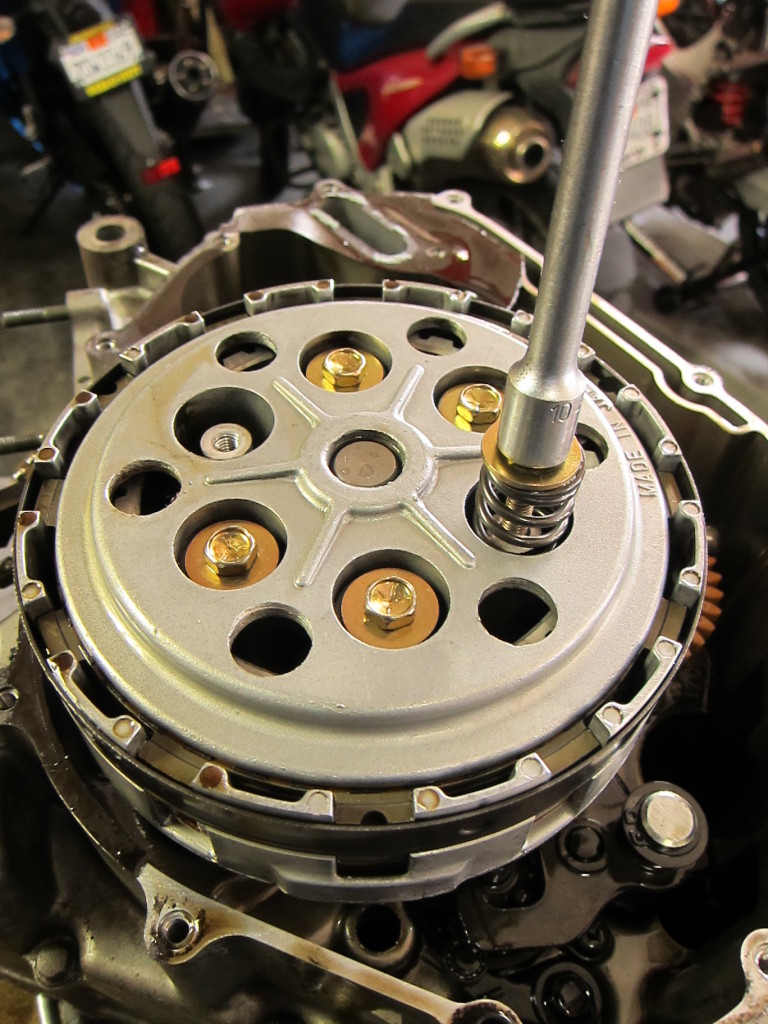
    And next, I unbolted the clutch basket itself and removed it.

    Removing the clutch springs to free the clutch basket

    Now with the friction plates and steels out, the basket lay beneath. I pressed down the folded-up tabs of the washer holding the nut and friction bearing, and took them out.

    Clutch plates out, and friction bearing exposed

    With the clutch basket gone, the deeper parts of the crankcase are exposed (the plastic gear is the oil pump gear).

    Beneath the clutch

    With the top end of the engine (cylinders, valve head, camshafts and covers) apart, and the side covers, stator and clutch removed, it was time to get into the depths of the crankcases and see what damage had been wrought in the engine’s bottom end–which I’ll cover in the next post.

    Do-It-Yourself Oil Change–Honda Shadow 600 (VLX 600)

    Image

    Plenty of riders, myself included, are interested in trying some do-it-yourself mechanical work on their rides. Perhaps it’s part of the larger American cultural trend towards DIY skills; perhaps it’s the lingering influence of Robert Pirsig’s 1974 classic, Zen and the Art of Motorcycle Maintenance; perhaps it’s due to the fact that motorcycle shops are expensive (shop rates in California tend to be between $80 and $110 per hour), and motorcycles’ frequent maintenance needs make going to the shop for every chain adjustment and oil change a pricey proposition. For me, the image of the self-sufficient lone rider, contentedly working on her bike in the middle of nowhere, was too good to resist; and after a couple of years of riding, I became an apprentice mechanic at a local shop.

    So, with the aim of helping riders learn a little basic wrenching on their bikes (and, hopefully, getting the satisfaction that building skill and learning to maintain your bike can bring), I’m starting a series on changing your own oil and filter, geared to the relative beginner. Recycling your filter as well as your oil is a key part of responsible wrenching, too–so I’ll cover that. I’m hoping to include a variety of bikes in future DIY oil change posts, as well, from cruisers to standards to sportbikes to dual-sports and beyond. Thanks, too, go out to Werkstatt Motorcycle repair in San Francisco; owner Jennifer Bromme has generously agreed to let me use her shop for occasional educational purposes.

    The first bike in the series is a common metric cruiser, the Honda Shadow VLX 600. Like most streetbikes, it needs an oil and filter change every 3,000 miles.

    Continue reading

    On any Sunday — closed for business

    I’ve always found it odd that motorcycle shops are closed on Sundays. It’s got to be one of the busiest riding and tinkering days of the week.

    Yet almost universally, shops draw the curtains and don’t open them until Tuesday morning.

    I can understand closing Monday, but Sunday? It seems crazy, especially in these economic times.

    Open when you need it?

    “It’s just always been ride or race on Sunday and recover Monday,” said Brian Pecore, owner of The Motorcycle Shop, an independent service and accessories store in Santa Rosa.

    True, Sunday is traditionally racing day, but how many shops actually race? And if they do, wouldn’t it make sense to keep the till going and the money flowing in?

    It ain’t exactly cheap to go racing.

    Desperate for answers and certain I was probably missing some key point, I turned to several other shop owners who informed me that, no, I really wasn’t missing any key point.

    Aside from the fact that Saturday is an all-hands-on-deck work day and rest is needed, there’s no explaining the Sunday holiday.

    However, you can bet the reluctance to do business is welcome by at least one mega-retailer. Cycle Gear is open seven days a week. The Benicia-based chain with outlets in 26 states opened its 98th store in November.

    The 38-year-old company claims on its website that it is the nation’s largest and fastest growing retailer of motorcycle apparel and accessories.

    You gotta wonder how much they’re raking in on Sunday.

    “Cycle Gear always has, and always will put people first,” CEO Dave Bertram said.

    Mayan Riviera: No country for motorcycles

    I’ve always associated Mexico with motorcycles. I don’t know why exactly. Maybe it’s because of the handful of times I’ve ridden dirt bikes in Baja. Or maybe it’s because it’s warm there and I’m a fair-weather rider. Or maybe it’s just because both words start with the letter m.

    Some dude riding at the playa

    I had bikes on my mind when planning a family vacation to the Cancun area in December. I figured I’d rent a dual-sport or even a Harley at one of those over-priced tourist joints. While my wife and daughter lay on the beach at a sunny resort, I’d be off riding in a foreign land, looking for adventure and inexpensive tequila.
    I figured wrong.
    You see, the part of Mexico bordering the Caribbean Sea is great for relaxing, exploring ruins and watersports. But it’s not the best place to ride, in part because it is so flat. Roads go east and west, north and south, with few curves or hills in between. Endless jungle is all you see. Can you say boring?
    Also, like Baja, the roads themselves aren’t all that good. Many are cobbled with, well, cobblestones. And Mexicans seem to have an obsession with speed bumps, which they call “topes.” They appear to crop up on any straight long enough to shift into second gear. I know of at least one economy sized rental car in serious need of an alignment!
    I was cured of any Wild Hog aspirations after a quick trip to town in said rental car. Traffic was more dicey than a Los Angeles freeway at rush hour. Overladen trucks and dilapidated taxis careened by. Uniformed men carrying submachine guns glared from checkpoints.
    Amid the chaos only locals were brave enough to ride motorcycles. They must be really good, I thought. They buzzed around me with great daring, seemingly risking life and limb to get from A to B.
    I soon realized they were riding not because it was fun but because it’s a cheap form of transportation.
    Maybe that’s the best that can be said of motorcycles anywhere.
    Or not.
    Nevertheless, I gave up my dream to ride the Mayan Riviera and focused instead on the mango daiquiries.